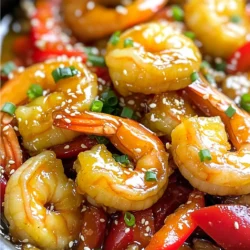
Minute Honey Garlic Shrimp Skillet
Whip up a delicious Minute Honey Garlic Shrimp Skillet in just 15 minutes! This easy recipe features succulent shrimp coated in a sweet and savory honey garlic sauce, complemented by colorful red bell peppers. Perfect for a quick weeknight dinner, it’s easy to make and sure to impress. Follow our step-by-step guide to delight your tastebuds! Click through to explore this flavorful recipe and make it tonight!