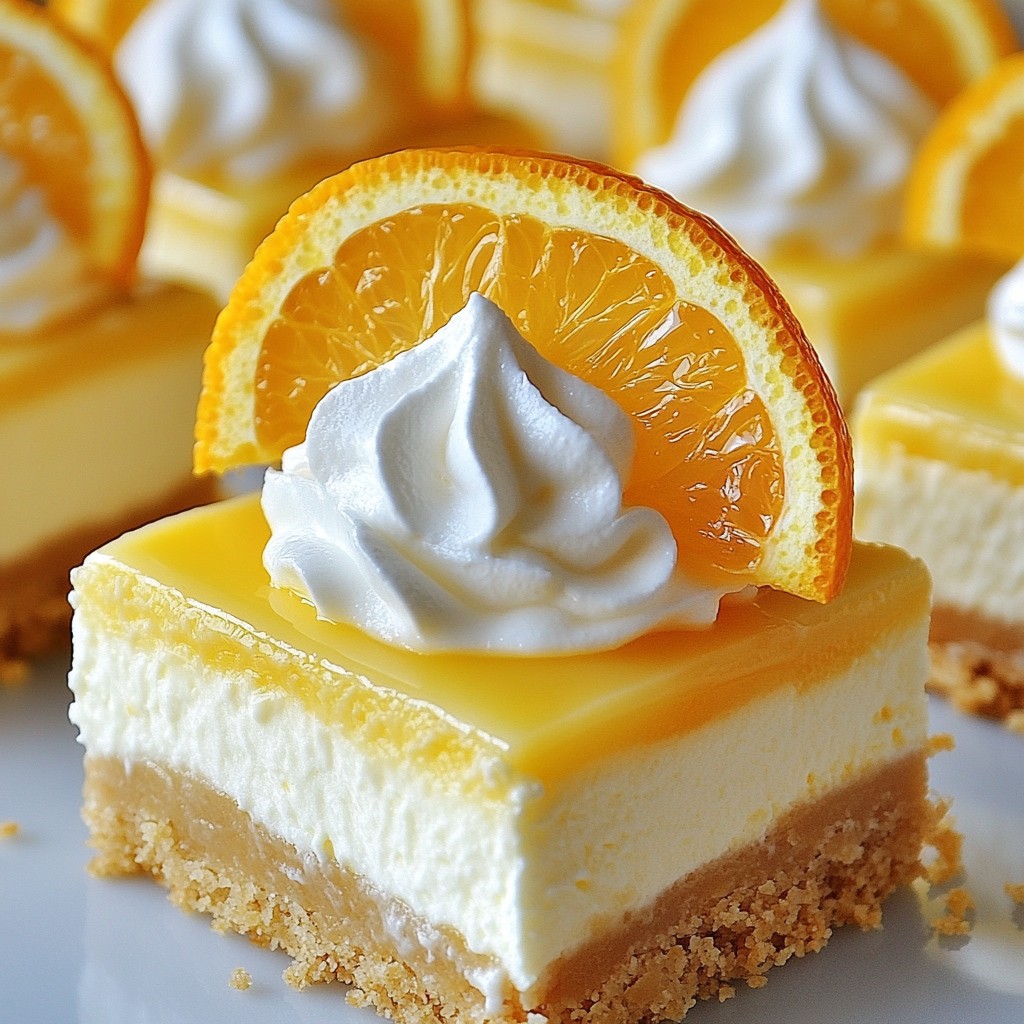
Get ready to indulge in a treat that combines creamy cheesecake with a burst of orange flavor! My Orange Creamsicle Cheesecake Bars are easy to make and perfect for any occasion. With simple ingredients, a buttery graham cracker crust, and a velvety filling, this recipe is sure to impress. Join me as we whip up these delightful bars that will transport you back to carefree summer days, one bite at a time!
Why I Love This Recipe
- Refreshing Flavor: The combination of orange zest and juice gives these cheesecake bars a bright, citrusy flavor that is perfect for any occasion.
- Easy Preparation: With minimal ingredients and straightforward steps, this recipe is simple enough for bakers of all levels to follow.
- Decadent Texture: The rich and creamy cheesecake filling paired with a buttery graham cracker crust creates a delightful contrast in every bite.
- Perfect for Sharing: These bars are cut into easy-to-serve squares, making them ideal for gatherings, parties, or a sweet treat to share with friends and family.
Ingredients
List of Ingredients
- Graham cracker crust components:
- 1 ½ cups graham cracker crumbs
- ½ cup unsalted butter, melted
- 2 tablespoons sugar
- Cheesecake filling ingredients:
- 16 oz cream cheese, softened
- 1 cup granulated sugar
- 2 large eggs
- 1 teaspoon vanilla extract
- ¼ cup fresh orange juice
- Zest of 1 orange
- Topping and garnish items:
- ½ cup heavy cream
- ½ cup powdered sugar
- Orange slices for garnish (optional)
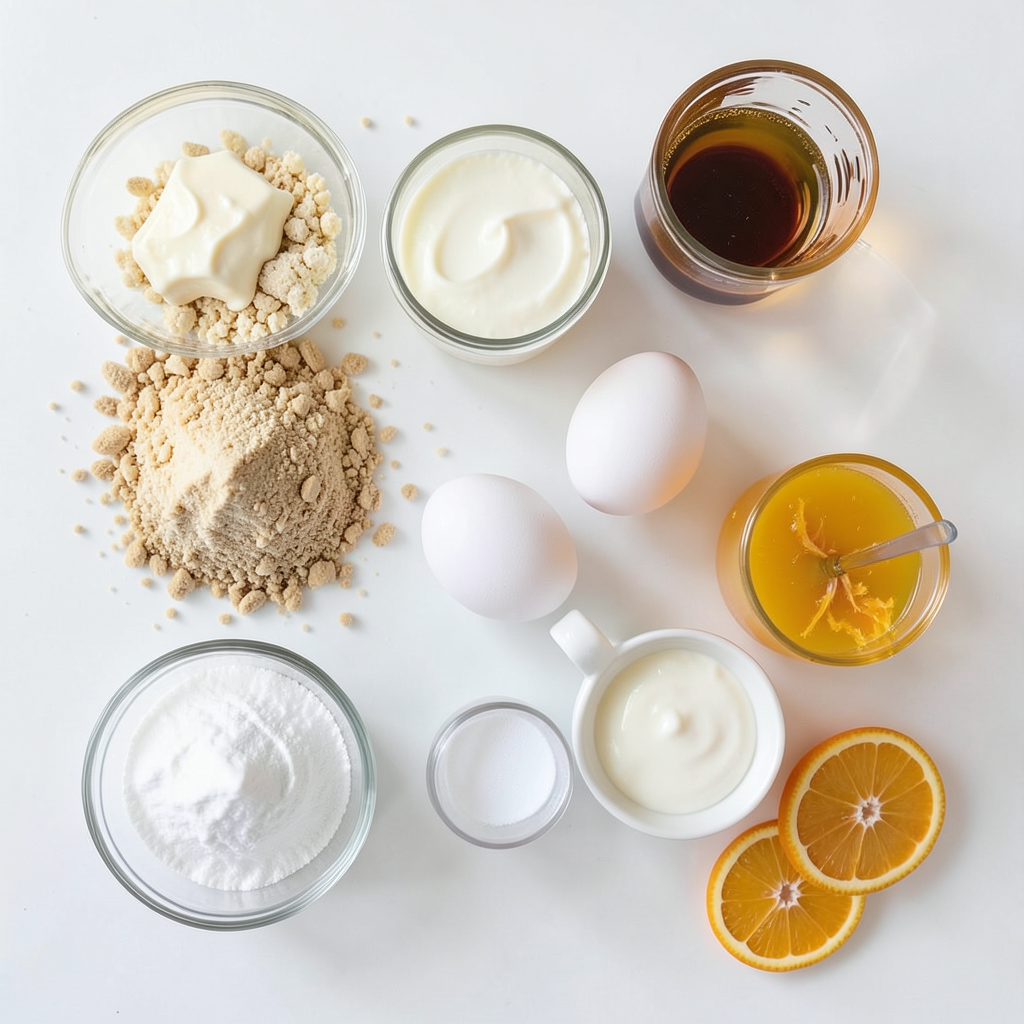
To make Orange Creamsicle Cheesecake Bars, gather these ingredients. The crust has graham crackers, melted butter, and sugar. The filling needs cream cheese, sugar, eggs, vanilla, orange juice, and zest. For the topping, we whip heavy cream with powdered sugar. You can add orange slices on top for a nice look.
These ingredients come together to create a smooth, creamy cheesecake. The bright orange flavor makes each bite a delight. Don't skip any items; each one plays a key role. Enjoy the process as you mix and bake!
Step-by-Step Instructions
Preparing the Crust
1. Preheat your oven to 325°F (163°C). This helps the crust bake evenly.
2. In a medium bowl, mix the graham cracker crumbs, melted butter, and 2 tablespoons of sugar. Stir until the crumbs are fully coated.
3. Press this mixture firmly into the bottom of your lined baking dish. Make sure it forms an even layer.
4. Bake the crust for 8-10 minutes. It should be slightly golden when done. Let it cool completely.
Making the Cheesecake Filling
1. In a large mixing bowl, beat the softened cream cheese with an electric mixer. Mix on medium speed for about 2-3 minutes until it's smooth and creamy.
2. Add in 1 cup of granulated sugar, eggs one at a time, vanilla extract, orange juice, and orange zest. Mix until everything is fully combined and smooth.
3. Pour the cheesecake filling over the cooled crust. Use a spatula to spread it evenly across the crust.
Baking and Cooling
1. Bake the cheesecake in the oven for 25-30 minutes. The edges should be set, but the middle can still jiggle a bit.
2. Turn off the oven and crack the door open. Let the bars cool slowly for about 1 hour.
3. After an hour, refrigerate the cheesecake bars for at least 4 hours. Chilling overnight is best for great results.
Tips & Tricks
Achieving the Perfect Cheesecake Bars
- Ensuring smooth cheesecake filling: Start with room temperature cream cheese. This helps mix better. Beat it well until creamy and without lumps. A smooth filling makes for a great texture.
- Avoiding cracks during baking: Don’t overbake the cheesecake. Look for edges that set but the middle should jiggle a bit. Also, leave the oven door slightly open after baking. This helps the bars cool slowly.
- Importance of chilling time: Chilling the bars is key. Let them cool in the fridge for at least four hours. Overnight is even better. This helps the flavors meld and the bars firm up.
Tools and Equipment
- Recommended kitchen tools: Use a large mixing bowl and electric mixer for the filling. A spatula helps spread the filling evenly. A sharp knife is best for cutting the bars after chilling.
- Using parchment paper effectively: Line your baking dish with parchment paper. Leave some paper hanging over the sides. This makes it easy to lift the bars out when they are done.
Pro Tips
- Use Fresh Oranges: For the best flavor, use fresh oranges for juice and zest instead of bottled ones. Fresh oranges enhance the taste and aroma of your cheesecake bars.
- Chill Overnight: For a firmer texture and improved flavor, let the cheesecake bars chill overnight. This allows the flavors to meld and results in a more satisfying bite.
- Prevent Cracking: To prevent cracks in your cheesecake, bake it in a water bath. Place the baking dish in a larger pan filled with hot water during baking for a gentle, even heat.
- Perfect Whipped Cream: Ensure your heavy cream is very cold before whipping for the best volume. Use a chilled bowl and beaters for even better results!
Variations
Flavor Adjustments
You can change the flavor of these bars easily. Try adding different citrus juices like lemon or lime. This will give your cheesecake a tangy twist. You can also mix in chocolate. Adding chocolate chips or a chocolate drizzle works well. This adds a rich layer of flavor.
If you want to swap toppings, use your favorite cream instead of whipped cream. Try mascarpone or even coconut cream for a unique taste. Each of these changes will create a new twist on your Orange Creamsicle Cheesecake Bars.
Dietary Modifications
If you're looking for gluten-free options, use gluten-free graham crackers for the crust. There are many brands available now. They still taste great and keep the bars together nicely.
For vegan options, substitute cream cheese with a plant-based version. There are many good brands on the market now. You can also use coconut cream instead of heavy cream. This keeps the bars creamy while making them dairy-free. These simple swaps allow everyone to enjoy this treat.
Storage Info
Best Practices for Storing
To keep your orange creamsicle cheesecake bars fresh, store them properly.
- Storing in the refrigerator: Place the cheesecake bars in an airtight container. This helps prevent them from absorbing other smells in the fridge. They stay fresh for up to five days when stored this way.
- Freezing options and methods: You can freeze these bars for longer storage. Cut them into squares and wrap each piece tightly in plastic wrap. Then, place wrapped bars in a freezer-safe bag or container. They can last up to three months in the freezer. When ready to eat, thaw them in the refrigerator overnight.
Shelf Life
Knowing how long your dessert lasts helps reduce waste.
- Duration of freshness in the fridge: If stored correctly, your cheesecake bars can stay fresh for about five days. After that, they may lose flavor and texture.
- How to tell if the dessert has gone bad: Check for any off-smells or changes in color. If the texture becomes slimy or watery, it’s best to throw it away. Always trust your senses to assess freshness!
FAQs
Common Questions
Can I make these bars ahead of time? Yes, you can make these bars one day in advance. After baking and cooling, chill them overnight in the fridge. This helps the flavors blend.
What can I substitute for cream cheese? If you need a substitute, use Greek yogurt or vegan cream cheese. This gives a similar texture.
How do I fix a cheesecake that cracks? To avoid cracks, do not overbake. A slight jiggle in the center is good. Also, let it cool slowly in the oven.
Serving Suggestions
Ideal serving temperature Serve the cheesecake bars cold. They taste best when chilled for several hours.
Drink pairings for cheesecake bars Pair these bars with a cold glass of milk or iced tea. Sparkling water also adds a nice touch.
Ingredient Substitutions
Alternatives for graham cracker crumbs You can use crushed cookies like Oreos or vanilla wafers. They offer a tasty crust.
Substituting fresh orange juice If you don't have fresh juice, bottled orange juice works too. Just make sure it’s 100% juice for the best flavor.
We covered how to make delicious cheesecake bars, from the crust to storage. You learned about ingredients, tips for success, and fun variations. Remember, smooth filling and proper cooling make all the difference. Use the right tools for best results. Explore flavor twists or dietary changes to make these bars your own. Follow the storage tips to keep them fresh longer. Enjoy making these tasty treats, and impress your friends and family!