Looking for a sweet treat that’s easy to make? You’ve found it! These Chocolate Chip Peanut Butter Oat Bars are a simple way to enjoy a tasty snack. With just a few ingredients and simple steps, you can whip up these chewy bars in no time. Perfect for lunches or a quick bite, they combine the rich flavors of peanut butter and chocolate. Let’s dive into the ingredients and get started!
Ingredients
Full List of Ingredients
– 1 cup rolled oats
– 1/2 cup peanut butter (creamy or crunchy)
– 1/4 cup honey or maple syrup
– 1/2 cup brown sugar
– 1 teaspoon vanilla extract
– 1/2 teaspoon baking powder
– 1/4 teaspoon salt
– 1/2 cup chocolate chips (semi-sweet or dark)
– 1/4 cup chopped nuts (optional)
Each ingredient here plays a key role in making these bars tasty. The rolled oats add fiber and chewiness. Peanut butter gives rich flavor and protein. Use honey or maple syrup for natural sweetness. Brown sugar deepens the taste and adds moisture. A dash of vanilla extract lifts the flavors. Baking powder helps the bars rise slightly. Salt balances sweet notes and enhances taste. Chocolate chips bring joy with every bite. If you want crunch, toss in some chopped nuts.
This blend of ingredients creates a delicious treat. Each bite satisfies your sweet tooth and keeps you full. You can easily adjust these ingredients to fit your taste. For example, try almond butter instead of peanut butter. Experiment with dark chocolate or white chocolate chips too. The options are endless!
Step-by-Step Instructions
Preparation and Preheating
– Preheat your oven to 350°F (175°C).
– Line an 8×8-inch baking pan with parchment paper. Leave some paper over the edges. This helps lift the bars out later.
Mixing Dry Ingredients
– In a large bowl, combine 1 cup of rolled oats, 1/2 teaspoon of baking powder, and 1/4 teaspoon of salt.
– Stir well to mix everything evenly.
Mixing Wet Ingredients
– In another bowl, blend together 1/2 cup of peanut butter, 1/4 cup of honey or maple syrup, 1/2 cup of brown sugar, and 1 teaspoon of vanilla extract.
– Mix until it’s smooth and creamy.
Combining Ingredients
– Pour the wet mixture into the bowl with the dry ingredients.
– Stir until everything is well combined.
– If you want to add nuts, fold in 1/4 cup of chopped nuts now.
– Gently fold in 1/2 cup of chocolate chips until well mixed.
Baking Process
– Spread the mixture into the prepared baking pan. Press it down evenly.
– Bake for 20-25 minutes. The edges should be golden brown, and the center should feel firm.
– After baking, let the bars cool completely in the pan on a wire rack.
– Once cool, lift the bars out using the parchment paper and cut them into squares.
Tips & Tricks
Perfecting Texture
To get the right texture, you need to choose your baking time wisely. Bake these bars for 20 minutes if you want them chewy. For a crunchier bar, add a few extra minutes. Keep an eye on the edges. They should turn golden brown for the best results. Let them cool completely before cutting. This helps set the bars and gives you neat squares.
Storing the Bars
Storing your bars properly keeps them fresh. Place them in an airtight container. They can last up to one week at room temperature. If you want to keep them longer, put them in the fridge. They can stay good for up to two weeks there. Just remember to let them come to room temperature before enjoying!
Presentation Suggestions
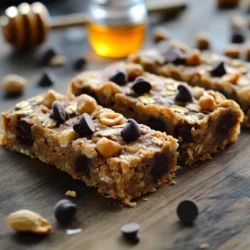
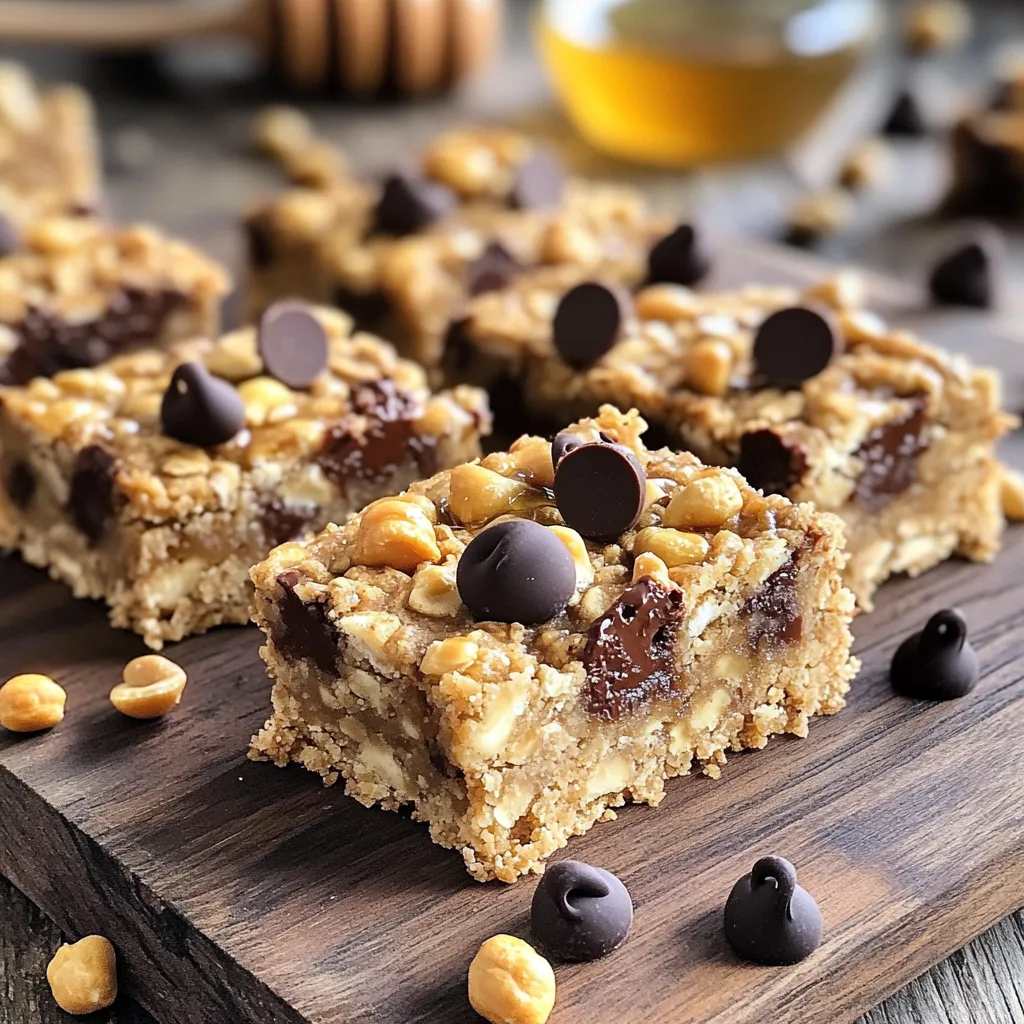
Serving matters! A wooden cutting board works great. Place the bars on it, and sprinkle extra chocolate chips and nuts around. For a rustic touch, wrap each bar in parchment. Tie it with twine for a lovely gift. This makes the bars look appealing and fun to eat!
Variations
Flavor Variations
You can switch up the nut butter for a new taste. Almond or cashew butter works great. Each gives a unique twist to the bars. You can also try different types of chocolate. White chocolate adds a sweet creaminess, while milk chocolate makes it rich and smooth. Experiment with your favorite flavors to keep things fun!
Dietary Modifications
If you need gluten-free options, use gluten-free oats. This simple swap keeps the bars safe for those with gluten issues. You can also make these bars vegan. Instead of honey, use maple syrup. This keeps the bars sweet and plant-based. You can enjoy these bars no matter your diet!
Storage Info
How to Store
You can store your Chocolate Chip Peanut Butter Oat Bars in two ways: in the pantry or the fridge. If you keep them in the pantry, place them in an airtight container. They will stay fresh for up to five days. If you prefer a longer shelf life, the fridge is the way to go. In the fridge, the bars can last up to two weeks. Just make sure to wrap them well to avoid drying out.
Freezing Instructions
Freezing is a great option if you want to keep these bars for longer. Cut the bars into squares before freezing. Wrap each square in plastic wrap, then place them in a freezer bag. They can last for up to three months in the freezer. When you want to enjoy a bar, simply take it out and let it thaw at room temperature. This method helps maintain their yummy taste and texture.
FAQs
Can I make these bars vegan?
Yes, you can make these bars vegan. To replace honey, use maple syrup. For eggs, you don’t need them in this recipe, so you are good to go! Just stick with the other ingredients.
How long do the bars last?
These bars last about one week at room temperature. Store them in an airtight container. If they start to smell bad or feel sticky, it’s time to toss them.
Can I use quick oats instead of rolled oats?
You can use quick oats, but the bars may be softer. Rolled oats give a chewier texture. If you want that chewiness, stick with rolled oats for the best result.
Now you know how to make tasty bars with simple ingredients. Follow clear steps to mix and bake them. Remember, you can change flavors and make them fit your diet. Store your bars well for the best taste. Enjoy sharing your homemade treats with friends and family. Experiment and find your favorite mix, whether chewy or crunchy. Happy baking!