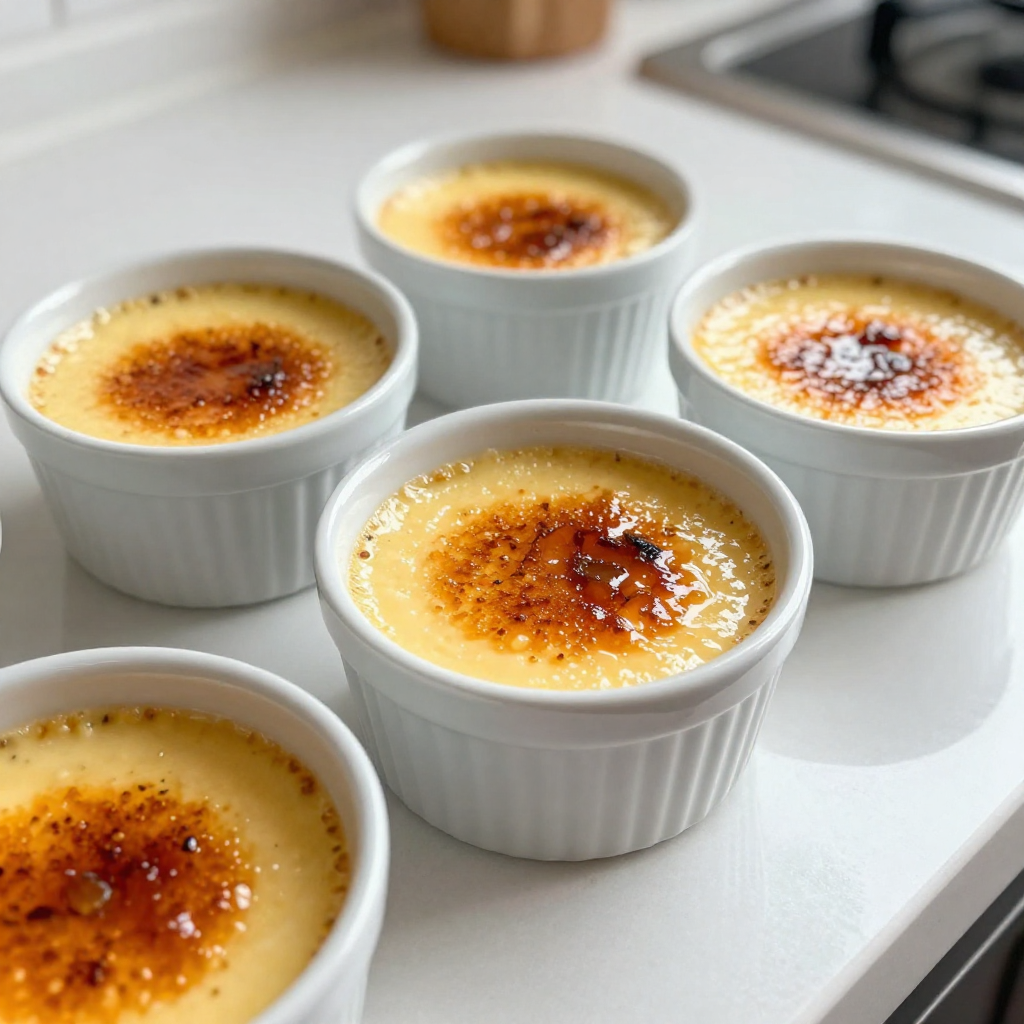
Get ready to impress your friends with a stunning Vanilla Bean Crème Brûlée! This rich and creamy dessert is a classic, showcasing the delicate flavor of vanilla beans. I’ll guide you through each easy step, from prepping your ingredients to achieving that perfect caramelized top. Whether you're hosting a dinner party or treating yourself, this divine recipe will make you the star of the kitchen! Let's dive in!
Why I Love This Recipe
- Decadent Flavor: This crème brûlée is rich and creamy, with a deep vanilla flavor that is simply irresistible.
- Elegant Presentation: The caramelized sugar topping adds a beautiful contrast to the smooth custard, making it perfect for special occasions.
- Customizable: You can experiment with different flavors, such as adding citrus zest or coffee for a unique twist on the classic recipe.
- Impressive Yet Simple: Despite its fancy reputation, this recipe is straightforward and can be made with just a few ingredients.
Ingredients
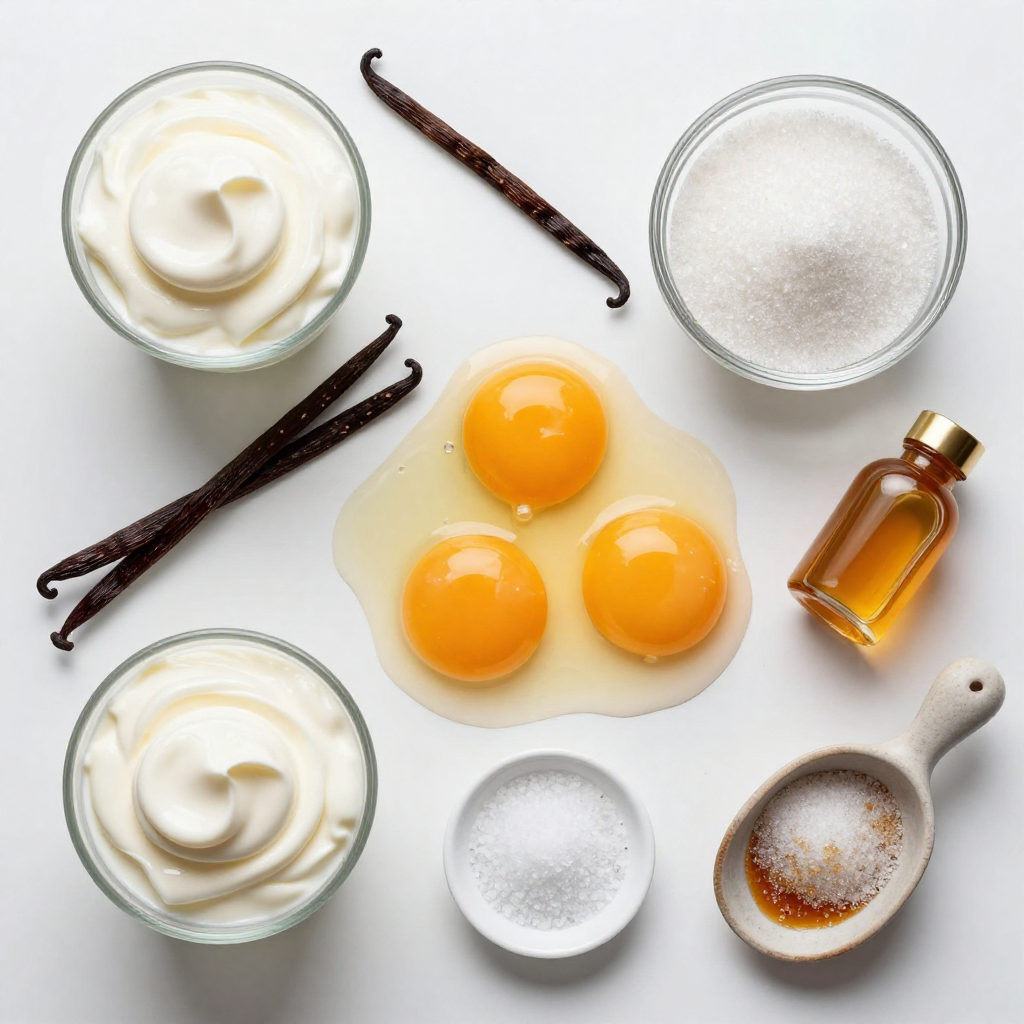
To make a perfect Vanilla Bean Crème Brûlée, you need just a few simple ingredients. Here’s what you will need:
- 2 cups heavy cream
- 1 vanilla bean (split and scraped)
- 4 large egg yolks
- 1/2 cup granulated sugar (divided into 1/3 cup and 1/4 cup)
- 1 teaspoon pure vanilla extract
- Pinch of salt
- Extra granulated sugar for caramelizing
Each ingredient plays an important role in this rich and creamy dessert. The heavy cream gives a smooth texture. The vanilla bean adds deep flavor. Egg yolks provide the custard’s richness. Granulated sugar sweetens the mix. The pure vanilla extract enhances the taste even more. A pinch of salt balances the flavors, while the extra sugar will create that perfect crispy top.
When you gather your ingredients, choose high-quality items. Fresh vanilla beans will make a big difference. Always measure carefully for the best results. Now you’re ready to create this divine treat!
Step-by-Step Instructions
Preparation of the Custard
1. Preheating the oven: Start by turning your oven to 325°F (160°C). This is important for even baking.
2. Heating the cream with vanilla: In a saucepan, mix 2 cups of heavy cream, the seeds from one split vanilla bean, and the bean itself. Heat it over medium heat. Stir until it almost simmers. Remove it from the heat. Let it sit for 15 minutes. This helps the vanilla flavor grow.
3. Whisking egg yolks and sugar: Take a large bowl. Whisk 4 large egg yolks and 1/3 cup of sugar together. Add 1 teaspoon of pure vanilla extract and a pinch of salt. Keep whisking until the mix turns light and pale.
Combining the Mixtures
1. Gradually adding cream to egg yolks: Remove the split vanilla bean from the cream mix. Slowly pour the warm cream into the egg yolk mix while whisking. This helps prevent the eggs from cooking.
2. Straining the custard mixture: Pour the mix through a fine-mesh sieve into another bowl. This removes any lumps or cooked egg bits. The custard should be smooth.
Baking Process
1. Dividing custard into ramekins: Pour the custard mixture evenly into your ramekins. You should have about 5-6, depending on their size.
2. Setting up the water bath: Place the ramekins in a baking dish. Carefully fill the dish with hot water until it reaches halfway up the sides of the ramekins. This water bath helps them bake gently.
3. Baking time and checking doneness: Bake the custards in the oven for 30-35 minutes. They should be set around the edges but still jiggly in the center. This is how you know they are done.
Tips & Tricks
Achieving the Perfect Texture
To get a smooth and creamy texture, always use a water bath. This method helps cook the custard evenly. The water keeps the heat gentle, which prevents the eggs from scrambling.
When whisking egg yolks, make sure to mix them well with sugar. Whisk until the mixture is light and pale. This step adds air, which helps create a light texture in your dessert.
Caramelizing the Sugar
For the best topping, use fine granulated sugar. It melts quickly and creates a nice crust. Sprinkle a thin layer over the custard, ensuring an even coat.
You can caramelize sugar with a kitchen torch or under the broiler. A kitchen torch gives you more control. If using the broiler, watch closely to avoid burning the sugar.
Common Mistakes to Avoid
One mistake is overheating the cream. Heat it just until it simmers. If it boils, it may curdle when mixed with eggs.
Another mistake is not chilling long enough. Chill the custard for at least two hours. This step helps the texture set perfectly and enhances the flavor.
Pro Tips
- Use Fresh Vanilla Beans: For the best flavor, opt for fresh vanilla beans instead of extract. They provide a richer taste and aroma to your crème brûlée.
- Prevent Egg Curdling: Always temper the eggs by gradually adding the warm cream mixture while whisking continuously. This helps to prevent curdling and ensures a smooth custard.
- Chill Thoroughly: Allow the custards to chill in the refrigerator for at least 2 hours, or even overnight, for the best texture and flavor development.
Variations
Flavor Infusions
You can add fun flavors to your crème brûlée. Try adding citrus like lemon or orange. Just a bit of zest goes a long way. You can also mix in chocolate for a rich twist. Use dark or milk chocolate, depending on your taste. If you want to use different extracts, almond and hazelnut work well too. Just remember to keep the amount small. A little flavor can change the whole dessert.
Alternative Sweeteners
If you want to switch up the sweetness, consider honey or maple syrup. They add unique flavors. Use them in place of granulated sugar. This may change the sweetness level, so taste it before baking. You might need to adjust the cooking time too. Check for doneness by looking for a slight jiggle in the center. Each sweetener can give you a new experience.
Presentation Ideas
How you serve your crème brûlée can impress your guests. You can top it with fresh fruits like berries or sliced peaches. They add color and freshness. Another option is to drizzle sauces like raspberry or chocolate. Get creative with your ramekins, too! Use different shapes or colors. This adds a fun touch to your table. The right presentation makes each bite feel special.
Storage Info
How to Store Crème Brûlée
To keep crème brûlée fresh, store it in the fridge. Cover each ramekin with plastic wrap. This keeps the custard from absorbing any smells from the fridge. Crème brûlée lasts about 2 to 3 days when stored properly. The sugar topping should be added just before serving to keep it crispy.
Freezing Crème Brûlée
Freezing is not the best option for crème brûlée. If you must freeze it, do so without the sugar topping. Wrap each ramekin tightly in plastic wrap and then place them in a freezer bag. When you are ready to eat it, thaw it in the fridge overnight.
However, freezing can change the texture. The custard may become grainy after thawing. For the best taste and texture, I recommend enjoying your crème brûlée fresh.
FAQs
What is Crème Brûlée?
Crème brûlée is a rich and creamy dessert. It has a smooth custard base topped with a hard layer of caramelized sugar. This dessert dates back to the 17th century in France. The name means "burnt cream" in French. The heat from a kitchen torch or broiler caramelizes the sugar on top. This creates a crunchy, sweet crust that contrasts with the soft custard below.
Can I make Crème Brûlée ahead of time?
Yes, you can make crème brûlée in advance. After baking the custard, let it cool to room temperature. Then, cover each ramekin with plastic wrap. Store it in the fridge for up to two days. Just caramelize the sugar right before serving. This keeps the sugar crispy and fresh.
Why did my sugar not caramelize?
If your sugar does not caramelize, it might be too thick. You need a thin layer of sugar for even burning. Also, your torch may not be hot enough. Move the flame evenly over the sugar to avoid burning. If you use the broiler, keep a close watch. The sugar can burn quickly under high heat. Adjust your technique, and you will get that perfect crispy topping.
You now know how to make the perfect crème brûlée. We covered the key ingredients and step-by-step instructions. We discussed tips for texture, caramelizing sugar, and common mistakes to avoid. You also learned about flavor variations and storage methods. Remember, practice makes perfect. With these guidelines, you can create a dessert that impresses everyone. Enjoy your delicious creation, and don't hesitate to experiment with flavors and toppings. Your kitchen will become a haven for delightful treats!
.png)


