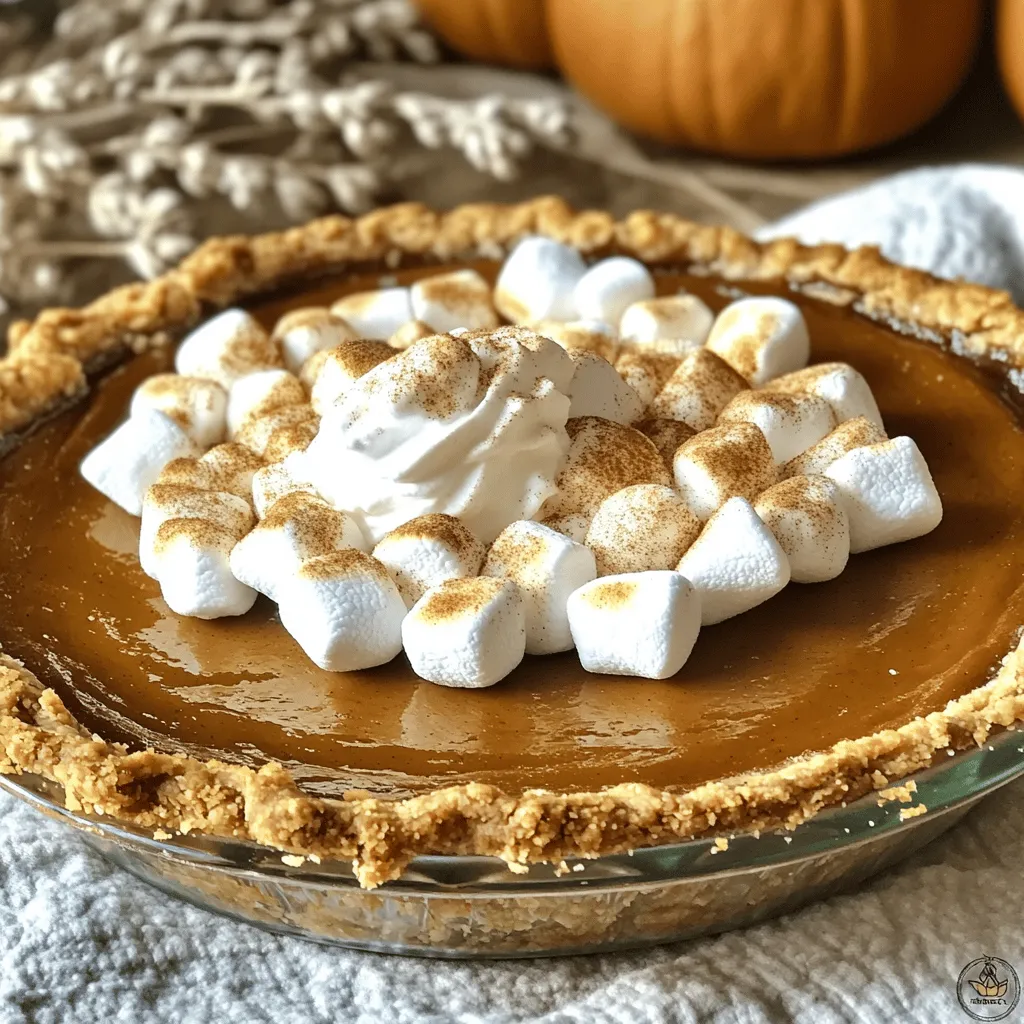
Are you ready to take your fall dessert game to the next level? This Toasted Marshmallow Pumpkin Pie is your new go-to treat. With a creamy pumpkin filling and a sweet, toasted marshmallow topping, it combines classic flavors in a fun way. You’ll impress friends and family while creating a dessert that tastes like a cozy hug! Let’s dive into the delicious details.
Why I Love This Recipe
- Unique Flavor Combination: The rich pumpkin and warm spices blend perfectly with the toasted marshmallows for a delightful twist on traditional pumpkin pie.
- Easy to Make: With a pre-made crust and simple ingredients, this recipe comes together quickly, making it perfect for any occasion.
- Impressive Presentation: The golden-brown marshmallows on top create an eye-catching dessert that will wow your guests.
- Comforting Dessert: This pie brings the cozy flavors of fall to your table, making it a comforting choice for gatherings and celebrations.
Ingredients
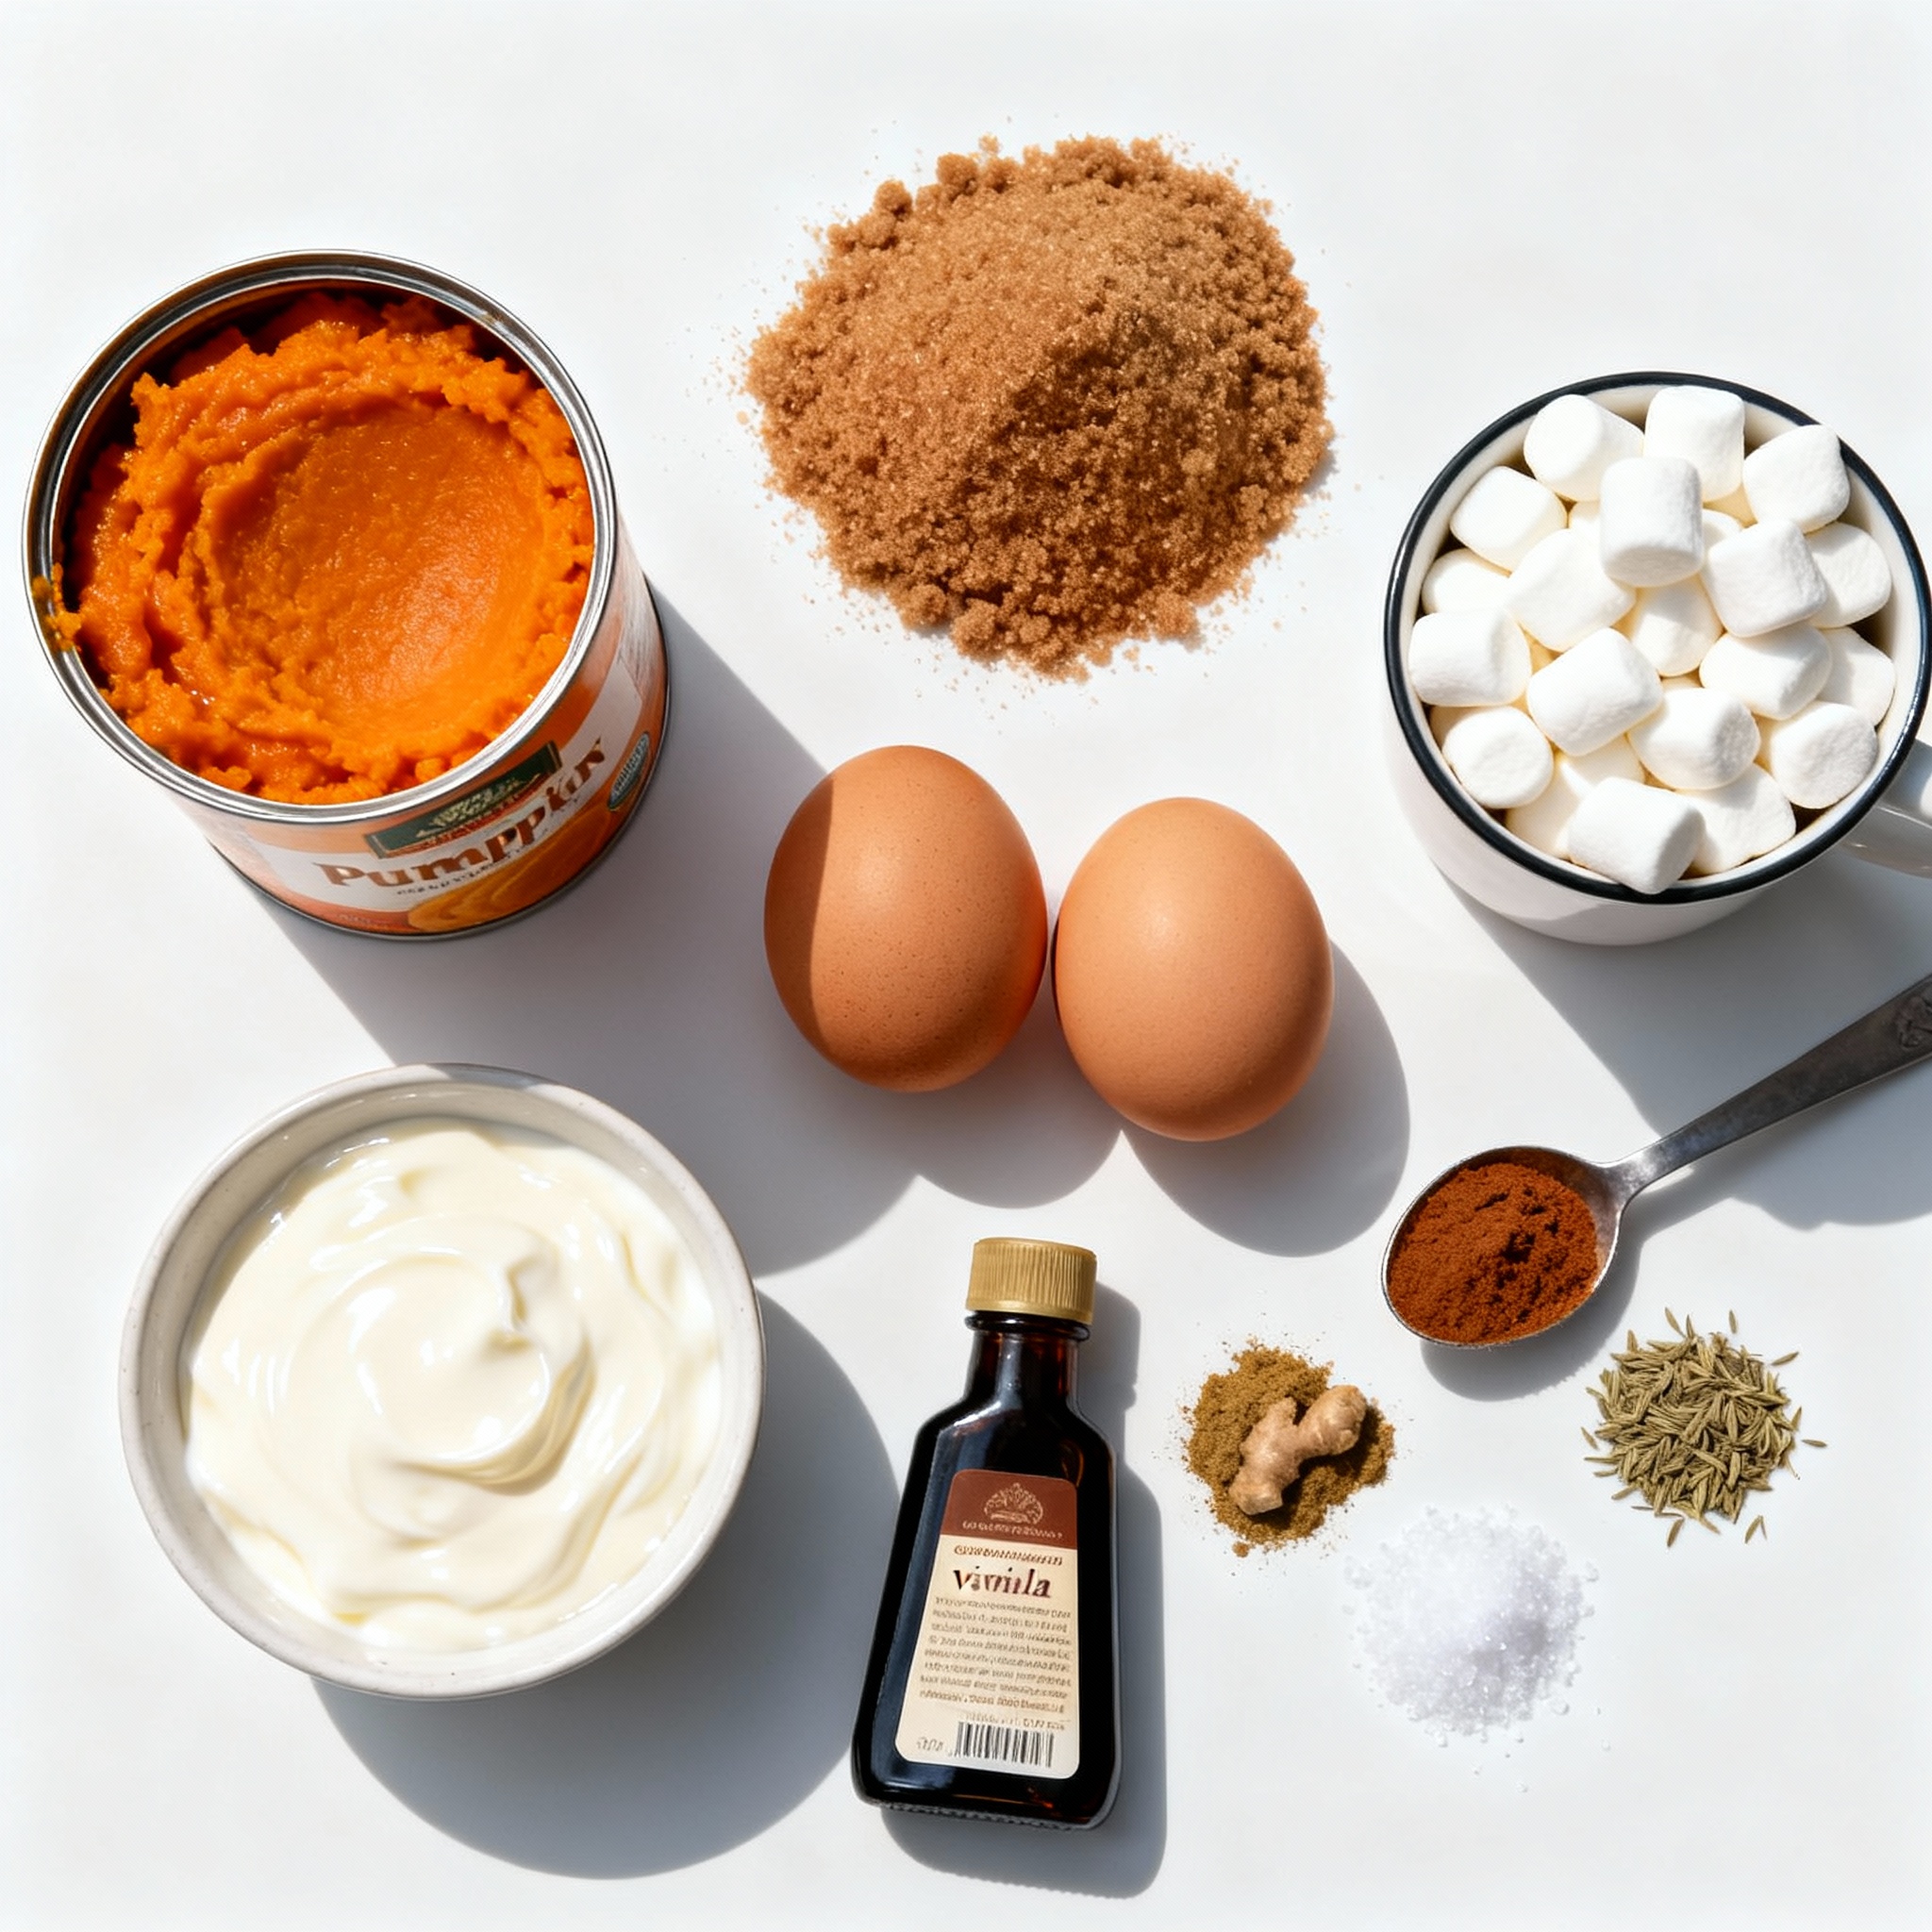
To make a toasted marshmallow pumpkin pie, you need a few simple ingredients. Each one adds flavor and texture, making this dessert a true delight. Here is the list of what you will need:
– 1 pre-made pie crust (9-inch)
– 1 can (15 oz) pumpkin puree
– 3/4 cup brown sugar
– 1/2 cup heavy cream
– 2 large eggs
– 1 teaspoon vanilla extract
– 1 teaspoon ground cinnamon
– 1/2 teaspoon ground nutmeg
– 1/4 teaspoon ground ginger
– 1/4 teaspoon salt
– 1 cup mini marshmallows
These ingredients come together to create a creamy pumpkin filling with a sweet, toasted marshmallow topping. The pie crust provides a crunchy base that holds everything together. Each bite mixes warm spices with the rich pumpkin flavor.
Step-by-Step Instructions
Prepping the Oven and Pie Crust
First, preheat your oven to 425°F (220°C). This high heat will help set the pie crust. Grab your pre-made pie crust and place it in a 9-inch pie dish. Make sure it fits snugly. You can poke a few holes in the bottom with a fork. This step helps prevent the crust from puffing up while baking.
Mixing the Pumpkin Filling
In a large bowl, combine the pumpkin puree, brown sugar, heavy cream, and eggs. Add the vanilla extract and mix well. You want everything to blend smoothly. Next, add the ground cinnamon, nutmeg, ginger, and salt. Whisk until the mixture is creamy and free of lumps. This blend is where the magic happens. It gives the pie its rich, warm flavor.
Baking the Pie
Pour the pumpkin filling into the prepared pie crust. Spread it evenly with a spatula. Now, bake the pie in your preheated oven for 15 minutes. After that, lower the heat to 350°F (175°C). Bake for another 30 minutes. Check if it’s done by inserting a toothpick into the center. If it comes out clean, it’s ready!
– Cooling and Toasting Marshmallows
Once the pie is baked, take it out and let it cool on a wire rack for about 30 minutes. While it cools, preheat your broiler on high. When the pie is cool, spread the mini marshmallows over the top. Place it under the broiler for 1-2 minutes. Watch it closely! You want the marshmallows to toast to a golden brown. Be careful not to burn them! After toasting, let the pie cool slightly before slicing. Enjoy every delicious bite of your toasted marshmallow pumpkin pie!
Pro Tips
- Use Fresh Spices: Freshly ground spices can significantly enhance the flavor profile of your pumpkin pie, making it more aromatic and delicious.
- Cool Before Topping: Allow the pie to cool completely before adding marshmallows to ensure they adhere better and don’t melt into the filling.
- Watch the Broiler: Keep a close eye on the marshmallows while broiling, as they can go from perfectly toasted to burnt in seconds.
- Serving Suggestion: Serve the pie with a dollop of whipped cream and a sprinkle of cinnamon for a delightful visual and flavor enhancement.
Tips & Tricks
Achieving the Perfect Toasted Marshmallow Topping
To get that perfect toasted marshmallow topping, watch the broiler closely. Place the pie under the broiler for just 1-2 minutes. The marshmallows can go from golden brown to burnt in seconds. Keep the oven door slightly ajar. This lets you see the marshmallows as they toast. Use a spatula to spread them evenly before broiling. You want a nice, even layer for great taste and looks.
Ensuring a Smooth Pumpkin Filling
To ensure a smooth pumpkin filling, mix all your ingredients well. Use a whisk or an electric mixer for a nice texture. Make sure the pumpkin puree is free of lumps. If you find lumps, you can sift the mixture through a fine mesh strainer. This step is key for a creamy pie. Let the filling sit for a few minutes before pouring it into the crust. This helps the flavors blend better.
Presentation Tips
When serving, slice the pie with a sharp knife for clean pieces. Each slice should look appealing. Add a dollop of whipped cream on top of each slice. This makes it look fancy and adds a nice creaminess. A sprinkle of cinnamon on the whipped cream adds flavor and style.
– Serving Suggestions: Pair each slice with a warm beverage like chai or coffee. This enhances the pie’s warm flavors. The contrast of hot drinks and cold pie is delightful. For extra fun, consider serving with some chocolate shavings or caramel sauce for a gourmet touch.
Variations
Alternative Sweeteners and Flavorings
You can switch the brown sugar for maple syrup or honey. These options add a unique twist. For a fun flavor, try using a bit of molasses. It gives a rich taste that pairs well with pumpkin. You can also add spices like allspice or cloves for depth. A dash of orange zest can brighten the filling, too.
Gluten-Free Pie Crust Options
If you need a gluten-free pie crust, many stores sell ready-made options. Look for brands that use almond or rice flour. You can also make your own. A mix of almond flour and coconut flour works well. Just combine them with some butter and a bit of water. Press the mix into your pie dish and bake it briefly before adding your filling.
Adding Other Toppings
You can get creative with toppings! Instead of mini marshmallows, try crushed graham crackers for a s’mores vibe. Chopped nuts can add crunch and flavor. For a seasonal touch, sprinkle pomegranate seeds on top for color. Drizzling caramel sauce adds sweetness and makes your pie look fancy.
– Seasonal Variations for Holidays
For Thanksgiving or Halloween, you can add festive touches. Use ghost-shaped marshmallows for a spooky look. At Christmas, sprinkle crushed peppermint candies for a minty twist. Each season brings a chance to play with flavors. Use your imagination and have fun with it!
Storage Info
How to Store Leftover Pie
After enjoying your toasted marshmallow pumpkin pie, you may have some left. To keep it fresh, cover the pie tightly with plastic wrap or foil. You can also place it in an airtight container. Store it in the fridge. This way, it stays cool and safe to eat for up to four days.
Freezing Instructions
If you want to save some pie for later, freezing works well. First, let the pie cool completely. Then, wrap it in plastic wrap. After that, wrap it again in foil. This double wrapping stops freezer burn. The pie can last up to three months in the freezer. When you’re ready to eat it, just thaw it overnight in the fridge.
Reheating Tips
To reheat your pie, preheat your oven to 350°F (175°C). Remove the plastic wrap but keep the foil on. Bake for 15-20 minutes. This warms the pie without overcooking it. If the marshmallows look a bit sad, you can re-toast them. Just place the pie under the broiler for 1-2 minutes. Watch closely to avoid burning them.
– Best Practices for Freshness:
– Store leftovers in the fridge for up to four days.
– Freeze for longer storage, up to three months.
– Reheat gently to keep the pie fresh and tasty.
Following these steps keeps your toasted marshmallow pumpkin pie just as delicious as the first day.
FAQs
What can I substitute for heavy cream?
You can use whole milk mixed with melted butter. Use 1/4 cup of butter with 3/4 cup of whole milk. This mix works well for the pie filling. You can also use coconut cream for a dairy-free option. Both will add creaminess to your filling.
Can I make this pie ahead of time?
Yes, you can make this pie a day before. Just bake it and let it cool. Store it in the fridge. Toast the marshmallows right before serving for the best taste. This way, you save time on the day you serve it.
How do I prevent a soggy crust?
To avoid a soggy crust, bake the crust first. Pre-bake it for 10 minutes before adding the filling. This helps set the crust and keeps it crisp. Another tip is to brush the crust with a beaten egg before baking. This creates a barrier against moisture from the filling.
– Is it okay to use fresh pumpkin instead of canned?
Yes, you can use fresh pumpkin. First, roast the pumpkin until soft, then puree it. Make sure to drain any excess water. Fresh pumpkin adds a rich flavor that many enjoy. Just keep in mind that it may take more time than using canned pumpkin.
This blog post covered how to make a delicious pumpkin pie with toasted marshmallows. We explored each ingredient and its role in the pie. You learned how to achieve a smooth filling and a perfect topping. Plus, we discussed tips for presentation and variations to suit your taste.
In closing, making this pie is fun and satisfying. Enjoy every slice and share it with others! Cooking can bring joy, so keep experimenting with flavors and techniques.
.png)


