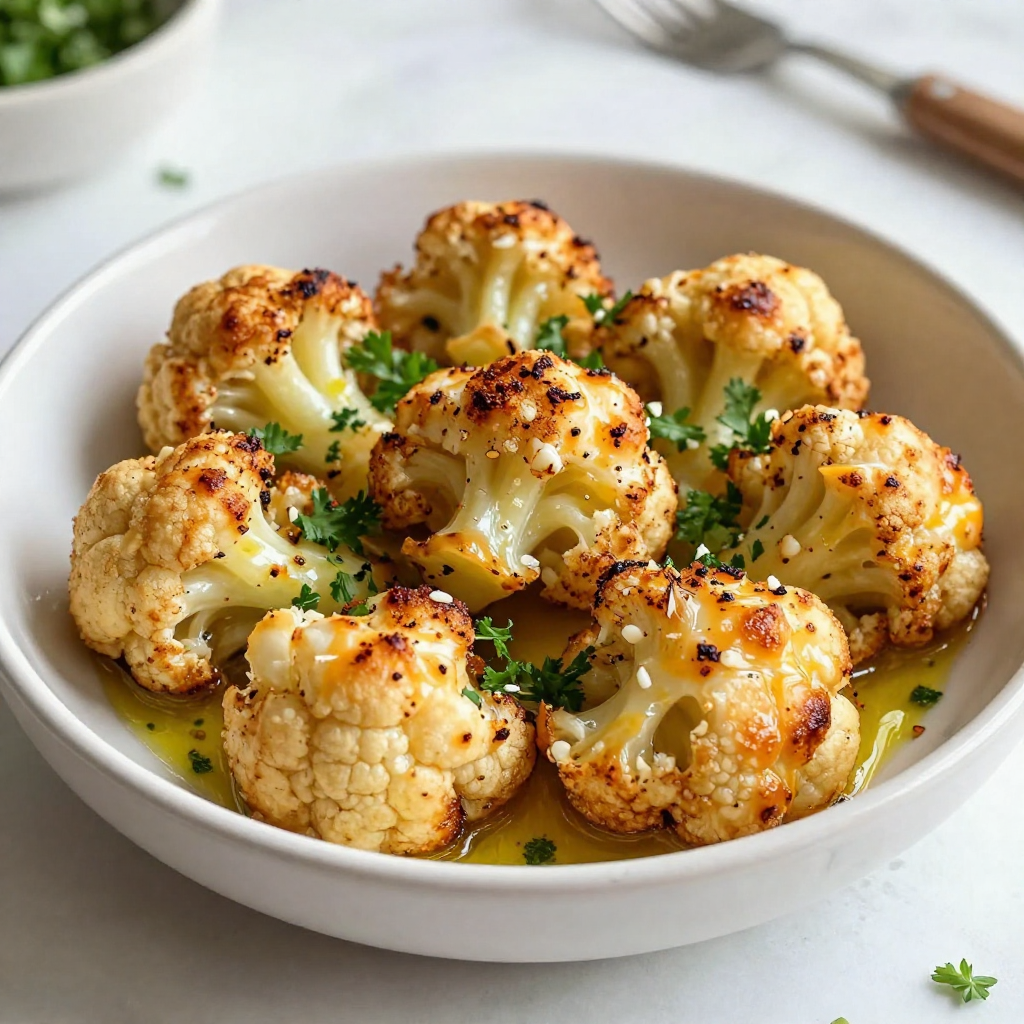
Are you ready to transform your meals with a delicious, healthy side? Roasted Garlic Parmesan Cauliflower is here to delight your taste buds! This simple dish combines the nutty flavor of roasted cauliflower with rich Parmesan and aromatic garlic. It’s great for any occasion, whether as a snack or alongside your favorite main course. Join me as we explore the easy steps to create this tasty recipe that everyone will love!
Why I Love This Recipe
- Delicious Flavor Combination: The roasted garlic and Parmesan create a rich, savory taste that elevates the humble cauliflower to a whole new level.
- Healthy Side Dish: This recipe is packed with nutrients and is a great low-carb alternative to traditional starchy sides.
- Easy to Prepare: With just a few simple steps, you can have a delicious dish ready in under 35 minutes, perfect for busy weeknights.
- Customizable Recipe: You can easily adjust the spices and cheese to suit your taste preferences, making it a versatile addition to any meal.
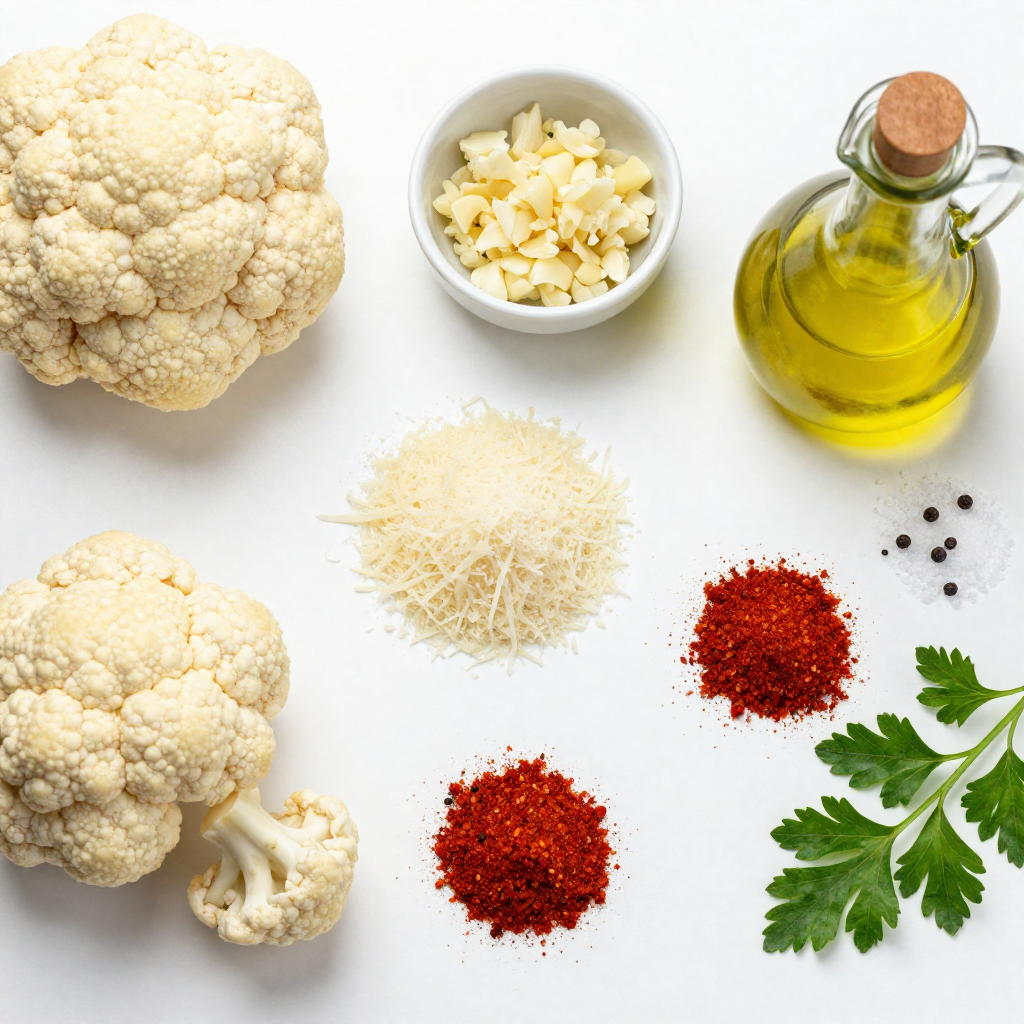
Ingredients
Detailed ingredients list
- Cauliflower florets
- Olive oil
- Minced garlic
- Grated Parmesan cheese
- Smoked paprika
- Salt and pepper
- Fresh parsley for garnish
Let’s dive right into the ingredients for my roasted garlic Parmesan cauliflower. This dish is full of flavor and super easy to make.
First, you need one large head of cauliflower. Cut it into florets. This gives you nice bite-sized pieces for roasting.
Next, grab four tablespoons of olive oil. This oil helps the cauliflower get crispy and adds great taste.
Now, take five cloves of garlic and mince them. Garlic gives this dish its bold flavor. You can use more or less, depending on your taste.
You'll also need a half cup of grated Parmesan cheese. This cheese melts beautifully and adds a savory kick.
Don’t forget one teaspoon of smoked paprika. It gives depth and a slight smokiness that pairs well with the other ingredients.
Lastly, add salt and pepper to taste. These simple seasonings enhance all the flavors of the dish.
For a fresh touch, use chopped parsley for garnish. It adds color and a hint of freshness when serving.
With just these ingredients, you can create a flavorful dish that impresses everyone at your table.
Step-by-Step Instructions
Preparation steps
1. Preheat the oven
Start by preheating your oven to 425°F (220°C). This hot temperature helps the cauliflower roast well.
2. Combine ingredients in a bowl
In a large mixing bowl, add the cauliflower florets. Next, add the minced garlic and olive oil.
3. Tossing and coating the florets
Toss the florets until they are covered in oil and garlic. This step helps the flavors stick to the cauliflower.
Roasting steps
1. Spreading on baking sheet
Spread the coated cauliflower on a large baking sheet. Make sure the florets are in a single layer for even cooking.
2. Roasting time and stirring
Place the baking sheet in the oven. Roast for 20-25 minutes. Stir the cauliflower halfway through to help it brown evenly.
Final touches
1. Adding Parmesan cheese
Once the cauliflower is tender and golden, take it out. Immediately sprinkle the grated Parmesan cheese over the hot florets.
2. Garnishing and serving
Return the baking sheet to the oven for another 5 minutes. This time allows the cheese to melt and get a bit crispy. Remove it from the oven and garnish with chopped parsley before serving. Enjoy your dish warm!
Tips & Tricks
Achieving the perfect roast
- Ideal oven temperature: I recommend a hot oven at 425°F (220°C). This heat makes the cauliflower crispy and golden.
- How to prevent sogginess: To avoid sogginess, make sure not to overcrowd the baking sheet. Give the florets space to roast evenly. Stir halfway through for the best results.
Enhancing flavor
- Extra spices and herbs: You can boost the flavor with extra herbs like thyme or rosemary. A pinch of chili flakes adds great heat too!
- Alternative cheese options: If you want to switch things up, try using aged cheddar or a dairy-free cheese. They melt well and add unique tastes.
Presentation suggestions
- Serving ideas and dishware: Serve the roasted cauliflower in a rustic bowl or on a large platter. This creates a beautiful display for your guests.
- Garnishing for visual appeal: Top with fresh parsley and a sprinkle of extra Parmesan. This adds color and makes the dish look even more appetizing.
Pro Tips
- Use Fresh Garlic: Freshly minced garlic will provide a much stronger flavor compared to pre-minced or jarred garlic. Choose firm, plump garlic cloves for the best results.
- Experiment with Cheese: While Parmesan adds a delicious flavor, feel free to mix in other cheeses like Pecorino Romano or even a sprinkle of feta for a unique twist.
- Cut Cauliflower Evenly: Ensure that the cauliflower florets are cut into similar sizes for even cooking. This will help them roast uniformly and achieve the perfect golden-brown color.
- Serve Immediately: Roasted cauliflower is best enjoyed fresh out of the oven while the cheese is melty and the florets are crispy. If you need to reheat, do so in the oven for the best texture.
Variations
Flavor variations
You can easily change the flavor of roasted garlic Parmesan cauliflower. Try adding different herbs like thyme or rosemary. These herbs give a fresh twist. You can also use Italian seasoning for a more savory taste.
Substituting with other cheeses is another fun way to mix it up. Parmesan is great, but you can use cheddar or feta for a new twist. Each cheese brings a unique flavor.
Dietary modifications
If you want to make this dish vegan, swap the Parmesan cheese with nutritional yeast. This keeps the cheesy taste without using dairy. You can also use vegan butter instead of olive oil for a richer flavor.
For gluten-free options, you don’t need to change much. The ingredients are already gluten-free! Just ensure any seasoning blends you use are also gluten-free.
Serving suggestions
Roasted garlic Parmesan cauliflower pairs well with many mains. It goes great with grilled chicken or fish. You can also serve it alongside pasta for a hearty meal.
This dish also works as a tasty snack or appetizer. Serve it warm with a dip, like hummus or ranch. Your guests will love it!
Storage Info
How to store leftovers
To keep your roasted garlic Parmesan cauliflower fresh, use airtight containers. Glass containers work best, but sturdy plastic ones are fine too. Make sure the cauliflower is cool before sealing it. This helps prevent condensation, which can make it soggy. Place the container in the fridge. Proper storage keeps it tasty for up to four days.
Reheating instructions
When reheating, the oven is your best friend. Preheat it to 350°F (175°C). Spread the cauliflower on a baking sheet. Heat for about 10-15 minutes. This keeps the cauliflower crispy and warm. If you use a microwave, place the cauliflower on a microwave-safe plate. Heat for 1-2 minutes. It may not be as crispy, but it will still be delicious.
FAQs
How long does roasted cauliflower last in the fridge?
Roasted cauliflower lasts about 3 to 5 days in the fridge. Store it in an airtight container. This keeps it fresh and tasty. Before eating, check for any signs of spoilage. If it smells off or looks strange, toss it out. To reheat, warm it in the oven for best results.
Can I make this dish ahead of time?
Yes, you can make this dish ahead. Prepare the cauliflower and season it, then store it in the fridge. When ready to cook, take it out and roast it. If you want to save time, roast it, cool it, and store it. Reheat it in the oven for a few minutes to regain that crispy texture.
What can I serve with roasted garlic Parmesan cauliflower?
Roasted garlic Parmesan cauliflower pairs well with many dishes. Try serving it with grilled chicken or fish. It also goes great with pasta or a fresh salad. You can even use it as a tasty side for a hearty steak. The flavors work well with many main courses.
Roasted garlic Parmesan cauliflower is simple and tasty. We covered ingredients, step-by-step prep, and roasting steps. I shared tips to get the perfect crunch and ideas to boost flavor. There are many tasty variations and storage tips to help you enjoy leftovers. This dish can fit into any meal, from main courses to snacks. Now, with this guide, you can create a flavorful dish that impresses every time. Enjoy your cooking and happy eating!
.png)