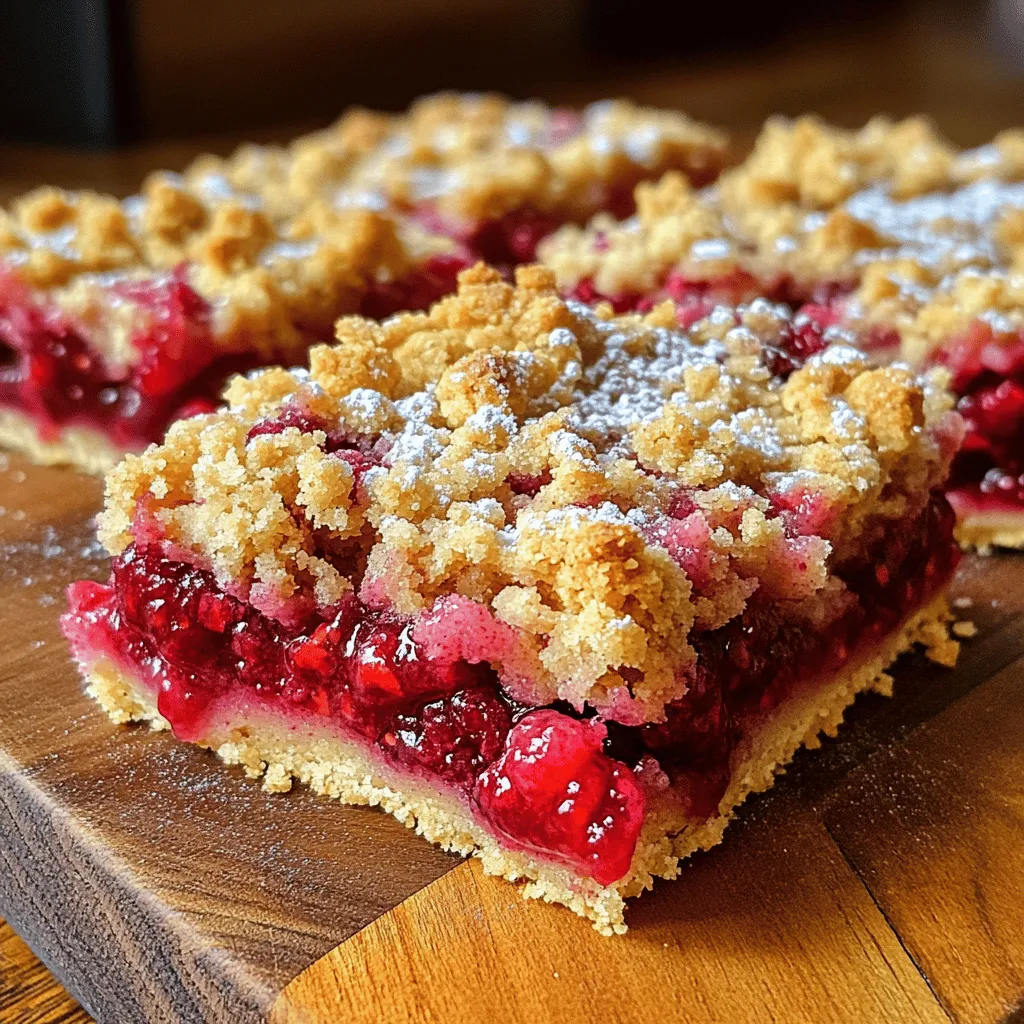
Are you ready to indulge in a sweet treat? My Raspberry Crumble Bars are both delightful and simple to make! With a buttery crust and a juicy raspberry filling, these bars will satisfy your cravings. In this post, I’ll share easy steps, tips, and variations that will have you baking like a pro. Let’s whip up a batch of these scrumptious bars together!
Why I Love This Recipe
- Delicious Flavor Combination: The tartness of the raspberries perfectly balances the sweetness of the crumble, creating a delightful treat that everyone will love.
- Easy to Make: This recipe requires simple ingredients and straightforward steps, making it perfect for both novice and experienced bakers.
- Perfect for Any Occasion: Whether it’s a casual family dessert or a special occasion, these raspberry crumble bars fit right in and impress guests.
- Versatile Serving Options: Serve them as is, or elevate the experience with a dusting of powdered sugar, a scoop of ice cream, or fresh whipped cream!
Ingredients
List of Ingredients
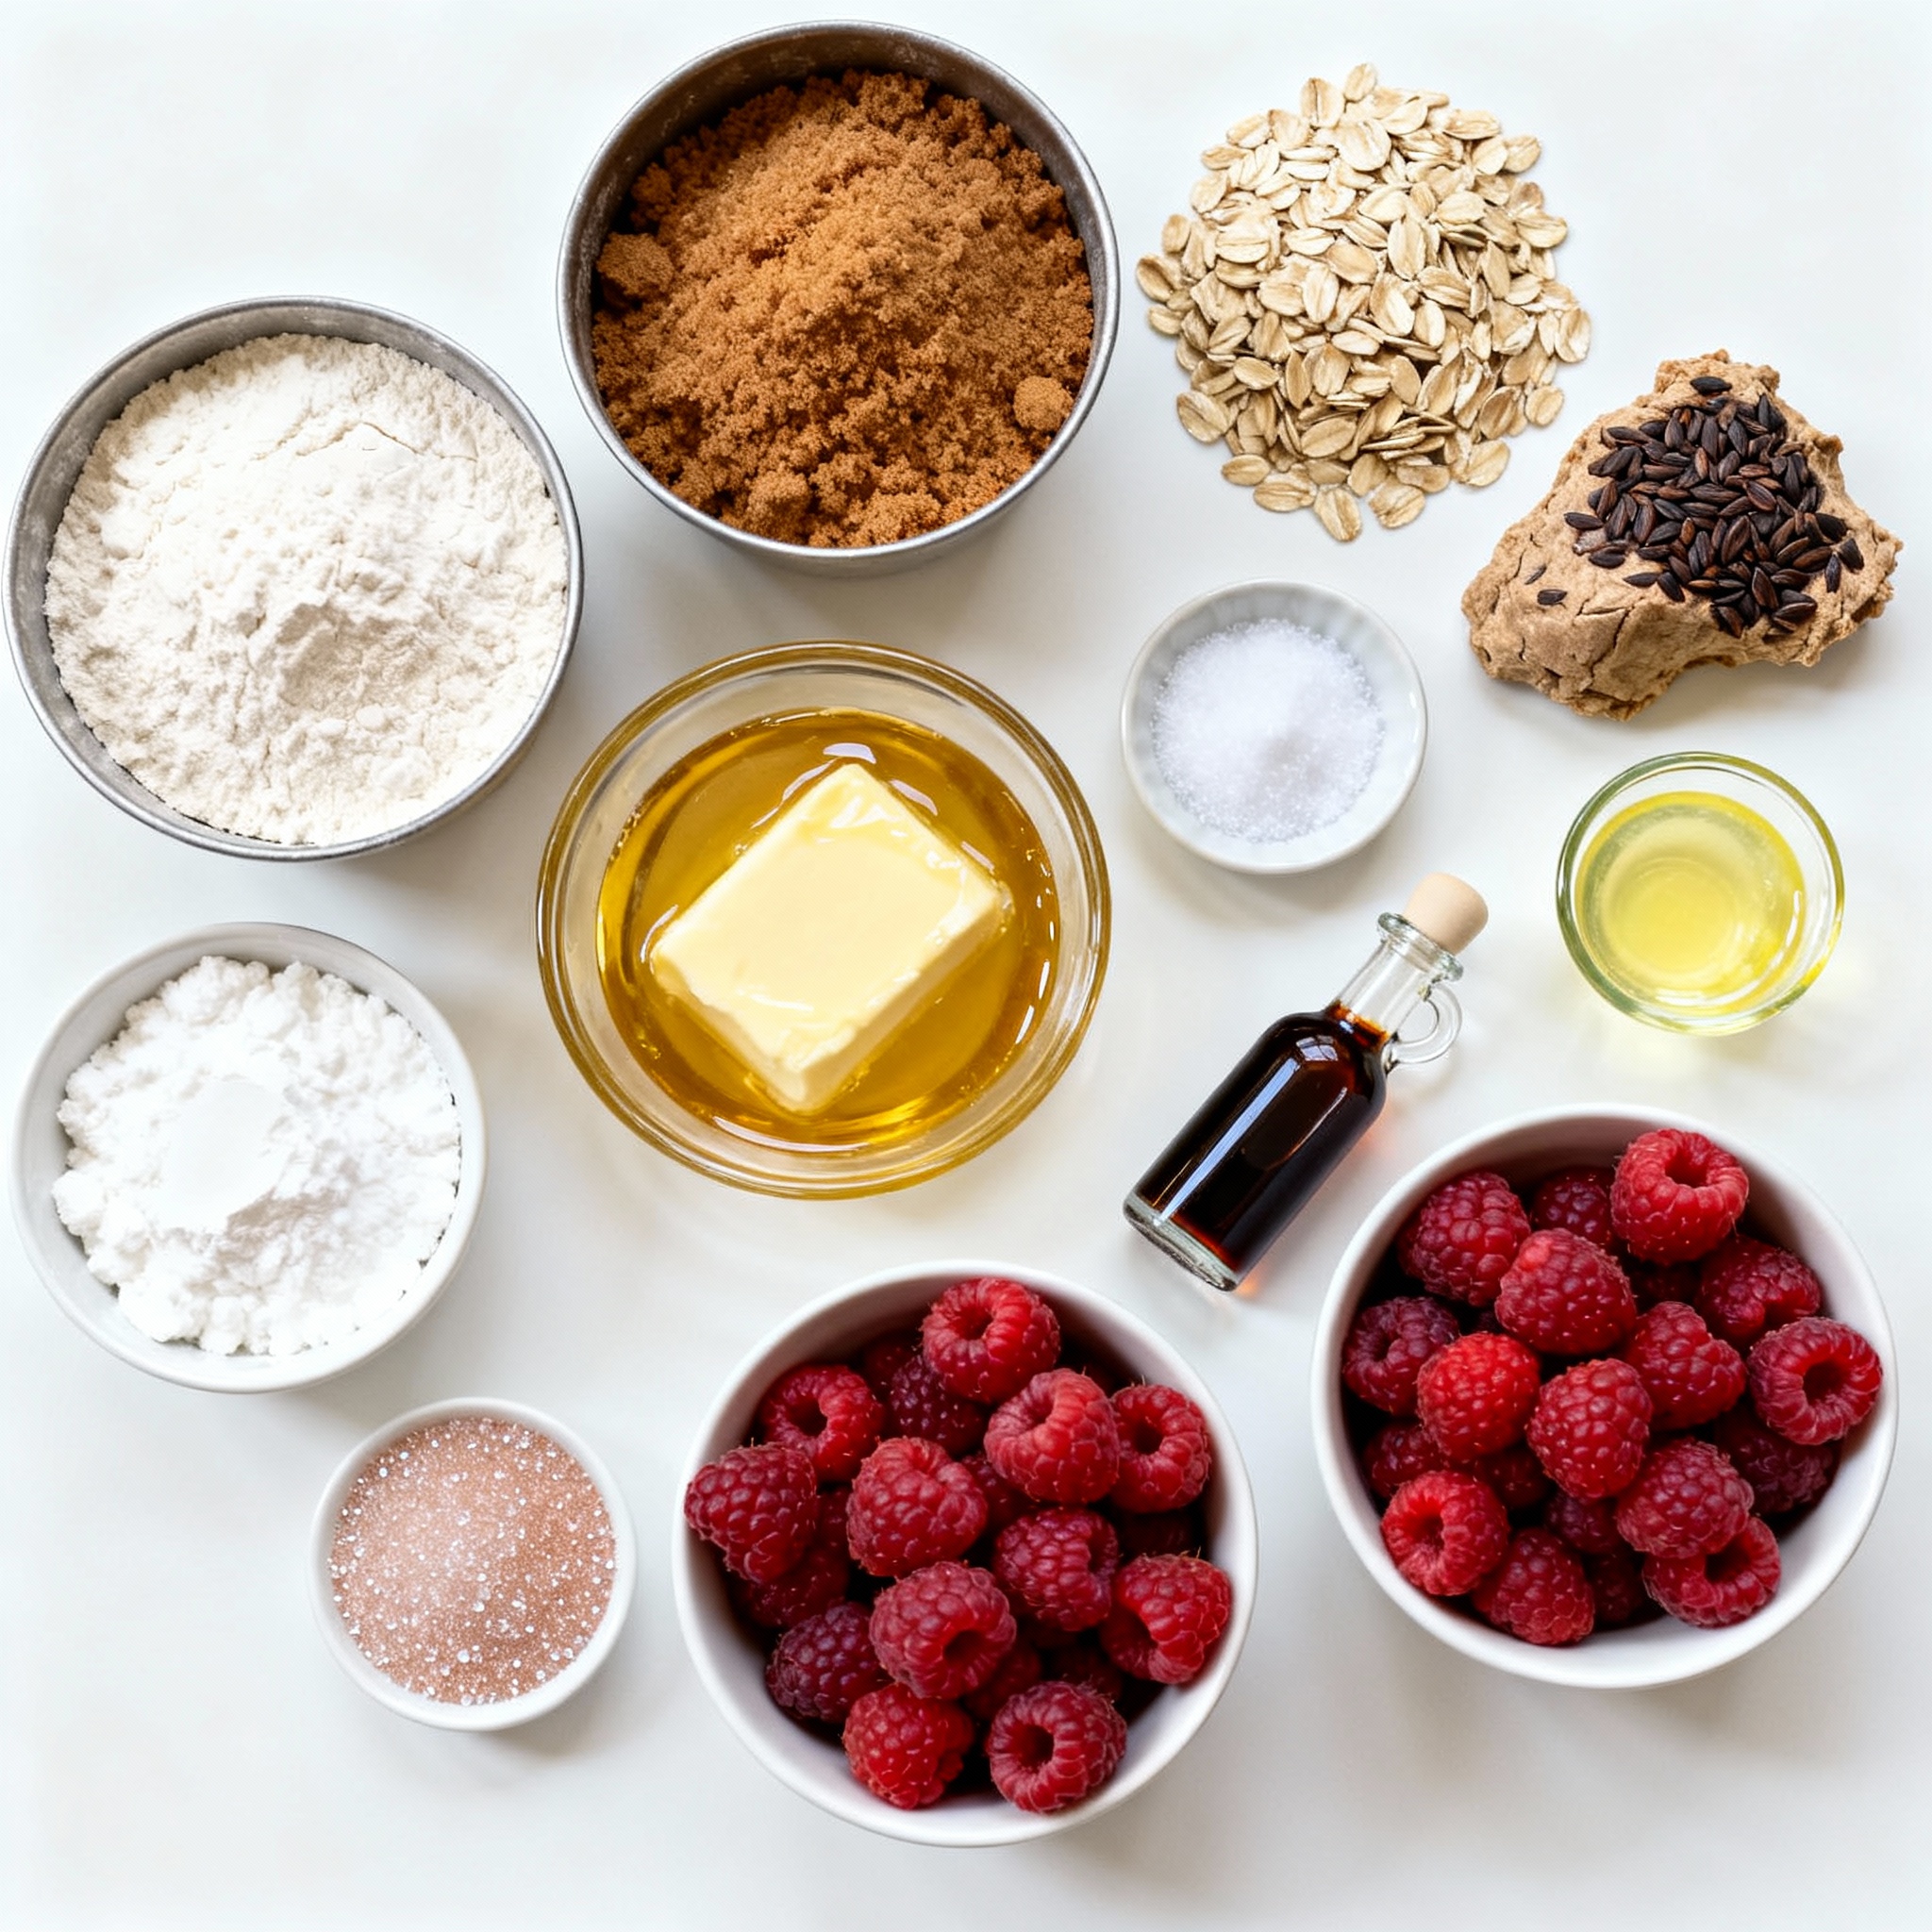
To make these tasty Raspberry Crumble Bars, you need:
– 2 cups all-purpose flour
– 1 cup rolled oats
– 1 cup brown sugar, packed
– 1/2 teaspoon baking powder
– 1/2 teaspoon salt
– 1 cup unsalted butter, melted
– 1 teaspoon vanilla extract
– 2 cups fresh raspberries (or frozen, thawed and drained)
– 1 tablespoon cornstarch
– 2 tablespoons lemon juice
– 1/4 cup granulated sugar (for the raspberry filling)
Substitutions & Variations for Ingredients
You can switch some ingredients if needed. Here are some ideas:
– Use coconut oil instead of butter for a dairy-free option.
– Swap brown sugar with coconut sugar for a healthier choice.
– Try whole wheat flour or gluten-free flour for a different texture.
– Feel free to replace raspberries with blueberries or strawberries.
Recommended Brands for Quality Ingredients
Using great ingredients makes a big difference. Here are brands I trust:
– For flour, I recommend King Arthur Flour.
– Bob’s Red Mill is my go-to for rolled oats.
– Land O’Lakes offers excellent unsalted butter.
– For sugar, C&H Sugar is a solid choice.
– Fresh raspberries from Driscoll’s are always sweet and juicy.
Step-by-Step Instructions
Preparation Steps
First, gather all your ingredients. You will need:
– 2 cups all-purpose flour
– 1 cup rolled oats
– 1 cup brown sugar, packed
– 1/2 teaspoon baking powder
– 1/2 teaspoon salt
– 1 cup unsalted butter, melted
– 1 teaspoon vanilla extract
– 2 cups fresh raspberries (or frozen, thawed and drained)
– 1 tablespoon cornstarch
– 2 tablespoons lemon juice
– 1/4 cup granulated sugar (for the raspberry filling)
Next, preheat your oven to 350°F (175°C). Grease and line an 8×8 inch baking dish. Leave some parchment paper overhang. This helps you lift the bars out later.
In a large bowl, mix the flour, rolled oats, brown sugar, baking powder, and salt. Stir well. Pour in the melted butter and vanilla. Mix until it forms a crumbly dough. Save about 1 cup of this for later.
Now, in another bowl, toss the raspberries with cornstarch, lemon juice, and granulated sugar. Coat them well. Gently fold these raspberries into the remaining dough.
Press half of the crumb mixture into the bottom of your baking dish. This will be your base layer. Spread the raspberry filling evenly over this layer. Finally, sprinkle the reserved crumble on top.
Baking Instructions
Place your dish in the preheated oven. Bake for 30-35 minutes. The top should be golden brown and the filling bubbly. Keep an eye on it to avoid burning.
Once baked, remove it from the oven. Let it cool completely in the dish. Use the parchment overhang to lift it out. Cut into squares when cool.
Tips for Achieving a Perfect Crumble Texture
To get a great crumble texture, don’t overmix. Mix just until combined. The dough should feel crumbly yet hold together when pressed.
Use cold butter if you prefer a firmer texture. This keeps the crumble from spreading too much during baking.
Another tip is to sprinkle a little extra sugar on top before baking. This gives a nice crunch and a lovely caramel flavor. Enjoy those delicious raspberry crumble bars!
Pro Tips
- Use Fresh Raspberries: Fresh raspberries will give your crumble bars a vibrant flavor and texture. If using frozen, ensure they are thawed and well-drained to prevent excess moisture.
- Chill Your Dough: For a firmer crumble texture, consider chilling the dough for 30 minutes before baking. This helps the butter solidify, resulting in a better crumb structure.
- Layering Technique: When spreading the raspberry filling, try to avoid mixing it with the base layer. This keeps the layers distinct and enhances the visual appeal of the bars.
- Storage Tips: Store the crumble bars in an airtight container at room temperature for up to three days or refrigerate for a week. They also freeze well for up to three months.
Tips & Tricks
Safe Storage of Raspberry Crumble Bars
To keep your Raspberry Crumble Bars fresh, store them in an airtight container. They stay good at room temperature for up to three days. If you want them to last longer, place them in the fridge. They can last up to a week when refrigerated. For longer storage, freezing is a great option. Wrap each bar tightly in plastic wrap, then place them in a freezer bag. They can stay fresh in the freezer for up to three months.
Serving Suggestions for Different Occasions
These bars shine at many events. For a family picnic, cut them into small squares for easy sharing. They work great as a treat for kids’ lunchboxes. If you’re hosting a dinner party, serve them warm with ice cream. Top them with whipped cream for a festive touch. You can also add a drizzle of chocolate for a more decadent dessert.
Enhancements to Increase Flavor and Texture
Want to take your bars to the next level? Try adding nuts like almonds or walnuts for crunch. A sprinkle of cinnamon in the crumble adds warmth and depth. If you like a tangy twist, mix in lemon zest with the raspberries. For a sweeter touch, swap the raspberries for strawberries or blueberries. These small changes make a big difference in flavor and texture.
Variations
Alternative Fruit Options
You can change the fruit in these bars. Try blueberries, strawberries, or peaches. Each fruit brings its own flavor. I love the tartness of cranberries too. You can mix different fruits for a fun twist. Just keep the same amount of fruit as the recipe calls for. This way, your filling stays balanced and tasty.
Gluten-Free or Vegan Modifications
To make these bars gluten-free, swap regular flour for almond or coconut flour. You can also use gluten-free oats. For a vegan version, replace butter with coconut oil or a vegan butter substitute. Use maple syrup or agave nectar instead of brown sugar. These changes keep the bars delicious without losing any flavor.
Seasonal Flavor Twists
As seasons change, so can your crumble bars. In fall, add pumpkin spice for a warm touch. During winter, try adding a hint of peppermint extract. The spring is perfect for fresh lemon zest or lime juice to brighten the taste. In summer, mix in fresh herbs like basil or mint for a unique flavor. Each season makes the bars fresh and exciting.
Storage Info
How to Store for Freshness
To keep your raspberry crumble bars fresh, store them in an airtight container. Place parchment paper between layers to prevent sticking. These bars stay good at room temperature for about three days. If you want them to last longer, refrigerate them for up to a week.
Freezing Instructions for Longer Storage
You can freeze raspberry crumble bars for up to three months. First, cut them into squares and let them cool completely. Wrap each square in plastic wrap. Then, place them in a freezer-safe bag or container. When you’re ready to enjoy, just thaw them in the fridge overnight.
Reheating Tips
To reheat, simply place a bar in the microwave for about 15-20 seconds. You can also warm them in the oven at 350°F (175°C) for about 5-10 minutes. This makes the topping nice and crisp again. Enjoy your raspberry crumble bars warm, or serve them with ice cream for a treat!
FAQs
Can I make Raspberry Crumble Bars ahead of time?
Yes, you can make Raspberry Crumble Bars ahead of time. I often bake them a day in advance. After baking, let them cool completely. Then, store them in an airtight container. They stay fresh in the fridge for up to a week. If you want to keep them longer, freeze them. Just make sure to wrap them well. They taste great even after freezing!
How do I know when the bars are done baking?
The bars are done when the top turns golden brown. You’ll also see the raspberry filling bubbling slightly. This usually takes about 30 to 35 minutes at 350°F (175°C). Check them around the 30-minute mark. If they look golden and bubbly, they are ready. The smell in your kitchen will be amazing, too!
What’s the best way to cut the bars for serving?
To cut the bars, let them cool completely. Use the parchment paper overhang to lift them out of the dish. Place them on a cutting board. Use a sharp knife for clean cuts. I recommend cutting them into squares or rectangles. You can dust them with powdered sugar for a nice touch. Enjoy them with friends and family!
The blog post covers key parts of making Raspberry Crumble Bars. We explored essential ingredients, helpful tips, and storage methods. You learned how to customize your bars with substitutes and variations.
These simple changes can spark creativity in the kitchen. Whether you’re baking for a special event or just for yourself, these bars will impress. Keep experimenting and enjoy every bite!
.png)


