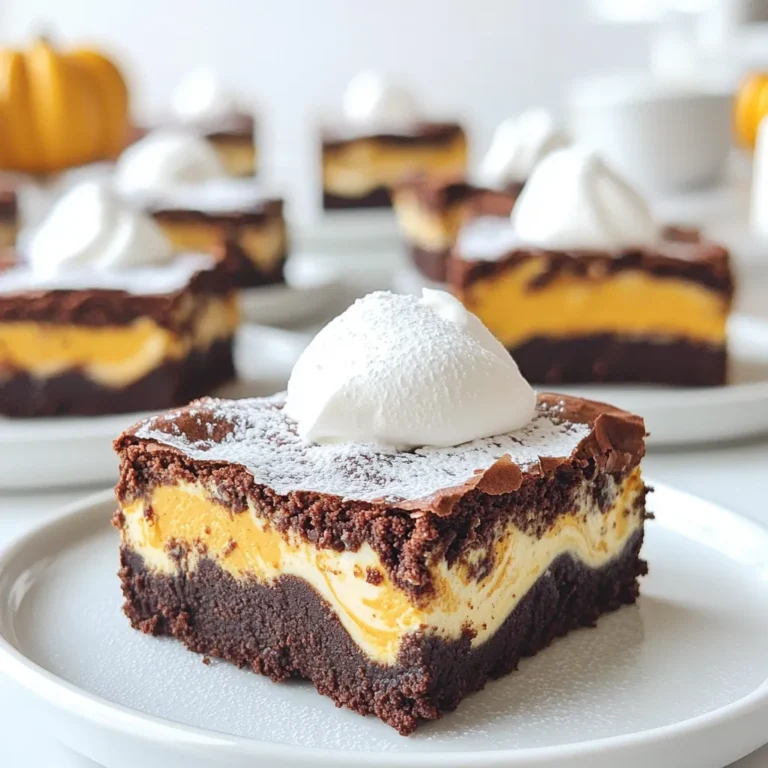
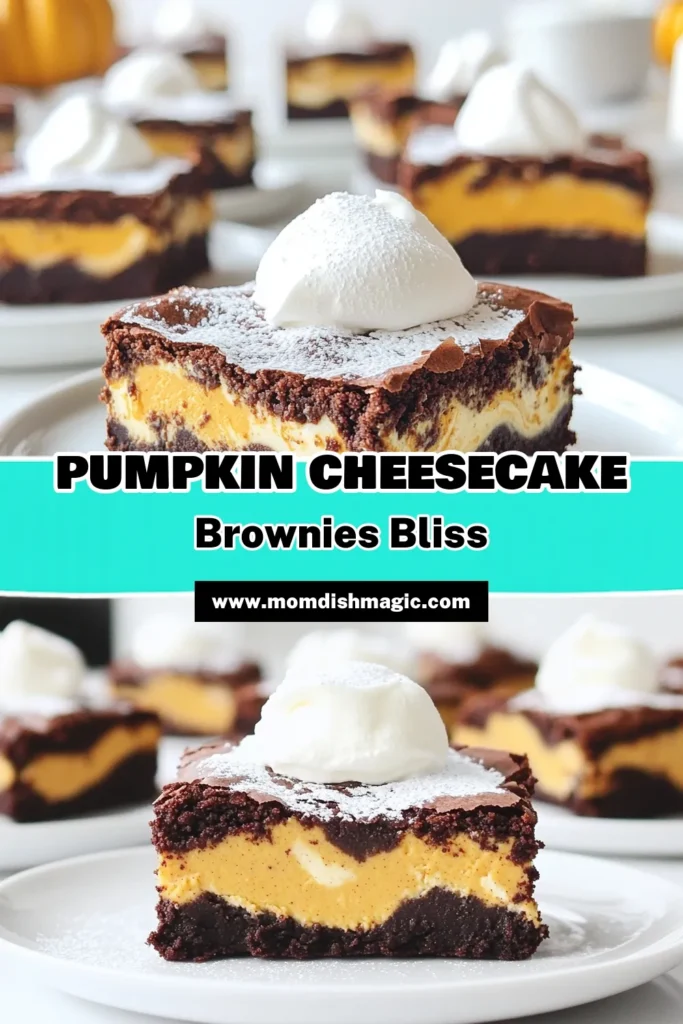
Get excited for fall with Pumpkin Cheesecake Brownies! These yummy treats combine rich flavors and creamy goodness, making them a must-try dessert. I’ll guide you through simple steps to create this cozy delight, plus share tips to make it even better. Whether you serve them at a gathering or enjoy them alone, these brownies will warm your heart. Let’s dive into the recipe and make your autumn sweeter!
Ingredients
Main Ingredients for Pumpkin Cheesecake Brownies
To make these tasty pumpkin cheesecake brownies, gather these key ingredients:
– 1 cup unsweetened cocoa powder
– 1 cup all-purpose flour
– 1 teaspoon baking powder
– 1/2 teaspoon salt
– 1 cup granulated sugar
– 1/2 cup brown sugar, packed
– 3 large eggs
– 1/2 cup vegetable oil
– 1 teaspoon vanilla extract
– 1 cup pumpkin puree
– 1 teaspoon pumpkin pie spice
– 8 oz cream cheese, softened
– 1/4 cup powdered sugar
Each ingredient plays a vital role. The cocoa powder gives rich flavor, while the pumpkin puree adds moisture and warmth. The cream cheese creates that creamy layer, making brownies special.
Optional Toppings and Garnishes
To make your brownies shine, consider these fun toppings:
– Powdered sugar for dusting
– Whipped cream for a fluffy layer
– Chopped nuts for crunch
– Chocolate chips for extra sweetness
These add-ons make your brownies more inviting and fun to eat. You can mix and match based on your mood or the season.
Recommended Tools and Equipment
Having the right tools helps make baking easier. Here’s what I recommend:
– 9×13 inch baking pan
– Parchment paper for lining
– Mixing bowls (medium and large)
– Whisk for blending
– Spatula for spreading
– Toothpick to test doneness
With these tools, you will create smooth batters and perfectly baked brownies. Enjoy the process and feel like a pro in your kitchen!
Step-by-Step Instructions
Preparation Steps
Start by preheating your oven to 350°F (175°C). This step is key for even baking. Grease and line a 9×13 inch baking pan with parchment paper. This makes it easy to lift the brownies out later. In a medium bowl, whisk together the cocoa powder, flour, baking powder, and salt. Mix until combined and set this bowl aside.
Next, take a large mixing bowl. Blend the granulated sugar, brown sugar, and eggs together. Mix them well until smooth. Then stir in the vegetable oil and vanilla extract. This adds richness and flavor to your brownies. Gradually add the dry ingredients from the first bowl. Stir until just combined; be careful not to overmix.
Baking the Brownies
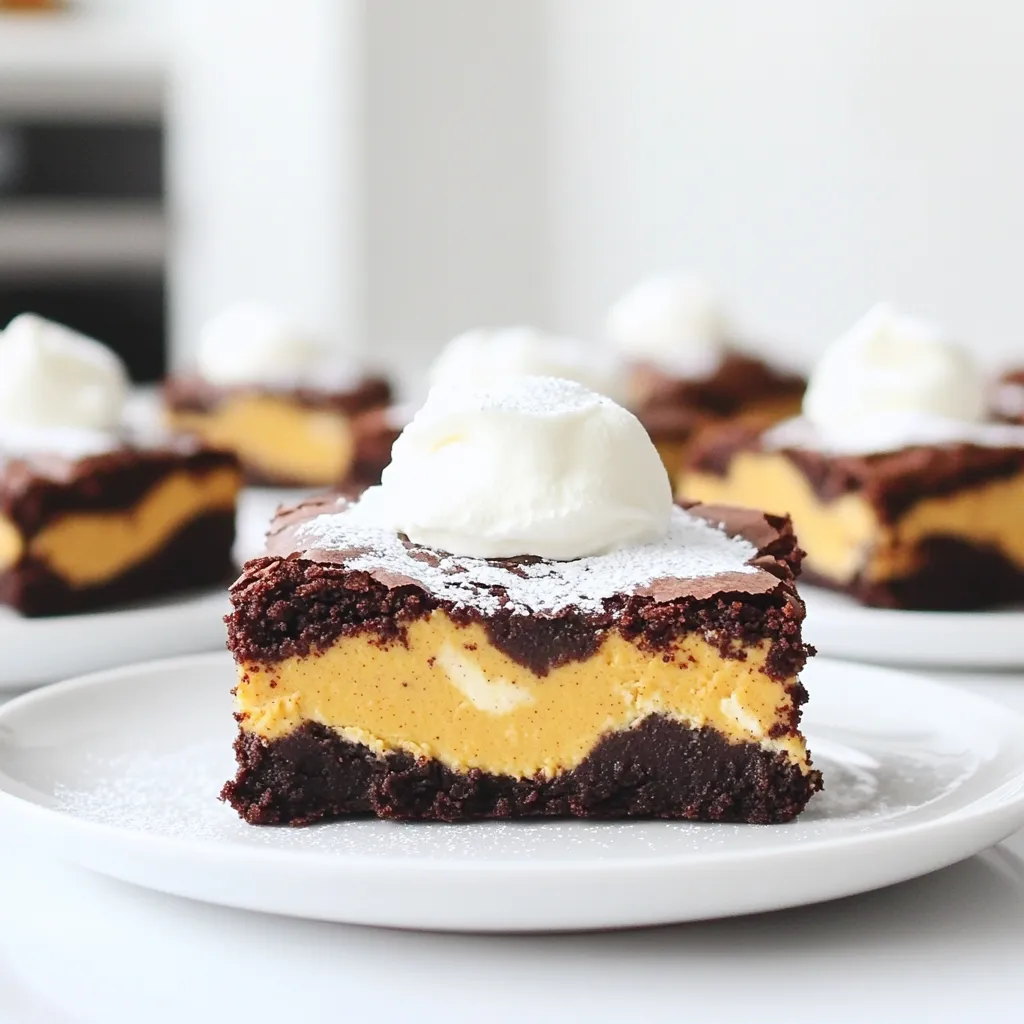
Now, pour half of the brownie batter into your prepared baking pan. Spread it evenly across the bottom. In a separate bowl, mix the cream cheese, powdered sugar, pumpkin puree, and pumpkin pie spice. Blend these until creamy and smooth. Spoon this mixture over the first layer of brownie batter. Spread it gently to keep the layers separate.
Then, drop spoonfuls of the rest of the brownie batter over the cheesecake layer. Use a knife to swirl the two together slightly. This creates a lovely marbled effect. Bake in your preheated oven for 30 to 35 minutes. Check for doneness by inserting a toothpick into the center. It should come out with a few moist crumbs.
Cooling and Serving Suggestions
After baking, allow the brownies to cool in the pan for about 15 minutes. Lift them out using the parchment paper. Let them cool completely on a wire rack. This ensures they set properly. Once cooled, cut them into squares. For a nice presentation, dust the top with powdered sugar. You can also add a small dollop of whipped cream for an extra touch. Enjoy these delightful treats with friends or family!
Tips & Tricks
Common Mistakes to Avoid
When making pumpkin cheesecake brownies, avoid overmixing the batter. This can lead to tough brownies. Don’t skip greasing the pan or using parchment paper. It helps with easy removal. Watch your baking time closely. Overbaking can dry out the brownies. Also, be careful when swirling the layers together. Too much mixing can ruin the marbled look.
How to Achieve the Best Texture
For the best texture, use room temperature cream cheese. This helps create a smooth mixture. When mixing the brownie batter, make sure not to overmix. Stir until just combined. This keeps your brownies soft and fudgy. Let the brownies cool in the pan for a bit before lifting them out. This makes them easier to cut.
Enhancing Flavor with Additions
You can enhance the flavor with simple additions. Try adding chocolate chips to the brownie layer for extra richness. Chopped nuts can add a nice crunch, too. A sprinkle of sea salt on top can balance the sweetness. If you want a spicy kick, add more pumpkin pie spice or a dash of cinnamon. These little tweaks can make your brownies even more delightful!
Variations
Alternative Ingredients to Try
You can switch some ingredients for fun. Use dark chocolate cocoa powder instead of regular. This will give the brownies a richer taste. You might try using almond flour for a nutty twist. For a sweeter touch, use maple syrup in place of granulated sugar. These swaps can change the flavor and texture.
Vegan or Gluten-Free Adaptations
To make these brownies vegan, replace eggs with flax eggs. Mix one tablespoon of ground flaxseed with three tablespoons of water. Let it sit until it thickens. For a gluten-free version, use a gluten-free flour blend in place of all-purpose flour. Ensure all other ingredients are gluten-free as well.
Flavor Swaps for Seasonal Changes
Seasonal flavors can make these brownies shine. Add peppermint extract for a winter treat. In spring, try lemon zest to brighten the flavor. During summer, mix in fresh berries for a fruity kick. Each season brings new ideas to keep your brownies exciting and fresh.
Storage Info
How to Store Leftover Brownies
I love these pumpkin cheesecake brownies, and you will too! If you have extras, store them in an airtight container. This keeps them fresh. Place a piece of wax paper between layers to prevent sticking. You can leave them at room temperature for up to three days. If you want to keep them longer, refrigerate them for up to a week.
Freezing Instructions for Long-Term Storage
Freezing is a great way to save these brownies for later. First, let them cool completely. Then, cut them into squares. Wrap each square in plastic wrap. Place the wrapped brownies in a freezer-safe bag or container. They can last up to three months in the freezer. When you want to eat one, just thaw it in the fridge overnight.
Best Ways to Reheat
Reheating these brownies is easy and quick. You can use a microwave or an oven. For the microwave, place a brownie on a plate and heat it for 10-15 seconds. If you prefer the oven, preheat it to 350°F (175°C). Place the brownie on a baking sheet and heat for about 5-10 minutes. Enjoy your warm treat!
FAQs
Can I make these brownies ahead of time?
Yes, you can make these brownies ahead of time. Just bake them and let them cool. Store the brownies in an airtight container. They stay fresh for up to three days at room temperature. If you want to keep them longer, place them in the fridge. Just remember to let them warm up a bit before serving. The flavors will blend even better overnight!
What can I substitute for pumpkin puree?
If you don’t have pumpkin puree, use mashed sweet potatoes or butternut squash. Both options work great and add a nice flavor. You could also try unsweetened applesauce if you want a lighter option. Just keep in mind that each substitute may slightly change the taste and texture of the brownies.
How do I know when the brownies are done baking?
To check if the brownies are done, insert a toothpick into the center. If it comes out with a few moist crumbs, they are ready. If the toothpick is clean, they may be overbaked. Remember, the brownies will continue to cook a bit after you take them out of the oven. So, keep a close eye on them around the 30-minute mark!
The pumpkin cheesecake brownies combine rich flavors with easy steps. Start with essential ingredients and optional toppings to make it your own. Follow the clear instructions for perfect baking. Avoid common mistakes to ensure the best texture. Explore variations, including vegan or gluten-free options. Store leftovers properly and enjoy them later. These brownies deserve a special spot in your dessert lineup. You can impress friends and family with these simple, tasty recipes. Enjoy your time baking and sharing these delicious treats!

