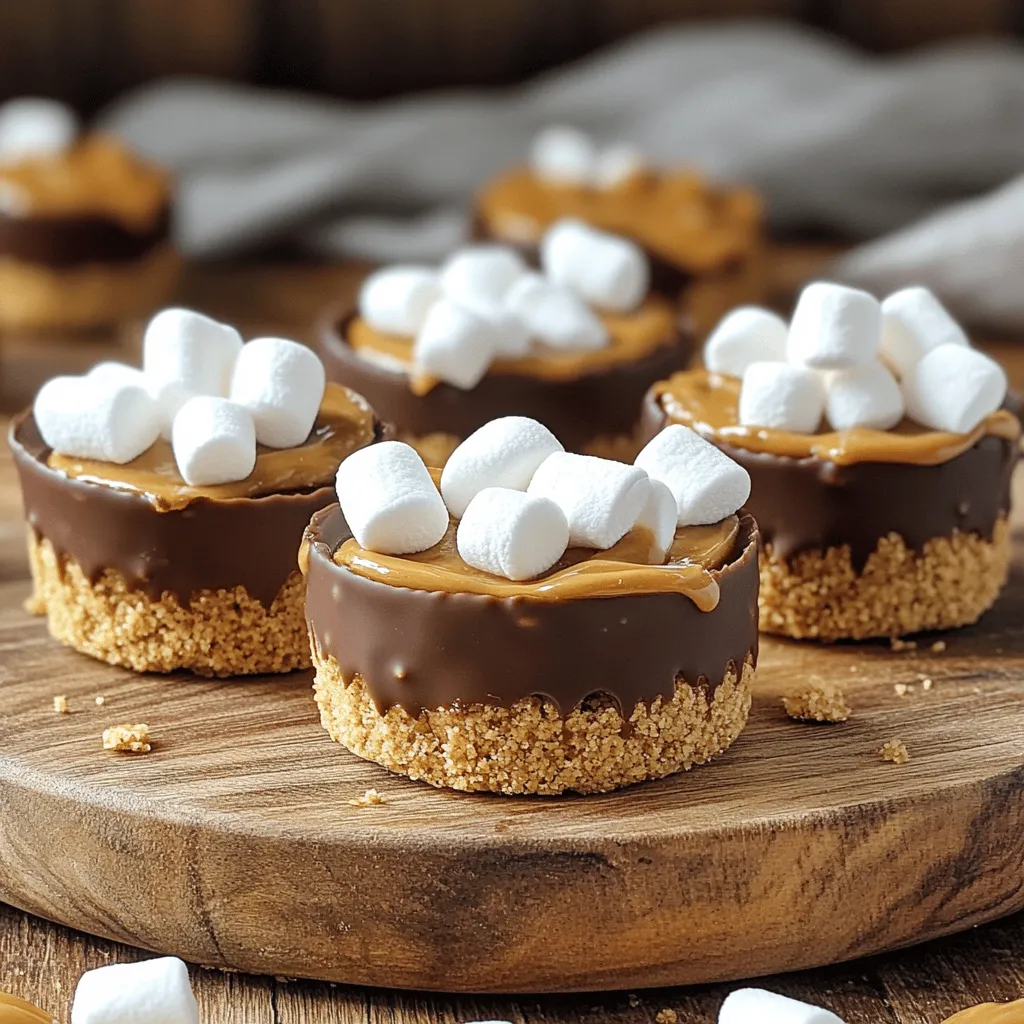
Craving a sweet, no-bake treat? You’re in the right place! These Peanut Butter S’mores Cups are simple and fun to make. With rich flavors of peanut butter, chocolate, and marshmallows, they’re a guaranteed hit. No baking means quick prep, letting you and your family enjoy these delicious treats in no time. Let’s dive into the ingredients and get started on this easy snack!
Why I Love This Recipe
- Quick and Easy: This no-bake recipe takes just 15 minutes to prepare, making it a breeze for any occasion.
- Deliciously Indulgent: The combination of creamy peanut butter, chocolate, and marshmallows creates a delightful treat that satisfies any sweet tooth.
- Fun for Everyone: These cups are perfect for kids and adults alike, making them a great addition to parties or family gatherings.
- Customizable: You can easily modify the recipe by adding your favorite toppings or substituting ingredients to suit your taste.
Ingredients
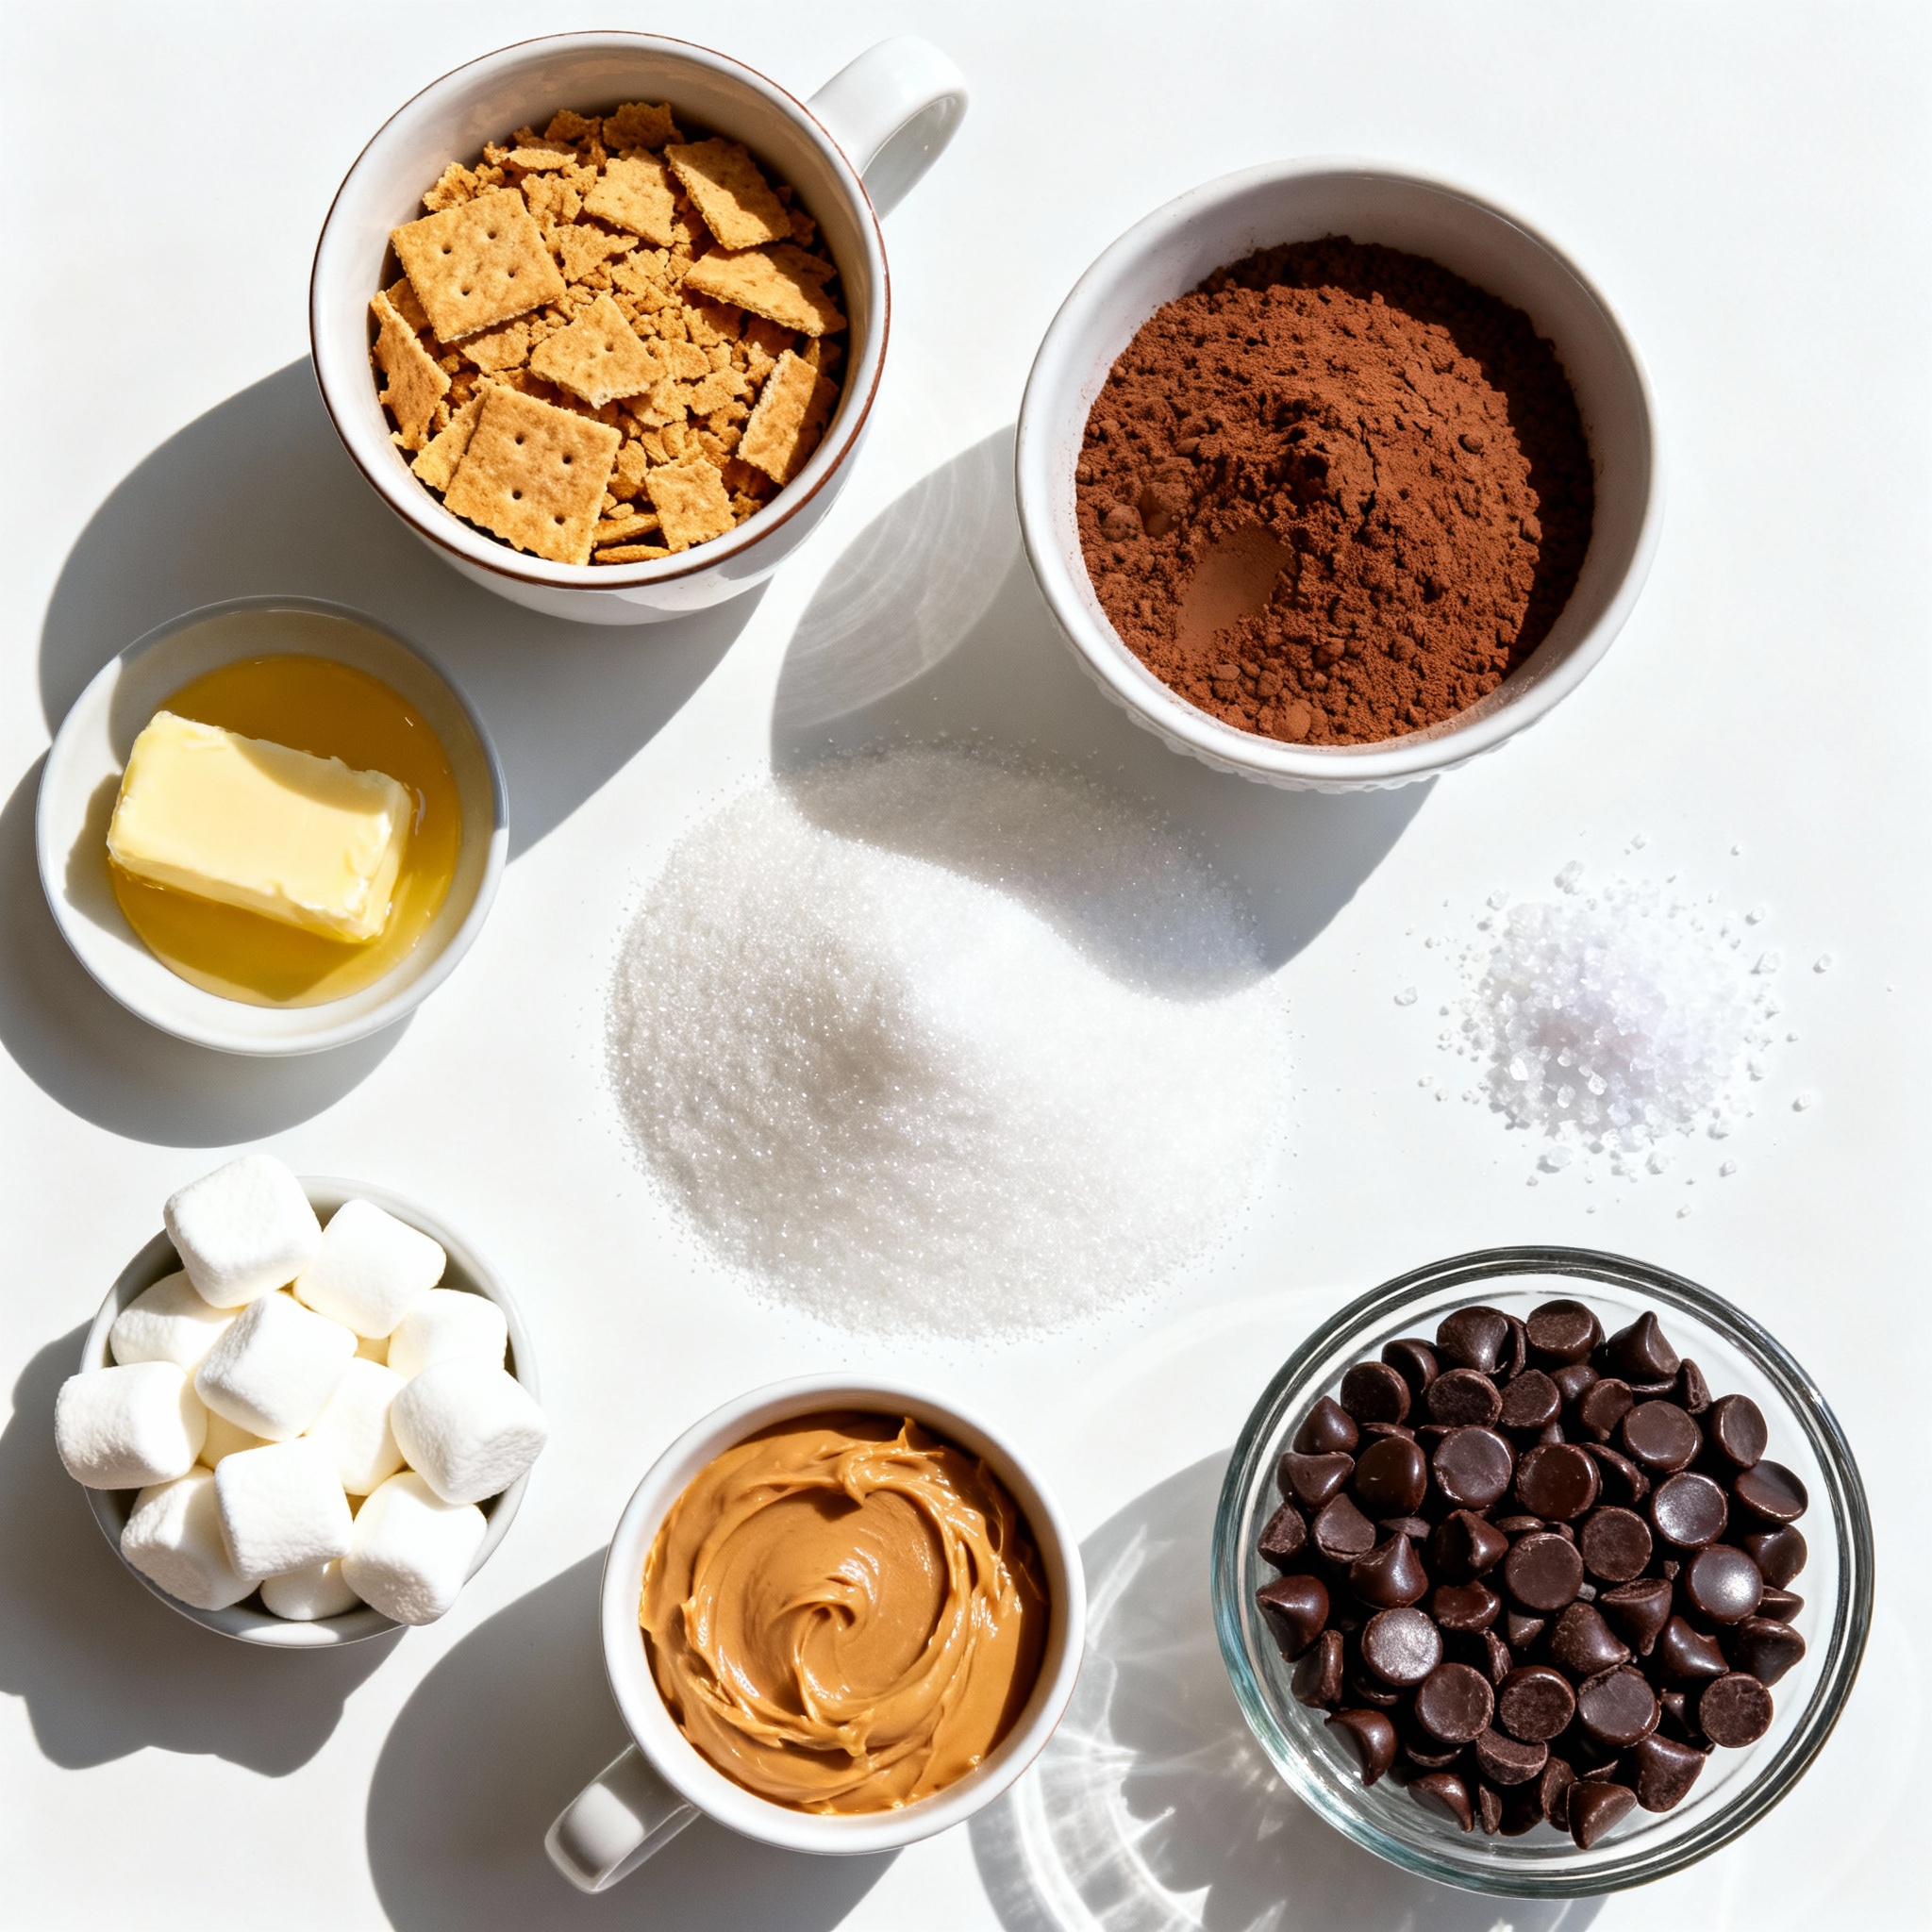
List of Ingredients
– 1 cup graham cracker crumbs
– 1/2 cup unsweetened cocoa powder
– 1/4 cup sugar
– 1/2 cup unsalted butter, melted
– 1 cup creamy peanut butter
– 1 cup mini marshmallows
– 1/2 cup chocolate chips
– Pinch of salt
Measuring Tips for Ingredients
When measuring graham cracker crumbs, crush them finely. Use a food processor for best results. For cocoa powder, spoon it into your measuring cup. Avoid packing it down. When measuring sugar, level it off with a knife for accuracy. Melt the butter in short bursts to prevent burning. A microwave works well for this.
Ingredient Substitutions
You can swap graham cracker crumbs for crushed cookies or cereal for a twist. If you want a richer flavor, use dark cocoa powder instead of unsweetened. Try maple syrup or honey instead of sugar for natural sweetness. If you need a nut-free option, use sun butter in place of peanut butter. For dairy-free, select dairy-free chocolate chips.
Step-by-Step Instructions
Preparation of Graham Cracker Base
First, gather your ingredients. You need graham cracker crumbs, cocoa powder, sugar, melted butter, and a pinch of salt. In a mixing bowl, add 1 cup graham cracker crumbs, 1/2 cup cocoa powder, 1/4 cup sugar, and a pinch of salt. Mix these dry ingredients well.
Next, pour in 1/2 cup melted unsalted butter. Stir until it looks like wet sand. This mixture creates the base for your cups. Take a muffin tin, preferably silicone for easy removal. Press the mixture firmly into the bottom, about 1/4 inch thick. Use your fingers or the back of a spoon to make it even.
Layering with Peanut Butter and Marshmallows
Now, let’s add the peanut butter layer. In another bowl, scoop out 1 cup of creamy peanut butter. Mix it until smooth. Spoon about 1 tablespoon of peanut butter onto each graham cracker base. Spread it evenly over the base.
Next, take 1 cup of mini marshmallows. Place them on top of the peanut butter. Press them down slightly so they stick well. This layer gives a sweet touch to your treat.
Melting and Drizzling the Chocolate
Time for the chocolate! Grab 1/2 cup of chocolate chips. In a microwave-safe bowl, melt them in 30-second intervals. Stir in between each interval until smooth. Be careful not to burn the chocolate.
Once it’s melted, drizzle it over the marshmallows. Make sure to cover them completely. This chocolate layer adds a rich flavor. After that, pop the muffin tin in the fridge. Let the cups chill for at least 2 hours, or until they are set completely.
Once they are firm, gently remove them from the tin. Now, you can enjoy your Peanut Butter S’mores Cups!
Pro Tips
- Chill the Cups: For the best texture, ensure you refrigerate the cups for a full 2 hours. This allows them to set perfectly and makes them easier to remove from the tin.
- Mixing Chocolate: When melting chocolate, always use a microwave-safe bowl and heat in 30-second intervals to prevent burning. Stirring in between is crucial for a smooth consistency.
- Silicone Molds: Using a silicone muffin tin can make it much easier to pop out the cups once they are set. If you use a metal tin, consider lining it with parchment paper for easier removal.
- Customizable Toppings: Feel free to get creative with toppings! Consider adding crushed nuts, drizzled caramel, or even a sprinkle of sea salt for an extra flavor boost.
Tips & Tricks
Best Practices for No-Bake Desserts
No-bake desserts are fun and easy. Here are some key tips to keep in mind:
– Use fresh ingredients. Old ingredients can spoil the taste.
– Measure accurately. Use dry measuring cups for dry ingredients.
– Chill well. Let your cups set in the fridge for at least 2 hours.
– Use silicone molds. They make it easier to remove the cups without breaking.
How to Achieve the Perfect Texture
Getting the right texture is key for these cups. Here are my tips:
– Press firmly. When you mold the graham cracker base, press it down well. This helps it hold together.
– Smooth the peanut butter. Mix until it’s creamy. A smooth layer makes for a great bite.
– Melt chocolate carefully. Heat in 30-second bursts and stir in between. This keeps it smooth and shiny.
Serving Suggestions for Presentation
Presentation makes your treats even better. Here are some ideas:
– Use a rustic platter. A wooden board adds charm.
– Garnish thoughtfully. Add extra mini marshmallows and some graham cracker crumbs on top.
– Serve chilled. Cold treats taste great, especially on hot days.
– Create layers. Show off the layers when serving. It looks appealing and inviting.
Variations
Alternative Nut Butters
You can switch up the nut butter for fun. Almond butter works great here, too. It adds a nutty taste that pairs well with chocolate and marshmallows. Cashew butter is another option. It brings a creamier texture. Sunflower seed butter is perfect if you want a nut-free choice. Each nut butter gives a new twist to the classic s’mores flavor.
Flavor Infusions
Adding flavors can make your treat even more special. You can mix in a teaspoon of vanilla extract into the peanut butter. This adds a sweet and rich note. A sprinkle of cinnamon can bring warmth and spice to the mix. If you love a little kick, try a pinch of cayenne. This will add a surprising burst of flavor that balances the sweetness.
Healthier Modifications
Want to make these cups healthier? Swap out the creamy peanut butter for Greek yogurt. This change lowers fat and adds protein. You can also reduce the sugar by using a sugar substitute. Try honey or maple syrup for a natural touch. When you use dark chocolate chips, you can boost the health benefits. They offer antioxidants without losing that sweet taste.
Storage Info
How to Store Peanut Butter S’mores Cups
To keep your Peanut Butter S’mores Cups fresh, store them in an airtight container. Make sure you layer parchment paper between the cups. This will prevent them from sticking together. You can stack them if needed, but avoid crushing them.
Shelf Life in the Fridge
These treats can last up to one week in the fridge. Make sure your fridge is set to a cool temperature. If you notice any moisture or changes in texture, it’s best to throw them out. Always check for any signs of spoilage before eating.
Freezing Instructions for Longer Storage
If you want to store them longer, freezing is a great option. Wrap each cup in plastic wrap and then place them in a freezer bag. They can last up to three months in the freezer. When you’re ready to enjoy them, just thaw them in the fridge overnight. This way, you can have a sweet treat whenever you want!
FAQs
Can I use crunchy peanut butter instead of creamy?
Yes, you can use crunchy peanut butter. This choice adds a nice texture. It gives each bite a bit of crunch. The flavors will still blend well with the chocolate and marshmallows.
How long do these S’mores Cups last?
These S’mores Cups can last up to one week in the fridge. Store them in an airtight container. This keeps them fresh and tasty. You might want to eat them sooner, though!
Can I make these dairy-free or gluten-free?
Yes, you can make these treats dairy-free and gluten-free. Use dairy-free chocolate chips and nut butter. For gluten-free, choose gluten-free graham crackers. Adjusting these ingredients makes it easy to enjoy for everyone.
You learned all about making tasty peanut butter s’mores cups, from the right ingredients to step-by-step instructions. I shared helpful tips for perfecting texture and serving these treats nicely. You saw different flavors and healthier options to try, too. Lastly, I covered storage methods to keep your cups fresh.
Now, you’re ready to make these yummy snacks at home. Enjoy every bite and share with your friends!
.png)


