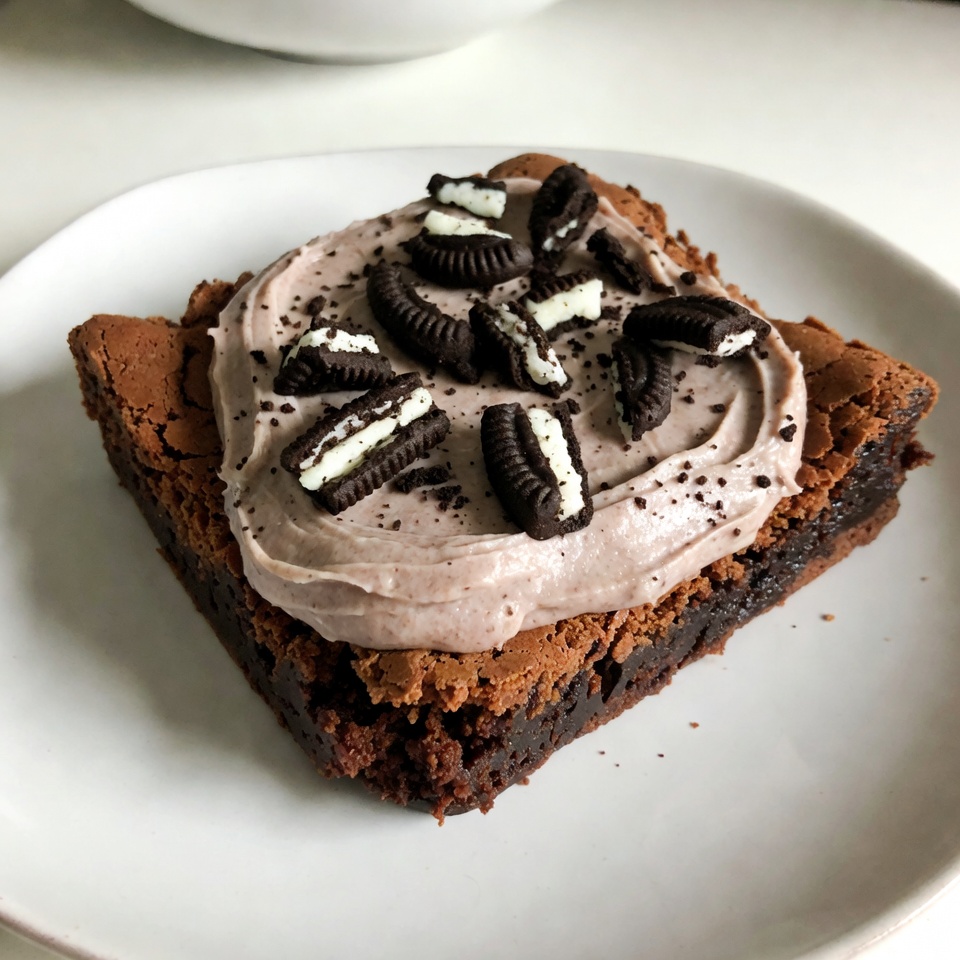
Are you ready to indulge in a sweet treat that will have everyone coming back for more? Oreo Frosted Brownies combine rich chocolate brownies with creamy Oreo frosting for an irresistible dessert delight. Whether it’s a family gathering or a cozy night in, this recipe is sure to impress. Join me as we dive into the simple steps to create these tasty brownies, along with tips and tricks to make them perfect every time!
Why I Love This Recipe
- Decadent Flavor: These brownies are rich and chocolatey, with the added crunch of Oreo cookies that take them to the next level.
- Easy to Make: This recipe is straightforward, making it perfect for both beginner and experienced bakers.
- Perfect for Sharing: With 24 squares, these brownies are ideal for gatherings, parties, or simply sharing with friends and family.
- Customizable: You can easily adapt the recipe by adding different toppings or mix-ins to suit your taste.
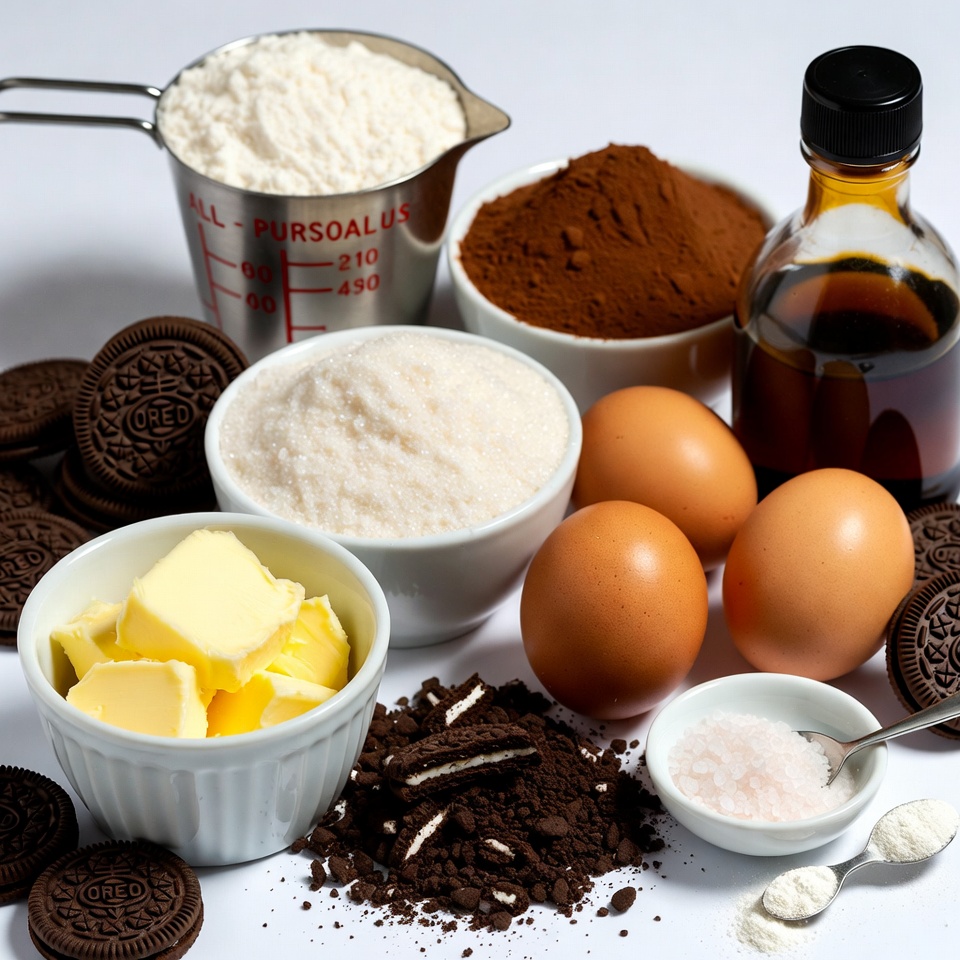
Ingredients
Detailed Ingredient List
Brownie ingredients:
- 1 cup unsalted butter
- 2 cups granulated sugar
- 4 large eggs
- 1 teaspoon vanilla extract
- 1 cup all-purpose flour
- 1 cup unsweetened cocoa powder
- 1/2 teaspoon salt
- 1/2 teaspoon baking powder
- 10 Oreo cookies, crushed
Frosting ingredients:
- 1/2 cup unsalted butter, softened
- 2 cups powdered sugar
- 1 teaspoon vanilla extract
- 2 tablespoons milk
- 5 Oreo cookies, crushed
Optional garnishes:
- Extra crushed Oreo cookies for topping
- Whipped cream for serving
Gathering these ingredients is the first step to making Oreo frosted brownies. Each item plays a role in creating that rich, chocolaty base and creamy frosting you crave. Make sure the butter is soft for the frosting. This helps it mix well with the sugar. Crushed Oreos add that signature flavor and fun crunch. Don't forget to keep a few for garnishing! These little details make your brownies shine. Enjoy your baking journey!
Step-by-Step Instructions
Preparing the Brownie Batter
1. Preheat the oven: Set your oven to 350°F (175°C). Grease and line a 9x13 inch baking pan with parchment paper. This helps with easy removal later.
2. Melt the butter: In a large saucepan, melt 1 cup of butter over low heat. Remove from heat and stir in 2 cups of granulated sugar until smooth. Let it cool slightly.
3. Incorporate eggs and vanilla: Whisk in 4 large eggs and 1 teaspoon of vanilla extract. Make sure it is fully combined.
Mixing Dry Ingredients
1. Combine dry ingredients: In a separate bowl, mix 1 cup of all-purpose flour, 1 cup of cocoa powder, 1/2 teaspoon of salt, and 1/2 teaspoon of baking powder.
2. Add to wet mixture: Gradually stir the dry mix into the wet mix. Stir until just combined to keep the brownies soft.
Baking and Cooling the Brownies
1. Fold in Oreos: Gently fold in 10 crushed Oreo cookies. Be careful not to overmix, as this can make the brownies tough.
2. Pour and bake: Pour the brownie batter into the prepared pan. Spread it evenly and bake for 25-30 minutes. A toothpick should come out with a few moist crumbs. Let them cool in the pan.
Making the Frosting
1. Beat the butter: In a mixing bowl, beat 1/2 cup of softened butter until creamy.
2. Add powdered sugar: Gradually mix in 2 cups of powdered sugar on low speed. This prevents a sugar cloud!
3. Incorporate milk and vanilla: Add 1 teaspoon of vanilla extract and 2 tablespoons of milk. Beat until smooth and fluffy.
4. Fold in crushed Oreos: Add 5 crushed Oreo cookies to the frosting. This will give it a nice texture.
Final Assembly
1. Frost the brownies: Once the brownies have cooled completely, spread the Oreo frosting evenly over the top with a spatula.
2. Garnish: Optional: Crush a few more Oreo cookies and sprinkle them over the frosting for added texture and decoration.
3. Slice and serve: Cut the brownies into squares and serve at room temperature. Enjoy every bite!
Tips & Tricks
Baking Tips
To get the best texture in your brownies, follow these steps:
- Oven Temperature: Always preheat your oven to 350°F (175°C). This helps the brownies bake evenly.
- Pan Preparation: Grease and line your pan with parchment paper. This makes it easy to lift out the brownies later.
- Check for Doneness: Insert a toothpick in the center. If it comes out with a few moist crumbs, your brownies are ready!
Measuring your ingredients correctly is key. Here’s how to do it:
- Butter: For accurate butter measurement, use a kitchen scale or pack it into a measuring cup.
- Sugar and Flour: Use the scoop and level method. Scoop ingredients into the cup and level it off with a knife.
Frosting Tips
A smooth, fluffy frosting makes your brownies shine. Here’s how to achieve that:
- Butter Temperature: Make sure your butter is softened, not melted. This gives the frosting the right consistency.
- Mix Gradually: Add powdered sugar slowly. This prevents a sugary cloud and helps mix it well.
If you want to try different frostings, consider these ideas:
- Cream Cheese Frosting: Add cream cheese for a tangy twist.
- Chocolate Ganache: Melt chocolate with cream for a rich, smooth topping.
Presentation Tips
Serving your brownies beautifully can enhance the eating experience. Here are some fun ideas:
- Garnish: Top your frosted brownies with crushed Oreos for texture.
- Whipped Cream: Add a dollop of whipped cream beside the brownies for extra flair.
When it comes to storing your brownies, here’s what you can do:
- Room Temperature: Keep them in an airtight container for up to four days.
- Refrigeration: Store in the fridge for a week if you want them to last longer.
Pro Tips
- Perfectly Melted Butter: Ensure the butter is melted slowly over low heat to prevent it from burning, which can affect the flavor of your brownies.
- Cooling Time: Allow the brownies to cool completely in the pan before frosting to prevent the frosting from melting and sliding off.
- Oreos for Texture: For added crunch, reserve some larger pieces of crushed Oreo to sprinkle on top of the frosting just before serving.
- Storage Tips: Store the brownies in an airtight container at room temperature for up to a week, or refrigerate for longer freshness.
Variations
Different Types of Oreos
You can use many Oreo flavors for your brownies. Try using mint, peanut butter, or even red velvet Oreos. Each type adds a fun twist and new taste. You can mix and match to find your favorite.
If you need a gluten-free option, look for gluten-free Oreo cookies. They work just as well. You can make tasty brownies without gluten. This way, more people can enjoy this treat!
Add-Ons and Mix-Ins
You can make your brownies even better with add-ons. Try adding nuts like walnuts or pecans for a nice crunch. Chocolate chips also work great. They melt and add gooey chocolate goodness.
Another fun idea is to use different cookie toppings. Instead of Oreos, you can add graham crackers or even your favorite candy. These changes can give your brownies a new twist and keep things exciting.
Serving Suggestions
Pair your Oreo frosted brownies with ice cream. A scoop of vanilla or chocolate ice cream goes well with the rich brownies. Drizzle some chocolate or caramel sauce on top for extra flavor.
You can also create a dessert platter. Cut the brownies into fun shapes. Add fruit like strawberries or raspberries. This makes a colorful and tasty display. Your guests will love the variety and fun!
Storage Info
Storing Leftover Brownies
To keep your Oreo frosted brownies fresh, start by cutting them into squares. Place them in an airtight container. This helps seal in moisture and keeps the brownies soft. You can also layer them with parchment paper to avoid sticking. If you want to keep them for longer, store the container in a cool, dark place.
For best results, use a glass or plastic container with a tight lid. This will help maintain freshness and flavor. Avoid metal containers, as they can affect the taste.
Freezing Instructions
To freeze brownies, let them cool completely first. Once cooled, wrap each square in plastic wrap. Then, place the wrapped brownies in a freezer-safe bag or container. This keeps them safe from freezer burn. You can freeze them for up to three months.
When you’re ready to enjoy them, take the brownies out of the freezer. Leave them at room temperature for a few hours to thaw. You can also microwave them for 10-15 seconds if you're in a hurry. Enjoy your delicious brownies anytime!
FAQs
Common Questions about Oreo Frosted Brownies
What can I substitute for eggs in the recipe? You can use applesauce or mashed bananas as egg substitutes. Use 1/4 cup of either for each egg. This makes the brownies moist and adds a bit of sweetness.
How long can I store Oreo frosted brownies? You can store these brownies for up to a week. Keep them in an airtight container at room temperature. This will help keep them fresh and tasty.
Tips for Making Brownies from Scratch
Can I use cocoa powder instead of melted chocolate? Yes, you can use cocoa powder! Use 1/2 cup of cocoa powder for every ounce of chocolate. Mix it with the flour and other dry ingredients for great flavor.
What should I do if my brownies are too dry? If your brownies turn out dry, try adding a little milk or melted butter. You can also bake them for less time next time. This will keep them soft and chewy.
Purchasing Options for Pre-Made Brownies
Where to find delicious Oreo frosted brownies? You can find pre-made Oreo frosted brownies at many grocery stores. Check the bakery section for fresh options or look in the frozen aisle for packaged ones.
Reviews of popular brands available for purchase Brands like Little Debbie and Entenmann's offer tasty options. Many people enjoy their rich flavor and soft texture. Look for reviews online to find the best choice for your taste!
This guide walked you through making Oreo frosted brownies from start to finish. From selecting ingredients to tips on storage, you now have the tools to create a tasty treat. Don't forget to experiment with flavors and add-ons to make it your own. Enjoy sharing your delicious brownies with friends and family. Remember, practice makes perfect. Happy baking!
.png)


