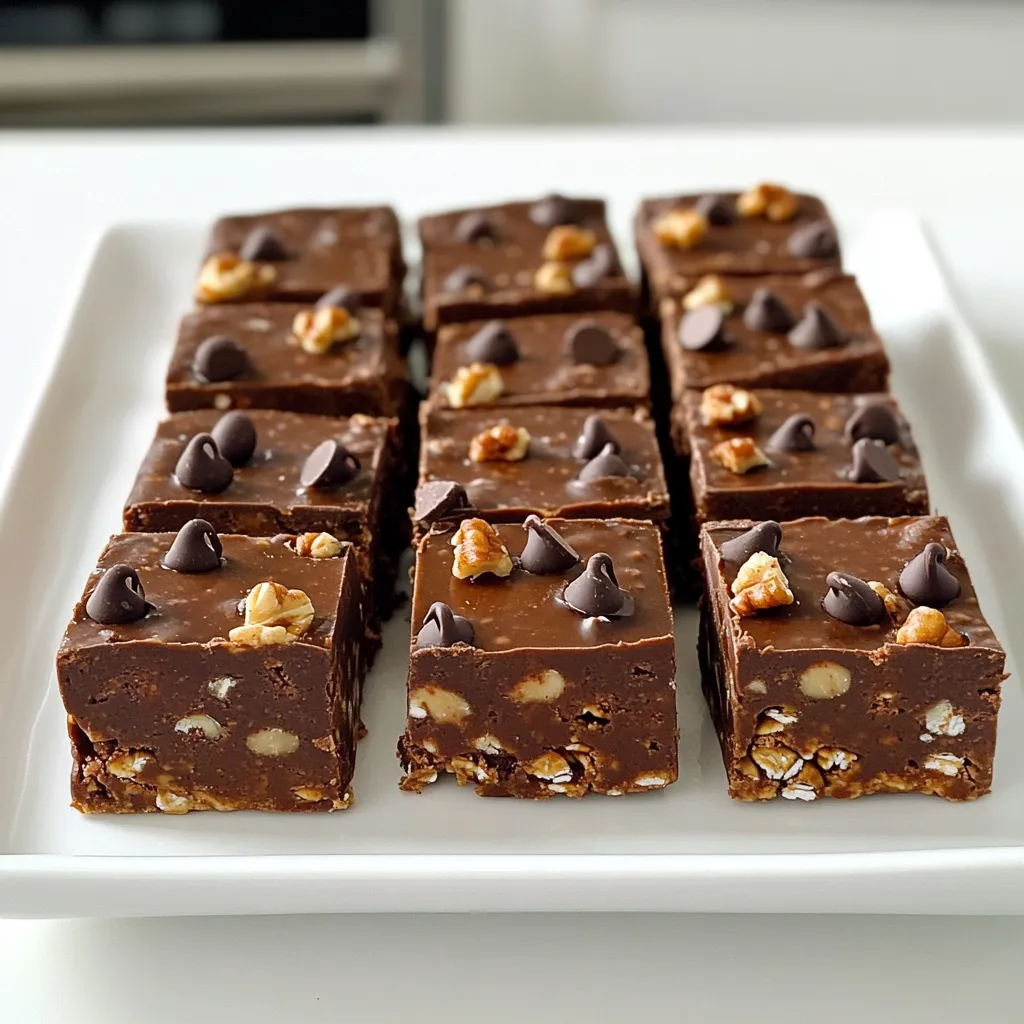
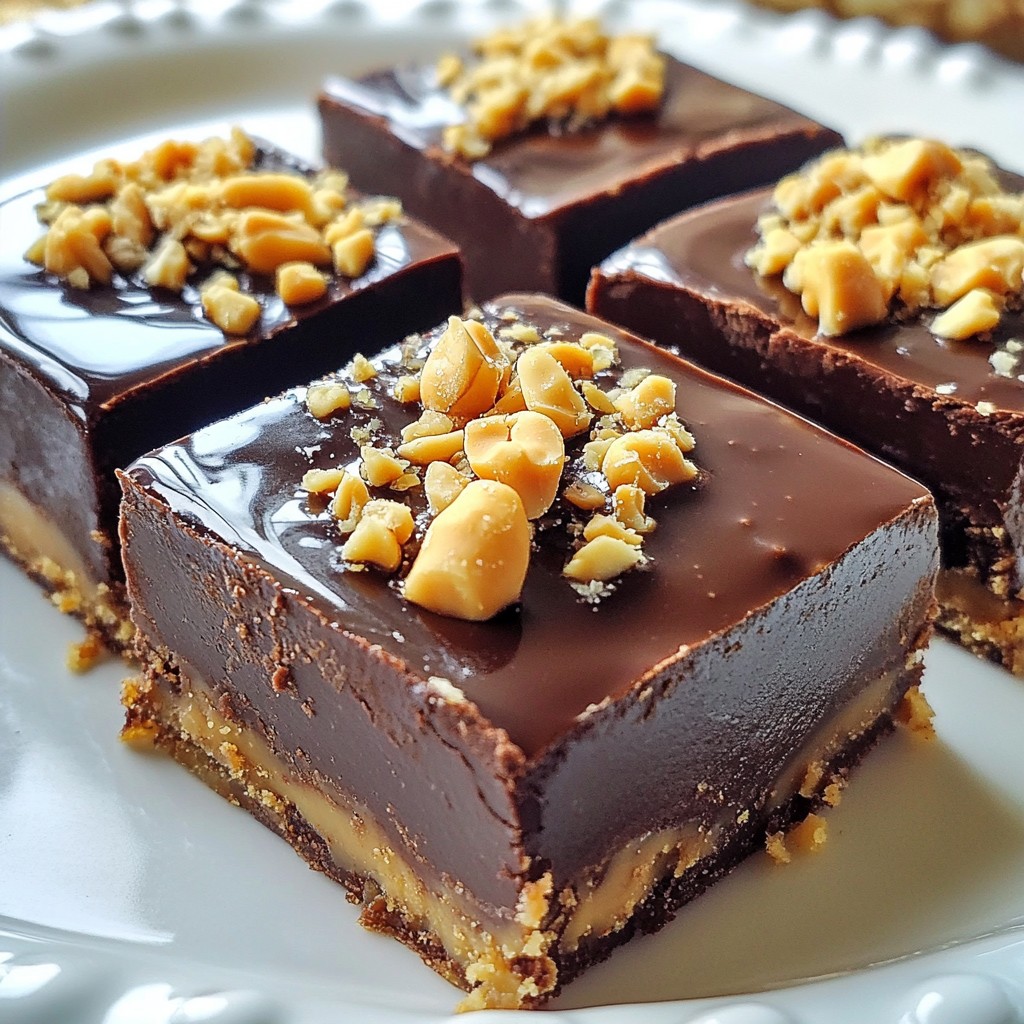
Looking for a yummy snack that gives you energy without the oven? You’re in the right place! These No Bake Chocolate Pumpkin Energy Bars are packed with nutrients and flavor. In this blog, I’ll share simple steps, tips, and variations to make your perfect energy bar. Whether you’re busy or just need a quick pick-me-up, these bars are the answer. Let’s dive into making a delightful treat that fuels your day!
Why I Love This Recipe
- Easy to Make: This recipe requires no baking, making it a quick and hassle-free option for busy days.
- Nutritious Ingredients: Packed with oats, pumpkin, and nut butter, these bars provide a healthy energy boost.
- Delicious Flavor: The combination of chocolate and pumpkin creates a unique and delightful taste that satisfies cravings.
- Customizable: Feel free to add your favorite nuts or seeds to personalize these energy bars to your liking.
Ingredients
List of Ingredients with Measurements
– 1 cup rolled oats
– 1/2 cup pumpkin puree
– 1/3 cup almond butter (or any nut butter of choice)
– 1/4 cup honey or maple syrup
– 1/4 cup cocoa powder
– 1/2 teaspoon vanilla extract
– 1/4 teaspoon salt
– 1/3 cup dark chocolate chips
– 1/4 cup chopped walnuts (optional)
Nutritional Benefits of Key Ingredients
These bars pack a punch of nutrition. Let’s break down the key players:
– Rolled oats: They provide fiber and help keep you full.
– Pumpkin puree: This adds vitamins A and C, plus fiber.
– Almond butter: It offers healthy fats and protein.
– Honey or maple syrup: These natural sweeteners give energy without a sugar crash.
– Cocoa powder: This is rich in antioxidants and gives a chocolatey taste.
– Dark chocolate chips: They add a sweet touch and antioxidants as well.
– Walnuts: If you choose to add them, they boost omega-3 fatty acids and protein.
Substitutions for Common Allergens
You can easily modify this recipe for allergies:
– Nut allergies: Use sunflower seed butter or soy nut butter.
– Gluten-free: Make sure to choose certified gluten-free oats.
– Vegan: Swap honey for maple syrup.
– Dairy-free: Ensure your chocolate chips are dairy-free.
This recipe is flexible and allows you to cater to different dietary needs while keeping the energy boost intact!

Step-by-Step Instructions
Preparation Overview
To make No Bake Chocolate Pumpkin Energy Bars, gather your ingredients first. This recipe takes about 10 minutes to prep. You will need a large mixing bowl and an 8×8 inch baking dish. It helps to have parchment paper for easy removal.
Detailed Mixing and Combining Instructions
Start by adding these items to your mixing bowl:
– 1 cup rolled oats
– 1/2 cup pumpkin puree
– 1/3 cup almond butter (or your favorite nut butter)
– 1/4 cup honey or maple syrup
– 1/4 cup cocoa powder
– 1/2 teaspoon vanilla extract
– 1/4 teaspoon salt
Mix all these together until they blend well. The mixture will be thick, so use your muscles! Next, gently fold in:
– 1/3 cup dark chocolate chips
– 1/4 cup chopped walnuts (optional)
Make sure the chocolate chips and walnuts spread evenly throughout the mixture.
Proper Way to Set and Chill the Mixture
Line your baking dish with parchment paper. Leave some paper hanging over the edges. This makes it easy to lift out the bars later. Now, transfer your thick mixture into the lined dish. Press it down firmly to form an even layer. Use a spatula or your hands to compact it well.
Refrigerate the mixture for at least 1-2 hours. This chill time helps the bars set. Once they are firm, pull them out using the parchment overhang. Place them on a cutting board and cut them into squares or rectangles. Store your bars in an airtight container in the fridge for a week or freeze them for later. Enjoy your tasty energy boost!
Pro Tips
- Use Fresh Pumpkin Puree: For the best flavor, opt for fresh pumpkin puree instead of canned. Roast a small pumpkin and blend it until smooth for a vibrant taste.
- Customize Your Nuts: Feel free to substitute walnuts with your favorite nuts or seeds. Pecans, almonds, or sunflower seeds can add a delightful crunch and flavor.
- Chill for Better Texture: Allow the bars to chill for at least 2 hours. This not only helps them set properly but also enhances the flavors as they meld together.
- Perfect for Meal Prep: These energy bars are great for meal prep! Make a double batch and store them in the freezer for a quick grab-and-go snack throughout the week.
Tips & Tricks
How to Achieve the Best Texture
To get the best texture in your bars, make sure to mix well. You want the oats and pumpkin to blend smoothly with the nut butter. If the mix feels too dry, add a little more pumpkin puree or nut butter. Press the mixture firmly into the dish. This helps the bars hold together. If they are too crumbly, they won’t slice well.
Storage Suggestions for Freshness
For freshness, store your bars in an airtight container. Place them in the refrigerator for up to a week. If you want to keep them longer, freeze them. Wrap each bar in plastic wrap before placing them in a freezer bag. They can last for up to three months in the freezer. Just remember to thaw them in the fridge before eating.
Serving Suggestions and Pairings
These bars taste great on their own. Pair them with a cup of tea or coffee for a nice treat. You can also top them with yogurt or nut butter for extra flavor. They make a perfect snack after school or before a workout. Feel free to add fresh fruit on the side to boost your energy even more.
Variations
Flavor Variations
You can change the taste of your No Bake Chocolate Pumpkin Energy Bars easily. Want them spicier? Try adding cinnamon or nutmeg. These spices add warmth and depth. If you prefer sweeter bars, swap honey for maple syrup. You can also try using vanilla bean paste instead of vanilla extract. This will give your bars a richer flavor.
Add-In Options
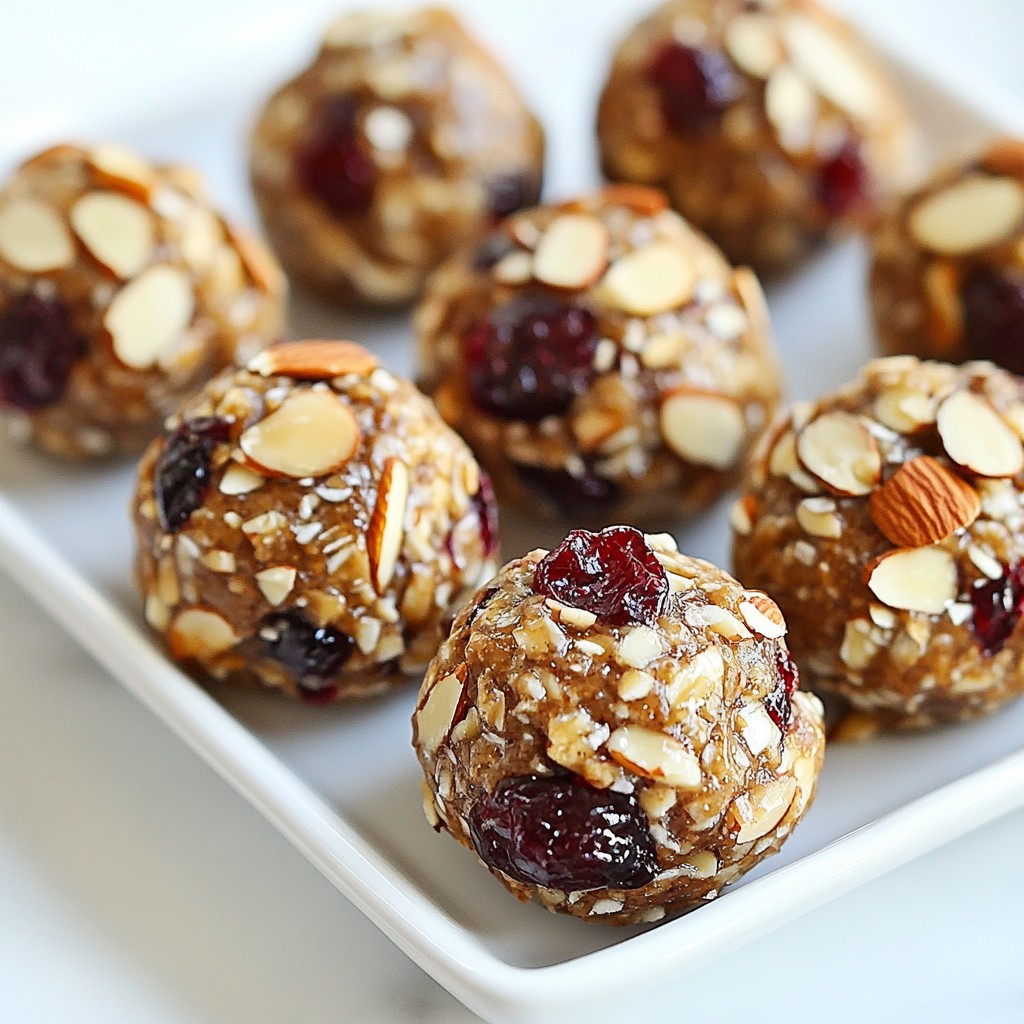
These bars are fun to customize with add-ins. You can mix in different nuts or seeds. Try adding chia seeds for extra fiber. Sunflower seeds give a nice crunch. If you like a nutty flavor, add pecans or almonds. Dried fruit, like cranberries or raisins, can add a sweet, chewy texture. Just remember to keep the total amount balanced.
Dietary Adaptations
Making these bars fit your diet is simple. They can be vegan if you use maple syrup instead of honey. Choose almond butter or another plant-based nut butter. For gluten-free bars, make sure to use certified gluten-free oats. You can even make them nut-free by using sunflower seed butter. This way, everyone can enjoy these tasty treats!
Storage Info
Recommended Storage Methods
To keep your No Bake Chocolate Pumpkin Energy Bars fresh, store them in an airtight container. I like to use glass containers for ease. Place a sheet of parchment paper between layers if you stack them. This helps prevent sticking.
Freezing Instructions and Tips
You can freeze these bars for longer storage. Wrap each bar tightly in plastic wrap. Then, place them in a freezer bag or container. Make sure to label the bag with the date. When you’re ready to eat them, let them thaw in the fridge overnight. This keeps them moist and tasty.
Shelf Life Details
These bars can last about a week in the fridge. If stored properly in the freezer, they can last for up to three months. Just check for any signs of freezer burn before eating. Enjoy them as a quick snack anytime you need an energy boost!
FAQs
How long do No Bake Chocolate Pumpkin Energy Bars last?
These bars stay fresh for up to one week in the fridge. Keep them in an airtight container. If you freeze them, they can last for about three months. When you want a quick snack, just take one out of the freezer.
Can I use other nut butters?
Yes, you can use any nut butter you like. Almond butter is great, but peanut butter works too. Sunflower seed butter is a good choice for nut-free diets. Each nut butter adds its own flavor and texture to the bars.
Is it possible to make these bars without pumpkin?
You can skip the pumpkin if you want. Try using applesauce or mashed bananas instead. This will change the flavor but still keep the bars moist. You can also add more nut butter to make up for the missing pumpkin.
These no-bake chocolate pumpkin energy bars are easy to make and very tasty. We covered the key ingredients and their health benefits. You learned how to mix and chill the mixture properly. I also shared tips for the best texture and how to store your bars.
In the end, you can enjoy these bars with various flavors and add-ins. They are a great snack for everyone. Try them out, and get creative with your own twists!

.png)


