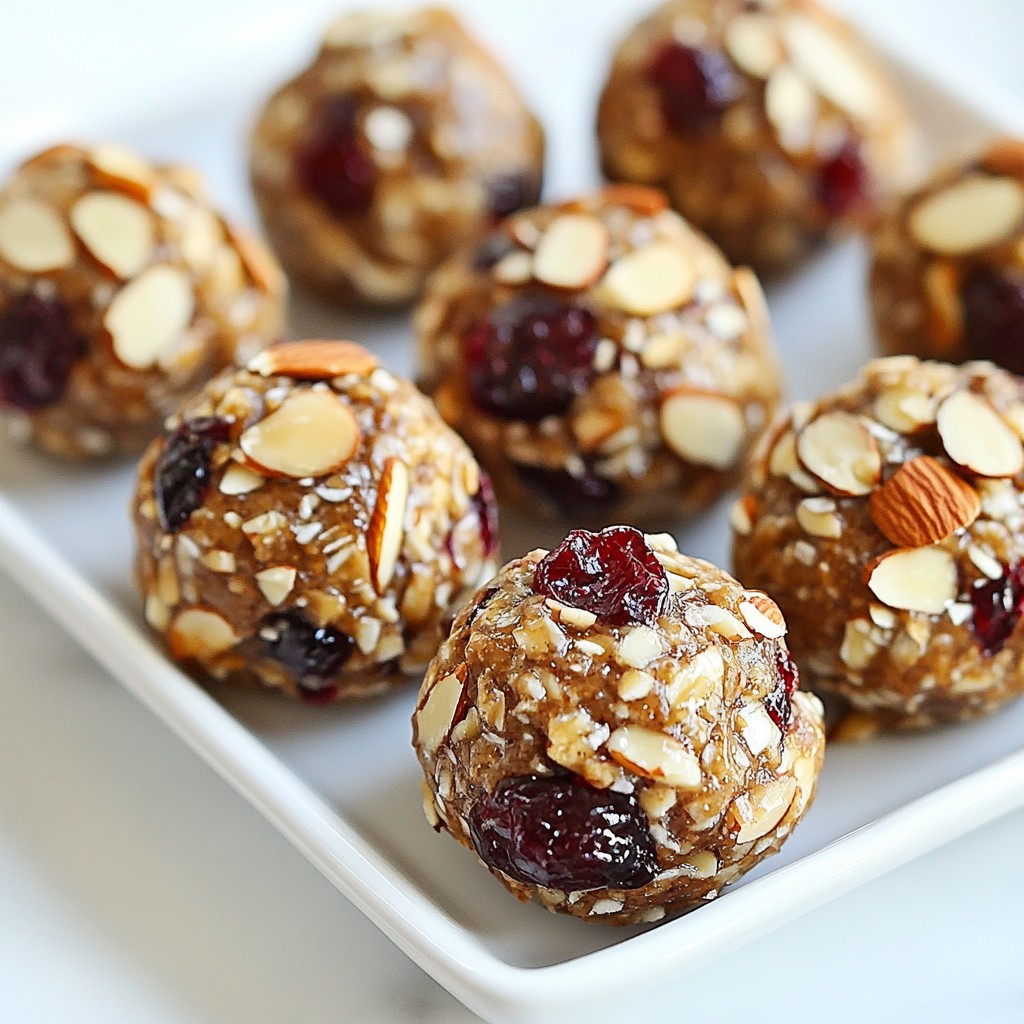
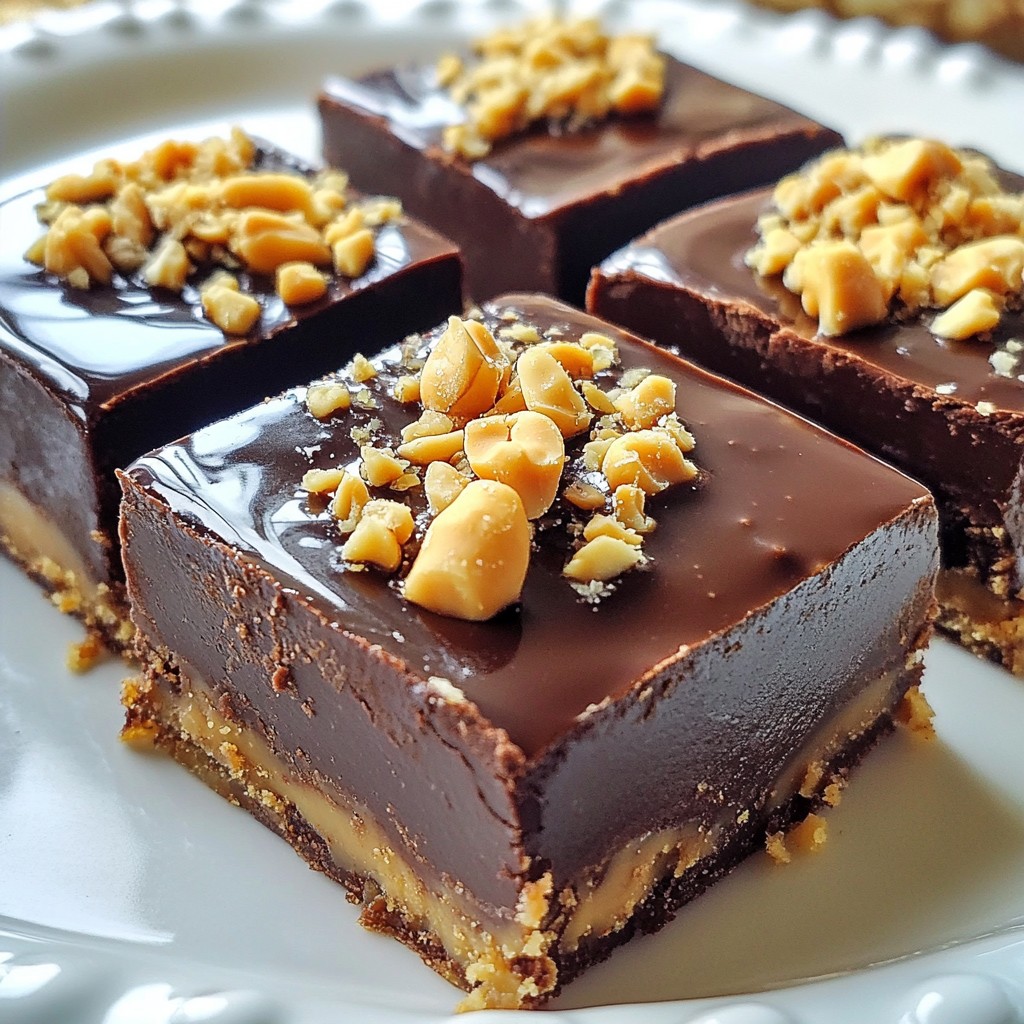
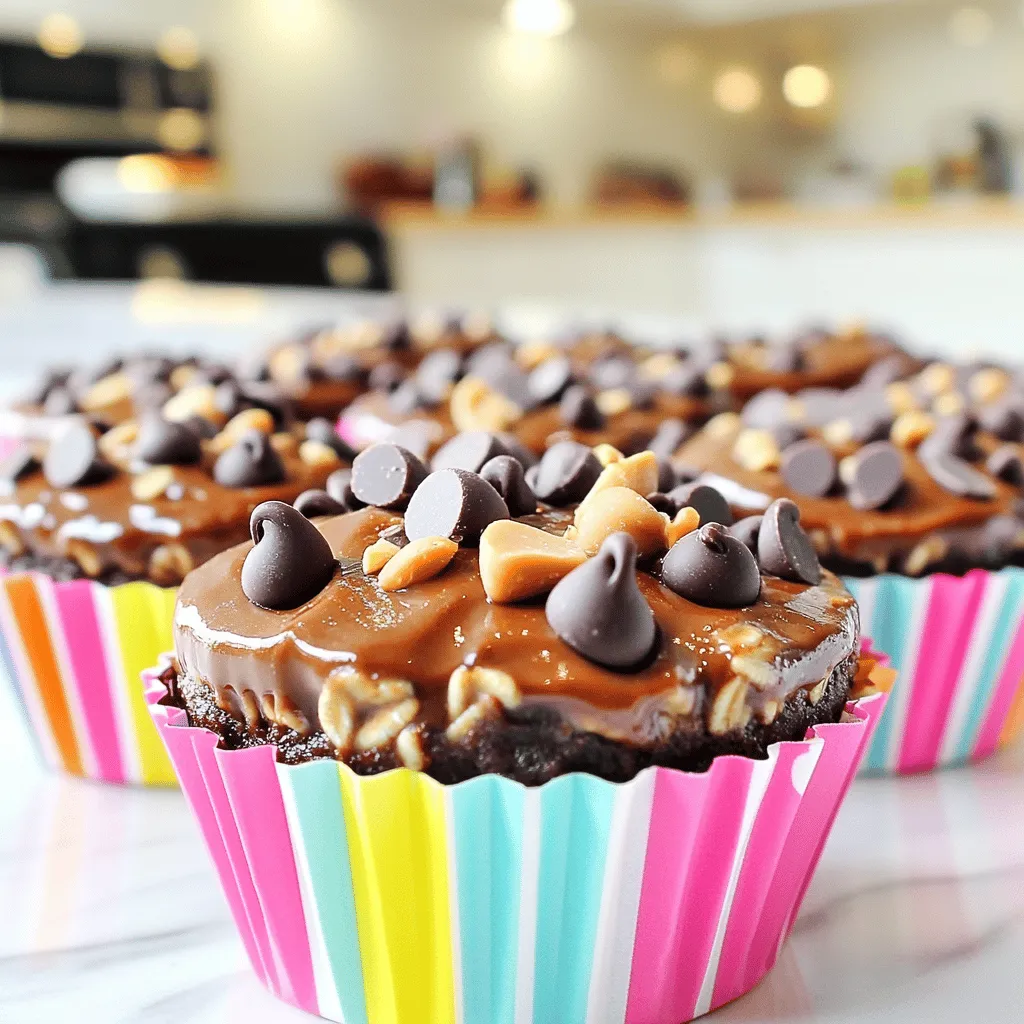
Are you ready to indulge in a sweet treat that’s easy to make? These No-Bake Chocolate Peanut Butter Oatmeal Cups are the perfect snack for any time of day. With just a few simple ingredients, you can whip up these delicious bites in minutes. Plus, they’re packed with flavor and nutrients! Let’s dive into how to make these delightful cups and bring some joy to your kitchen.
Why I Love This Recipe
- Quick and Easy: This recipe requires no baking, making it a perfect quick treat that can be whipped up in just 15 minutes.
- Healthy Ingredients: With rolled oats, natural peanut butter, and honey, these cups are packed with wholesome ingredients that are nutritious and delicious.
- Customizable: You can easily modify the recipe by adding different nuts, seeds, or even dried fruits to suit your taste preferences.
- Perfect for Meal Prep: These no-bake chocolate peanut butter oatmeal cups store well in the fridge, making them a great option for healthy snacking throughout the week.
Ingredients
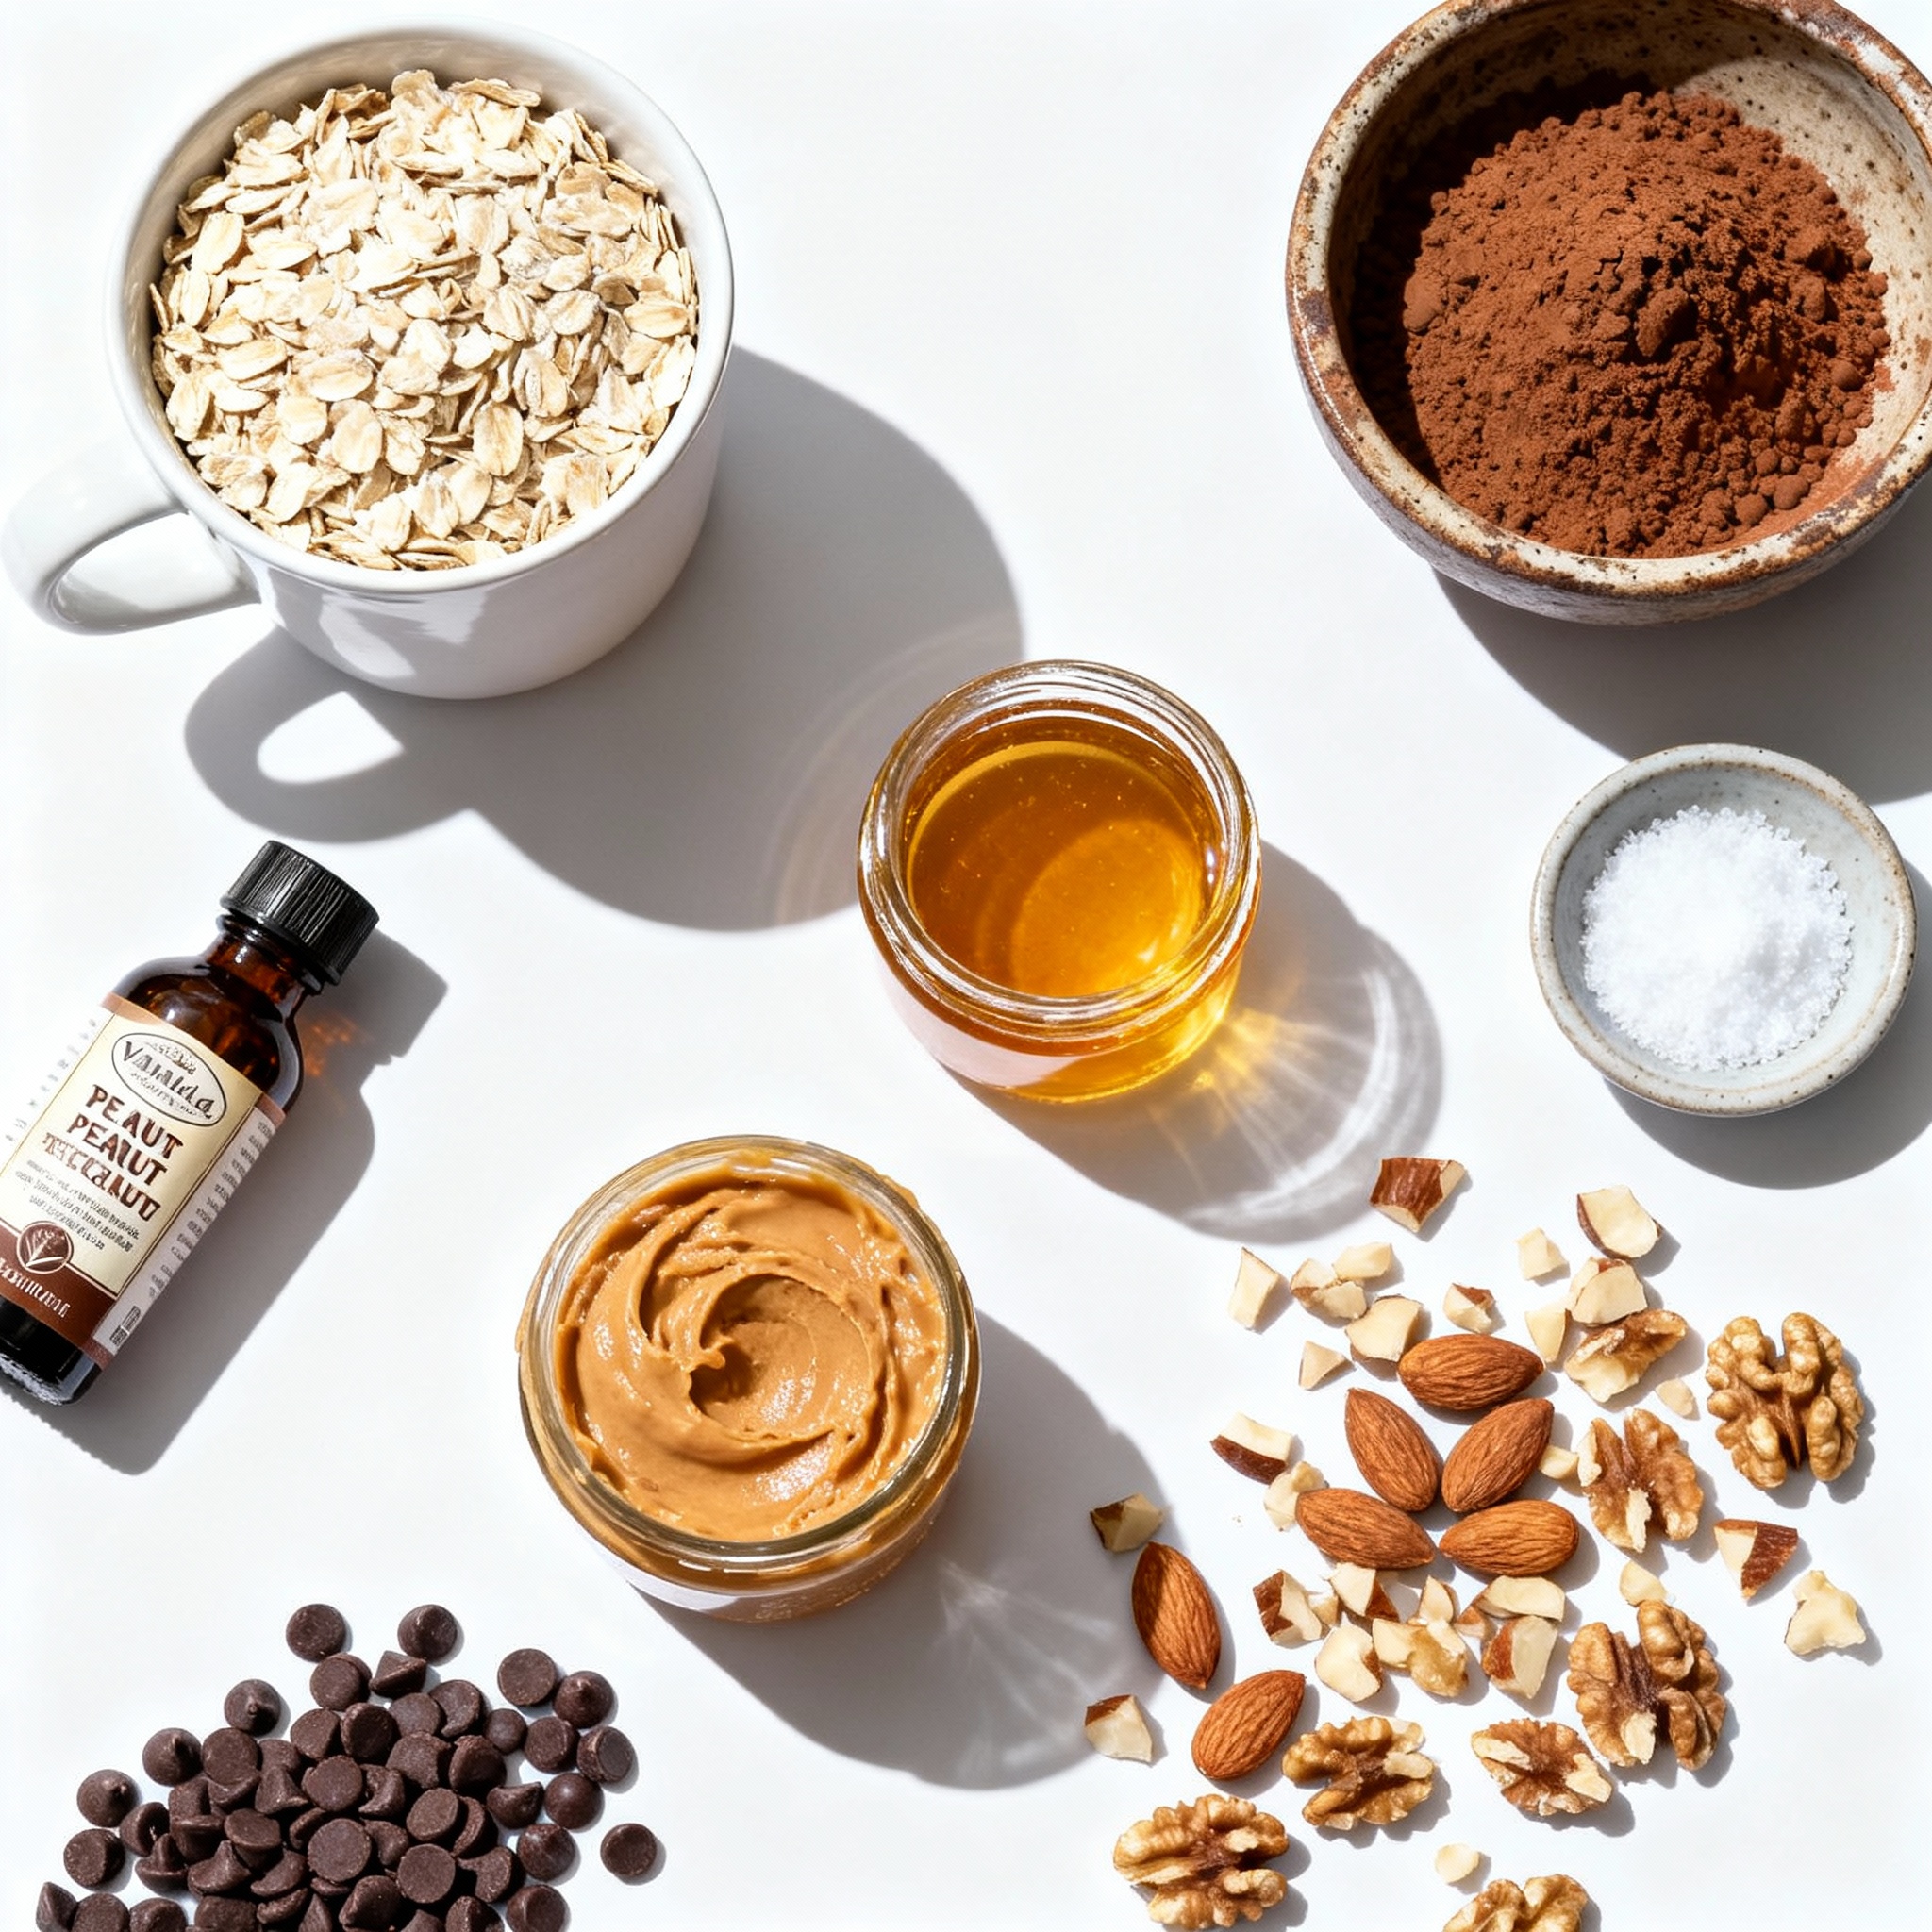
To create these no-bake chocolate peanut butter oatmeal cups, you will need the following ingredients:
– 1 cup rolled oats
– 1/2 cup natural peanut butter
– 1/4 cup honey or maple syrup
– 1/4 cup unsweetened cocoa powder
– 1/4 teaspoon salt
– 1/2 teaspoon vanilla extract
– 1/4 cup mini chocolate chips (plus extra for topping)
– 1/4 cup chopped nuts (optional, such as almonds or walnuts)
Each of these ingredients plays a key role. The rolled oats give a hearty base, while peanut butter adds creaminess and protein. Honey or maple syrup provides sweetness. The cocoa powder gives a rich chocolate flavor, and salt enhances the taste. Vanilla extract adds a lovely aroma. The mini chocolate chips and nuts add texture and extra flavor.
Feel free to mix it up based on your taste or what you have at home!
Step-by-Step Instructions
Preparation Steps
– Combine oats, peanut butter, honey or maple syrup, cocoa powder, salt, and vanilla.
– Use your hands to mix until everything is well combined.
– Fold in the mini chocolate chips and nuts if you want some crunch.
Molding the Cups
– Line a muffin tin with cupcake liners or spray it with non-stick cooking spray.
– Scoop about 2 tablespoons of the mixture into each muffin cup. Press down firmly so they hold their shape.
Chilling the Cups
– Sprinkle some extra mini chocolate chips on top for a tasty finish.
– Refrigerate the cups for at least 30 minutes to let them set.
Pro Tips
- Use Creamy Peanut Butter: Creamy peanut butter will blend more easily with the oats and other ingredients, ensuring a smooth texture.
- Chill for Best Results: Allow the cups to chill in the refrigerator for at least 30 minutes to achieve the perfect firmness and texture.
- Customize Your Mix-Ins: Feel free to add your favorite nuts, dried fruits, or seeds to the mixture for added flavor and texture.
- Keep Them Fresh: Store the oatmeal cups in an airtight container in the fridge to maintain freshness for up to a week.
Tips & Tricks
Best Mixing Practices
Using your hands to mix the ingredients can help a lot. Your hands warm the peanut butter, making it easier to blend. You can feel if the mixture is even. This way, every bite is just as tasty. Make sure to mix well until no dry oats are left.
Achieving the Perfect Consistency
The right texture is key to a great cup. If the mixture is too dry, add a bit more peanut butter or honey. If it feels too wet, add a few oats. Chilling is also important. Let the cups sit in the fridge for at least 30 minutes. This helps them set and hold their shape.
Presentation Ideas
You can get creative with toppings! Try adding crushed nuts or a drizzle of melted chocolate. For special occasions, serve the cups on a fun platter. You can also add fresh fruit on the side for color. These small touches make your no-bake cups look fancy and fun!
Variations
Flavor Modifications
You can change up the nut butter in this recipe. Almond or cashew butter works well too. Each nut butter gives a new taste and texture. You can also add different flavors of extract. Try almond or coconut extract for a twist.
Dietary Adjustments
If you want to make this recipe vegan, replace honey with maple syrup. This simple swap makes it plant-based and just as sweet. For a gluten-free option, ensure you use certified gluten-free oats. This way, you can enjoy these cups without worry.
Additional Mix-Ins
Add dried fruits like raisins or cranberries for extra flavor. You can also use seeds like chia or flaxseeds for added crunch and nutrition. If you love chocolate, try dark chocolate chips or even white chocolate. Each option brings a new layer of taste to your oatmeal cups.
Storage Info
Best Storage Practices
To keep your no-bake chocolate peanut butter oatmeal cups fresh, store them in an airtight container. This helps lock in moisture and flavor. You can keep them in the fridge or freezer, depending on when you plan to eat them. If you choose the fridge, they will be ready to enjoy at any time.
Shelf Life
In the refrigerator, these cups last about one week. If you notice any off smells, mold, or changes in texture, it’s best to toss them. Always trust your senses. Freshness is key!
Freezing for Later
To freeze these cups, wrap each one in plastic wrap, then place them in a freezer-safe bag. When you want to enjoy one, remove it from the freezer and let it thaw in the fridge. You can also use leftover cups in smoothies or as a topping for yogurt or oatmeal. They add great flavor and texture!
FAQs
Can I substitute peanut butter with another nut butter?
Yes, you can use other nut butters. Almond butter and cashew butter work well. They have similar textures and flavors. Just make sure to choose a nut butter that you enjoy. The taste may change slightly, but it will still be delicious!
How long does it take for the cups to set?
The cups need at least 30 minutes in the fridge to set. Chilling them helps them firm up nicely. If you want them extra firm, you can chill them for an hour or more. Just keep an eye on them, and you’ll know when they’re ready!
Can I add protein powder to the recipe?
Yes, you can add protein powder. Start with one tablespoon and mix it in well. Too much protein powder may change the taste and texture. Adjust the liquid slightly if needed to keep it moist. Enjoy your tasty, protein-packed treat!
These no-bake cups are easy to make and fun to enjoy. We covered the ingredients, steps, tips, and variations. You can customize them to fit your taste. Whether you choose classic peanut butter or explore new flavors, these cups are a hit. Store them right to keep them fresh. I hope you feel inspired to make and share these tasty treats. You will not regret it!
.png)
