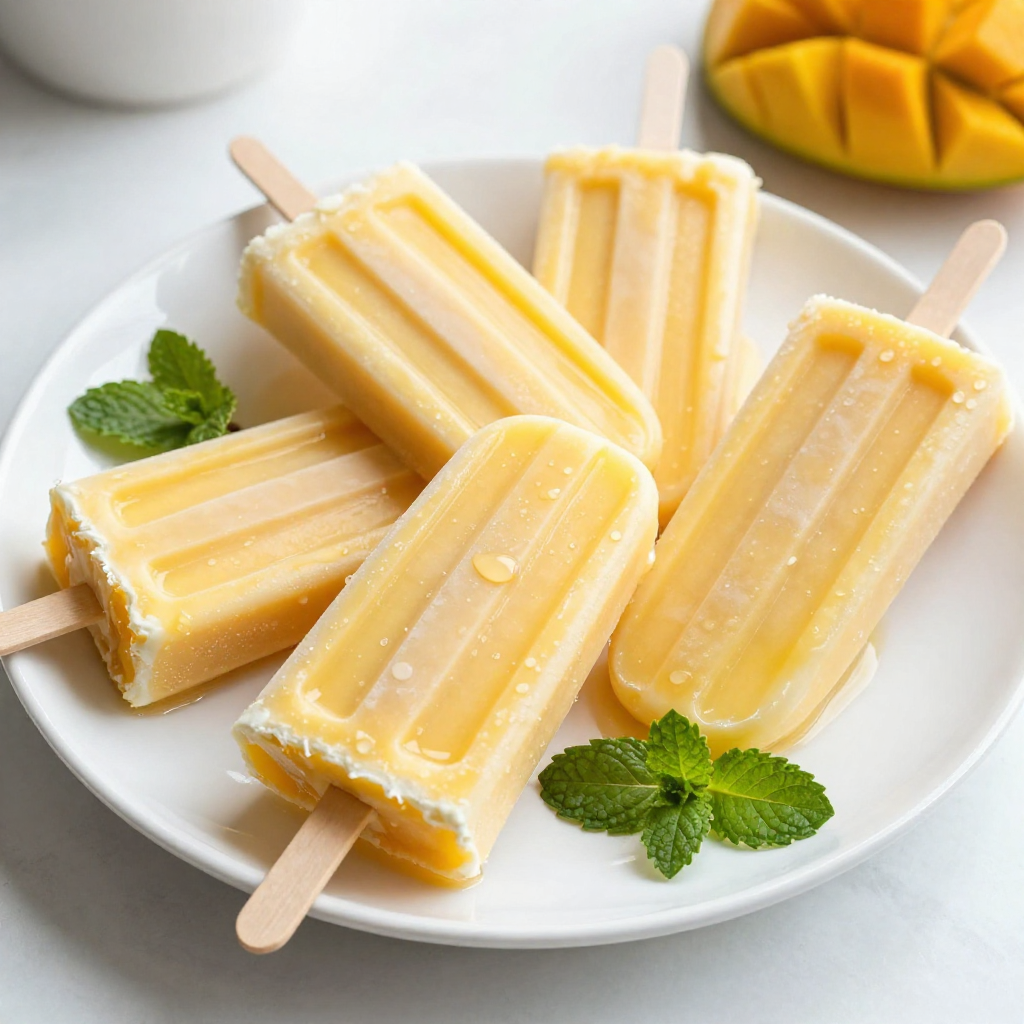
Cool down with Mango Lassi Popsicles, the perfect summer treat! These creamy delights blend fresh mangoes with yogurt for a refreshing twist. I’ll guide you through easy steps to whip up this delicious frozen snack. Whether enjoying a hot day or just craving something fruity, these popsicles are sure to please. Let’s jump in and make your new favorite treat!
Why I Love This Recipe
- Refreshing Flavor: The combination of sweet mangoes and tangy yogurt creates a delightful taste that is perfect for hot days.
- Easy to Make: This recipe requires minimal ingredients and simple steps, making it a hassle-free treat.
- Healthy Option: Packed with nutrients from mango and yogurt, these popsicles are a guilt-free dessert choice.
- Customizable: Feel free to adjust the sweetness or add other fruits to suit your taste preferences!
Ingredients
Fresh Mangoes and Dairy
For these mango lassi popsicles, you need two ripe mangoes. Peel and dice them. The mangoes give a sweet and juicy flavor. Next, use one cup of plain yogurt. This adds creaminess and tang. You can use regular or Greek yogurt based on your taste. Then, add half a cup of coconut milk. It makes the popsicles extra creamy and rich.
Sweeteners and Flavorings
You will need a quarter cup of honey or maple syrup. This sweetens the mixture. You can adjust the amount based on how sweet you like it. Then, add one teaspoon of ground cardamom. This spice brings warmth and depth to the popsicles. A tablespoon of lime juice adds a zesty kick. Finally, a pinch of salt balances the flavors.
Optional Add-ins
You can get creative with add-ins. Consider adding fresh mint leaves for a refreshing touch. You can also mix in some shredded coconut for added texture. If you like some crunch, try adding nuts like pistachios or almonds. These add-ins make the popsicles more fun and unique.

Step-by-Step Instructions
Preparing the Ingredients
Start with fresh mangoes. You need two ripe mangoes. Peel and dice them into small pieces. This helps the blender mix them well. Next, gather the other ingredients: one cup of plain yogurt, half a cup of coconut milk, a quarter cup of honey or maple syrup, one teaspoon of ground cardamom, one tablespoon of lime juice, and a pinch of salt. Make sure everything is ready. This step makes blending fast and easy.
Blending the Mixture
Now, it’s time to blend! Take your diced mangoes and add them to the blender. Pour in the yogurt and coconut milk. Then, add your sweetener. Honey gives a nice taste, but maple syrup works too. Sprinkle in the ground cardamom, lime juice, and a pinch of salt. Blend on high speed until the mixture is smooth and creamy. Once blended, taste it. You can add more honey or maple syrup if you want it sweeter. The mixture should be delicious!
Freezing and Serving
After blending, it’s time to pour. Take the creamy mixture and fill your popsicle molds. Leave a little space at the top. This space allows the popsicles to expand as they freeze. Next, insert the sticks into the molds. Place them in the freezer. You need to freeze them for at least six to eight hours. Once they are solid, it’s time to serve. To get the popsicles out, run warm water over the molds for a few seconds. Gently pull them out. Serve your popsicles on a colorful plate. For a fun touch, add mint leaves on top. Enjoy your cool treat!
Tips & Tricks
Achieving the Perfect Texture
For smooth popsicles, blend the ingredients well. Start with ripe mangoes. They make a creamy base. Use full-fat yogurt for a rich taste. Coconut milk adds a nice creaminess too. If your mix is too thick, add a splash of water. Blend until it’s silky. A perfect texture means a better popsicle!
Sweetness Adjustments
Taste your mix before freezing. If it needs more sweetness, add honey or maple syrup. Start with a little, then blend and taste again. Remember, frozen treats can taste less sweet. Don’t be shy to adjust! You want it just right for your taste buds.
Presentation Ideas
Make your popsicles pop! Serve them on a bright plate. Use colorful parchment paper for a fun touch. Garnish with mint leaves for a fresh look. You can even add thin mango slices on the side. A beautiful presentation makes the treat even more special!
Pro Tips
- Use Ripe Mangoes: The riper the mango, the sweeter and more flavorful your popsicles will be. Look for mangoes that are slightly soft to the touch and have a fruity aroma.
- Adjust Sweetness: Taste the mixture before freezing and adjust the sweetness with honey or maple syrup according to your preference. Remember that freezing can dull sweetness, so a little extra might be needed.
- Experiment with Flavors: Feel free to add other fruits like pineapple or banana for a unique twist on the classic mango lassi flavor. Just ensure the overall consistency stays creamy.
- Proper Freezing: For best results, freeze the popsicles for at least 6-8 hours. This ensures they are solid and easy to remove from the molds without breaking.
Variations
Adding Different Fruits
You can mix in other fruits for fun flavors. Try adding strawberries or peaches. Just chop them up and blend them with the mangoes. This adds color and taste. Each fruit brings a new twist to your mango lassi popsicles. You can also use berries for a tart touch. They pair well with mango's sweetness. Experiment with what you like best!
Alternative Sweeteners
If you want less sugar, switch sweeteners. Maple syrup gives a rich flavor. You can also use agave nectar or stevia. Each sweetener changes the taste a little. Start with less and taste the mix. Adjust until it feels right for you. This way, you can make the popsicles fit your diet or preference.
Dairy-Free Options
You can make these popsicles dairy-free easily. Just replace yogurt with a dairy-free alternative. Try coconut yogurt or almond yogurt for a nutty flavor. You can also use cashew cream for a creamy texture. Ensure the coconut milk is unsweetened if you want control over sweetness. This way, everyone can enjoy mango lassi popsicles, even those who avoid dairy!
Storage Info
How to Store Leftover Popsicles
To store leftover popsicles, keep them in their molds until you are ready to eat them. If you need to store them longer, gently remove them from the molds. Wrap each popsicle in plastic wrap or place them in a freezer-safe bag. This keeps them fresh and prevents freezer burn. You can also label the bag with the date.
Best Practices for Freezing
When freezing popsicles, ensure your mixture is smooth and well-blended. Pour the mixture into molds, leaving a bit of space at the top. This space allows for expansion as the popsicles freeze. Use sticks that fit snugly in the molds. If they fall over, use a piece of foil to hold them in place.
Shelf Life and Freshness Tips
Mango lassi popsicles can last up to three months in the freezer. For the best taste, enjoy them within one month. Store them at 0°F or lower. Always check for any off smells or ice crystals before eating. If you see ice crystals, it’s best to discard them for a better taste.
FAQs
Can I use frozen mangoes for this recipe?
Yes, you can use frozen mangoes. They work well in popsicles. Just make sure to let them thaw a bit before blending. This helps the blender mix everything smoothly. Frozen mangoes give a nice, cold treat, perfect for hot days.
How long do the popsicles last in the freezer?
These popsicles can last up to two months in the freezer. Just keep them in an airtight container or in the molds. This keeps them fresh and tasty. Over time, they may lose some flavor or texture, so enjoy them sooner rather than later!
What can I substitute for yogurt?
If you need a yogurt substitute, try using coconut yogurt or almond yogurt. These options keep the creamy texture. You can also use silken tofu for a dairy-free choice. It adds creaminess without strong flavors. Adjust the sweetness, as some substitutes may be less sweet.
This blog post covered how to make tasty mango popsicles. We discussed the key ingredients like fresh mangoes and dairy, plus sweeteners. I shared step-by-step instructions for preparing, blending, and freezing your treats. Tips for texture and sweetness made the process easy. We also explored fun variations and how to store leftovers properly.
In closing, you can create your own popsicles with simple steps. Enjoy making different flavors and share them with friends!
.png)


