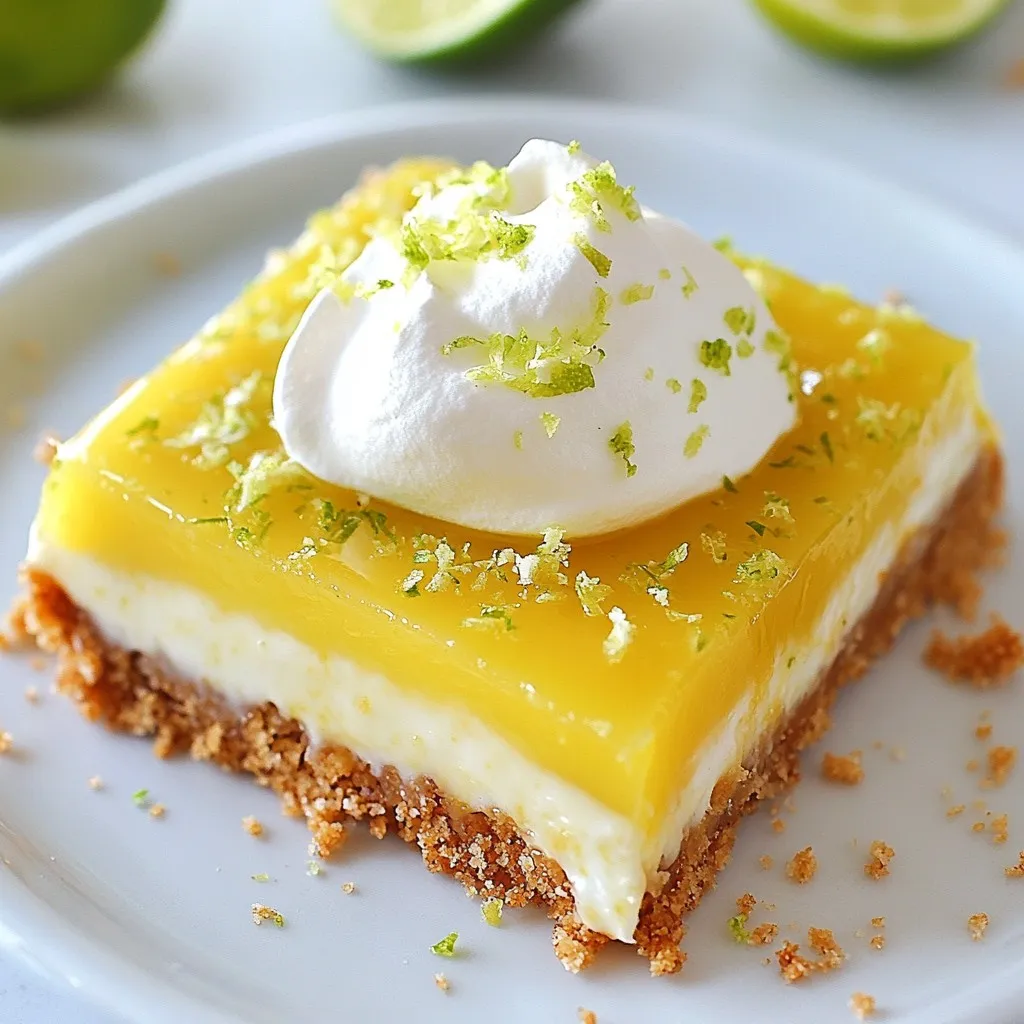
Craving a dessert that’s both tangy and sweet? You’ve come to the right place! These Key Lime Pie Bars are a delightful twist on the classic pie. With a buttery graham cracker crust and a smooth, zesty filling, every bite offers a burst of flavor. Follow my easy steps, and soon you’ll impress family and friends with this simple yet delicious treat. Get ready to elevate your dessert game!
Why I Love This Recipe
- Refreshing Flavor: The combination of key lime juice and zest creates a zesty, refreshing taste that is perfect for warm weather.
- Coconut Crunch: The addition of shredded coconut in the crust adds a delightful texture and tropical twist to the classic key lime pie.
- Easy to Make: This recipe is simple and requires minimal ingredients, making it perfect for both beginners and experienced bakers.
- Impressive Presentation: These bars look beautiful when topped with whipped cream and lime zest, making them a great dessert for gatherings.
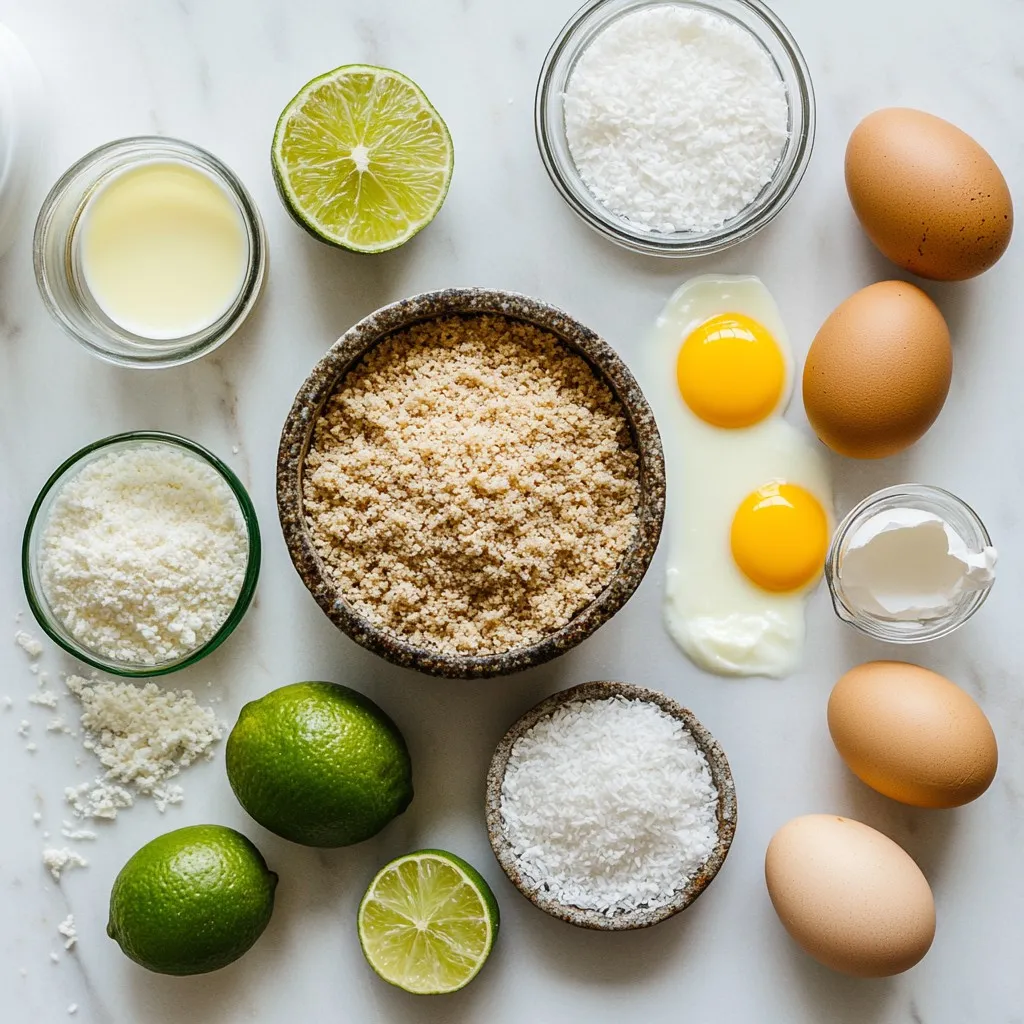
Ingredients
Main Ingredients for Key Lime Pie Bars
– Graham Cracker Crust:
The crust is simple and tasty. You need 1 ½ cups of graham cracker crumbs. Add ½ cup of unsweetened shredded coconut for extra flavor. Combine these with ½ cup of melted unsalted butter and ⅓ cup of granulated sugar. Mix until crumbly. This gives a sweet, crunchy base.
– Key Lime Filling:
The filling is the star of the show. Use one can (14 oz) of sweetened condensed milk. Add ¾ cup of fresh key lime juice, which comes from about 10 key limes. The zest of 2 key limes adds a bright flavor. Whisk in 3 large egg yolks, 1 teaspoon of vanilla extract, and a pinch of salt. This mixture makes your bars creamy and tangy.
– Optional Toppings:
For a lovely finish, you can top your bars with whipped cream. A sprinkle of lime zest on top looks great and adds freshness.
Step-by-Step Instructions
Preparing the Crust
1. Preheat your oven to 350°F (175°C). Start by lining an 8×8-inch baking pan with parchment paper. Leave some paper hanging over the edges. This helps you lift the bars out later.
2. Mix the crust ingredients. In a bowl, combine 1 ½ cups of graham cracker crumbs, ½ cup of unsweetened shredded coconut, ½ cup of melted unsalted butter, and 1/3 cup of granulated sugar. Stir until the mix is crumbly.
3. Press the mixture into the pan. Spread the crust evenly across the bottom of the baking pan. Bake for 8-10 minutes. Look for a light golden color. Let it cool while you make the filling.
Making the Key Lime Filling
1. Combine the main filling ingredients. In a new bowl, whisk together one can of sweetened condensed milk, ¾ cup of fresh key lime juice, the zest from 2 key limes, and 3 large egg yolks. Add 1 teaspoon of vanilla extract and a pinch of salt. Mix well until smooth.
2. Ensure it’s well mixed. This filling is the heart of the bars. A good whisk makes it creamy and rich.
Baking the Bars
1. Pour the filling over the crust. Once the crust has cooled, gently spread the key lime mixture over it. Make sure it covers the crust evenly.
2. Bake the bars. Place it back in the oven and bake for 15-20 minutes. The filling should be just set but still jiggle a bit in the center.
3. Cool and chill. After baking, let the bars cool at room temperature for 30 minutes. Then, refrigerate them for at least 2 hours. This helps the filling firm up nicely.
Tips & Tricks
Achieving the Perfect Texture
To get the best texture in your Key Lime Pie Bars, focus on baking times and cooling methods. Bake the crust for 8-10 minutes. You want it lightly golden. Let it cool completely before adding the filling. After you pour in the filling, bake for 15-20 minutes. The center should jiggle a bit when done. Cool at room temperature for 30 minutes. Then, refrigerate for at least 2 hours. This helps the bars set firm.
For a smooth filling, whisk the sweetened condensed milk and key lime juice well. Mix in the egg yolks and vanilla until it is blended. A whisk works better than a fork for this.
Flavor Enhancements
To adjust the sweetness and acidity, add more or less lime juice. Key limes are tart, so taste the filling before baking. You can also add a touch of coconut flavor. Mix in some unsweetened shredded coconut for a tropical twist. A bit of lime zest brightens the flavor too. Just remember, balance is key!
Presentation Suggestions
For a creative serving idea, top each bar with a dollop of whipped cream. A sprinkle of lime zest adds a pop of color and taste. To cut the bars, use a sharp knife. Wipe the knife with a damp cloth between cuts for clean edges. This makes your bars look neat and professional.
Pro Tips
- Use Fresh Key Limes: For the best flavor, opt for fresh key limes instead of bottled juice. You’ll notice a significant difference in taste!
- Cool Before Refrigerating: Allow the bars to cool at room temperature before chilling in the fridge. This helps prevent condensation from forming on the surface.
- Chill for Best Texture: Make sure to chill the bars for at least 2 hours. This gives the filling time to set perfectly, resulting in a firmer texture.
- Garnish Creatively: Enhance presentation with fresh lime slices or edible flowers along with whipped cream for a tropical touch!
Variations
Different Flavor Profiles
You can add fun twists to your Key Lime Pie Bars. Try making Coconut Key Lime Pie Bars. Just mix in unsweetened shredded coconut into the crust. This adds a chewy texture and a tropical taste.
You can also add fruits like mango or raspberry. Just layer them on the filling before baking. These fruits give a sweet contrast to the tart key lime.
Dietary Modifications
If you need gluten-free options, swap the graham cracker crumbs with almond flour or gluten-free cookies. This keeps the crust tasty and safe for everyone.
For a vegan version, use coconut cream instead of sweetened condensed milk. Replace the eggs with a mix of ground flaxseed and water. These swaps keep the flavor but fit a vegan diet.
Serving Suggestions
Key Lime Pie Bars taste great on their own. But you can pair them with other desserts. They go well with a scoop of vanilla ice cream. The creamy ice cream balances the tangy bars perfectly.
For drinks, serve them with iced tea or lemonade. Both drinks enhance the refreshing taste of the bars. You can even try a fruity cocktail for a festive touch.
Storage Info
Short-Term Storage
To keep your Key Lime Pie Bars fresh, store them in the refrigerator. Use an airtight container to prevent drying. If you don’t have one, wrap the bars tightly with plastic wrap. This will help keep the tangy flavor intact. Make sure to keep the bars chilled until you are ready to serve them.
Freezing Key Lime Pie Bars
You can freeze Key Lime Pie Bars for later enjoyment. First, cut the bars into squares. Then, wrap each piece in plastic wrap. Place them in a freezer-safe container or a zip-top bag. Be sure to remove as much air as possible. To thaw, move the bars to the fridge overnight. This helps maintain their creamy texture.
Shelf Life
In the fridge, Key Lime Pie Bars stay fresh for about a week. Check for signs of spoilage, like mold or an off smell. If they look dry or crumbly, it’s best to toss them. Storing properly will make sure you enjoy every last bite!
FAQs
What are Key Limes and how do they differ from regular limes?
Key limes are smaller and rounder than regular limes. They have a thin skin and are usually more yellow. The taste is tart and fragrant, with a sweeter note. Regular limes, like Persian limes, are bigger and have a thicker skin. They are often less tart and more acidic. Using key limes gives your pie bars a unique flavor that you can’t get with regular limes.
Can I use bottled key lime juice instead of fresh juice?
Yes, you can use bottled key lime juice, but fresh juice is best. Fresh key limes have a vibrant taste that bottled juice lacks. If you use bottled juice, check the label for pure juice. Some brands mix in other juices, which can change the flavor. Fresh juice gives the bars a bright, zesty kick that makes them special.
How can I tell when the bars are done baking?
When the bars are done, the filling should be set with a slight jiggle in the center. Bake them for 15 to 20 minutes after adding the filling. If the bars puff up and then settle, that’s a good sign. Let them cool and chill before cutting. This helps them set properly and makes them easier to slice.
Is there a way to make this recipe ahead of time?
Yes, you can make these bars ahead of time. Bake the bars and let them cool completely. Then, refrigerate them for up to three days before serving. Chilling them enhances the flavor and texture. You can also freeze them for longer storage. Just wrap them well in plastic wrap and foil. Thaw in the fridge before enjoying.
You now have all the steps to make delicious Key Lime Pie Bars. From the crust to the filling, each part is key to great flavor. Remember to choose fresh key limes for the best taste. Adapt the recipe to suit your needs, whether you want gluten-free or vegan options. Store your bars properly for lasting freshness. Enjoy sharing these tasty treats with friends and family. Crafting these bars can be fun and rewarding. Now it’s your turn to start bakin
.png)


