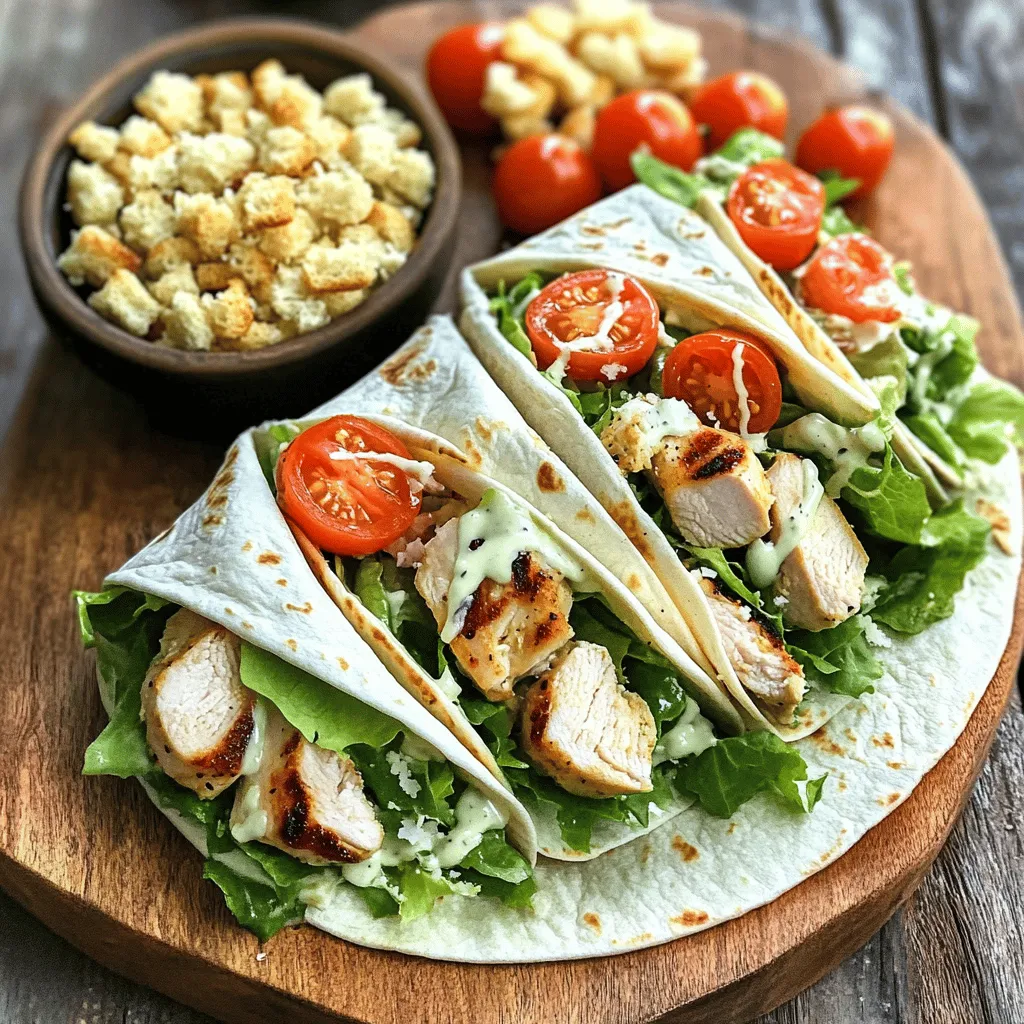
Looking for a quick and tasty meal? Try my Grilled Chicken Caesar Wrap! This easy recipe combines juicy grilled chicken, fresh vegetables, and creamy Caesar dressing, all in a warm tortilla. Perfect for lunch or dinner, it’s a flavorful dish you can make in a flash. Let me guide you step-by-step to create this delicious wrap that everyone will love. Get ready to impress your family with this fun and satisfying meal!
Why I Love This Recipe
- Quick and Easy: This Grilled Chicken Caesar Wrap can be prepared in just 30 minutes, making it perfect for busy weeknights.
- Flavorful Ingredients: The combination of grilled chicken, fresh Romaine lettuce, juicy cherry tomatoes, and rich Caesar dressing creates a delicious flavor profile.
- Customizable: You can easily modify the ingredients, adding your favorite veggies or swapping out the protein for a vegetarian option.
- Great for Meal Prep: These wraps can be made ahead of time and stored in the fridge, making them a convenient option for lunch or dinner.
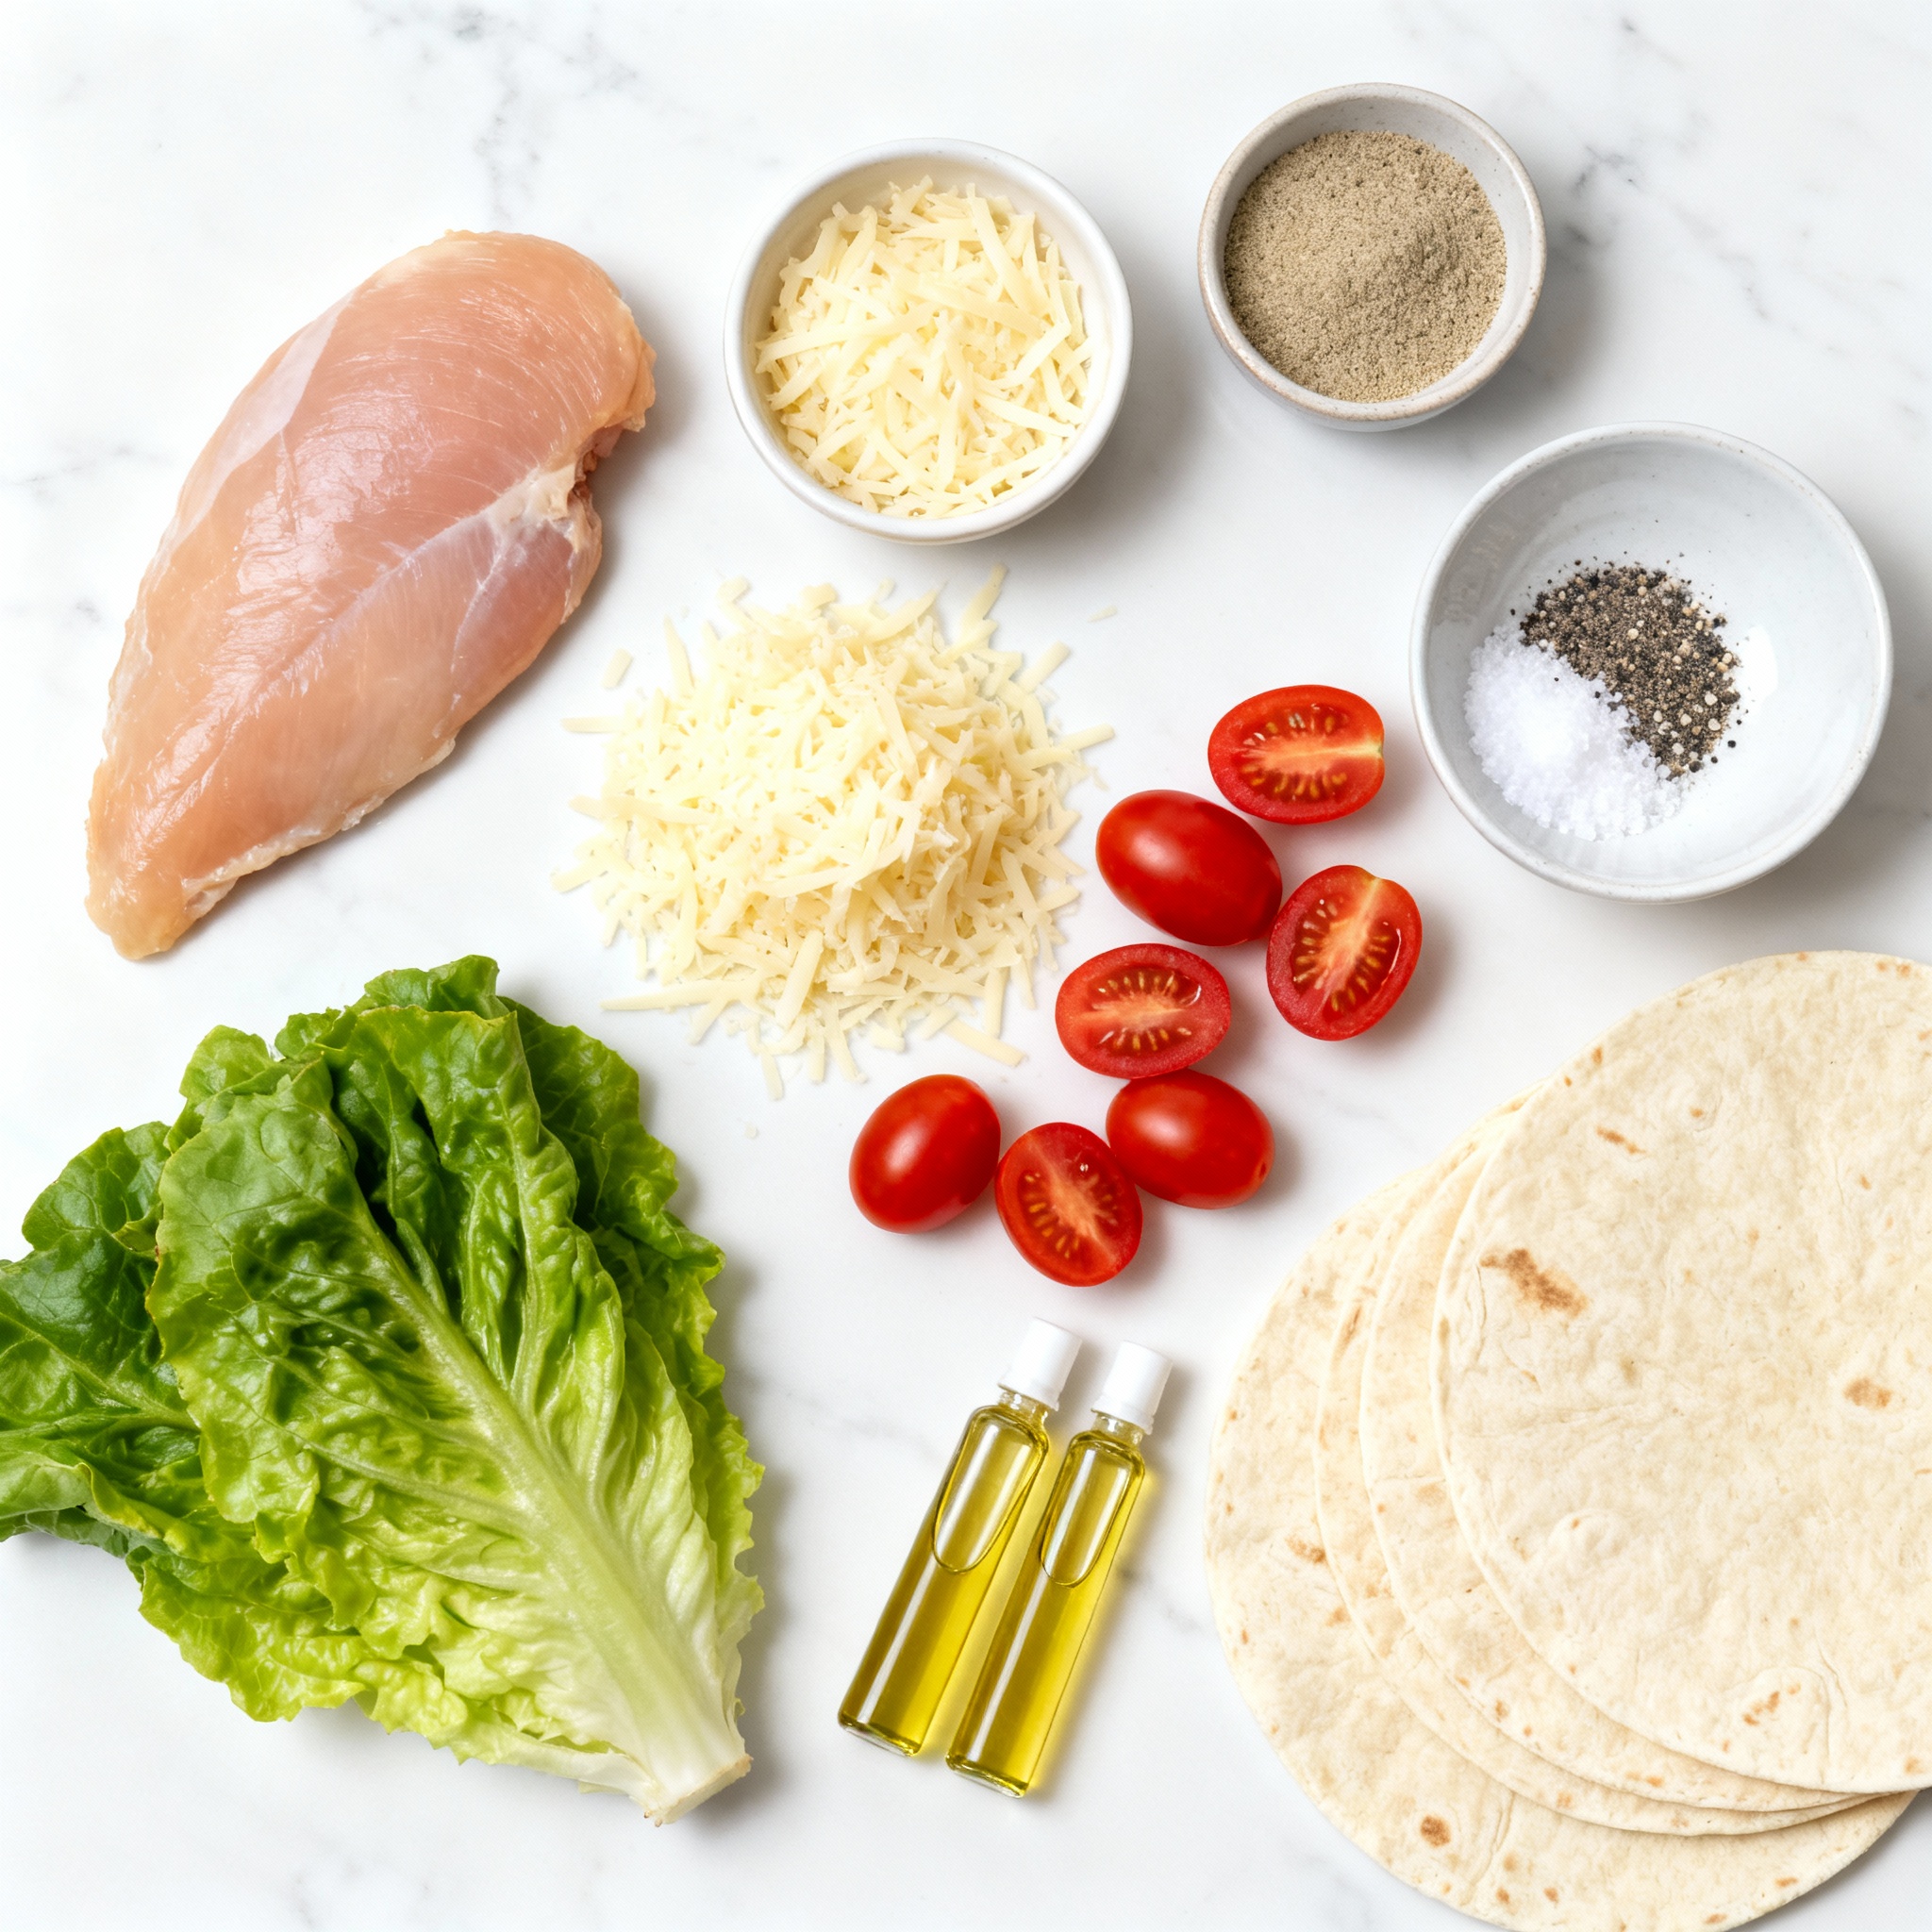
Ingredients
Main Ingredients
– Grilled chicken
– Tortillas
– Caesar dressing
In this wrap, grilled chicken forms the heart of the dish. I love using boneless, skinless chicken breasts because they cook evenly and stay juicy. Tortillas are the perfect vessel for all the tasty fillings. I prefer large flour tortillas, but you can use whole wheat or corn tortillas based on your taste. For a creamy kick, Caesar dressing brings everything together with its rich flavor.
Optional Ingredients
– Croutons
– Additional vegetables
Croutons add a nice crunch to the wrap. You can use store-bought ones or make your own. I often toss in some extra veggies like cherry tomatoes, diced cucumbers, or bell peppers. They add color and freshness to the wrap, making it more vibrant and nutritious.
Seasoning
– Garlic powder
– Onion powder
– Salt and pepper
Seasoning is key to great flavor. I use garlic powder and onion powder to enhance the chicken’s taste. A pinch of salt and pepper brings out all the other flavors. You can adjust the amounts to your liking. Remember, seasoning well is what turns a good meal into a great one.
Step-by-Step Instructions
Preparation Steps
1. Preheat the grill: Start by preheating your grill or grill pan over medium heat. This helps the chicken cook evenly and gives it great marks.
2. Prepare the chicken: In a small bowl, mix 2 tablespoons of olive oil with 1 teaspoon of garlic powder, 1 teaspoon of onion powder, and some salt and pepper. Brush this mix on both sides of the two boneless, skinless chicken breasts. This step adds flavor and keeps the chicken moist.
Grilling the Chicken
– Cooking time and technique: Place the chicken on the grill for about 6-7 minutes on each side. Use tongs to flip the chicken. You want nice grill marks, and it should be golden brown.
– Checking for doneness: Check if the chicken is done by making sure the juices run clear. You can also cut into the thickest part. If it’s white and no pink remains, it’s ready. Remove the chicken from the grill and let it rest for 5 minutes. This helps the juices settle.
Assembling the Wrap
– Layering ingredients: While the chicken rests, get your four large flour tortillas. Lay them flat and evenly divide the chopped Romaine lettuce, halved cherry tomatoes, and grated Parmesan cheese over each tortilla.
– Folding techniques: Slice the grilled chicken into thin strips and add them to the tortillas. Drizzle Caesar dressing over the top. If you want some extra crunch, add croutons. To fold, tuck in the sides of the tortilla, then roll tightly from the bottom up. This keeps all the tasty fillings inside.
Enjoy making your Grilled Chicken Caesar Wrap with these easy steps!
Pro Tips
- Marinate for Flavor: For enhanced flavor, marinate the chicken in the olive oil and spices for at least 30 minutes before grilling.
- Grill Temperature: Ensure your grill is properly preheated to avoid sticking and to achieve those beautiful grill marks.
- Fresh Ingredients: Use fresh Romaine and ripe cherry tomatoes for the best taste and texture in your wraps.
- Wrap Storage: If preparing in advance, store the wraps in an airtight container to keep them fresh and prevent sogginess.
Tips & Tricks
Perfecting the Grill
Grilling is an art, and I want you to master it! First, control your grill’s temperature. Aim for medium heat. This helps the chicken cook evenly without burning. Use a grill thermometer to check.
Timing is key, too. Grill the chicken for 6-7 minutes on each side. Check for clear juices to know it’s ready. Let the chicken rest for 5 minutes after grilling. This keeps it juicy and tender.
Customizing Your Wrap
You can make your wrap unique! Try different dressings if you like. A yogurt or ranch dressing can add a nice twist. You can also skip the Caesar dressing if you prefer a lighter flavor.
Extra toppings can elevate your wrap. Add sliced bell peppers, cucumbers, or avocado for a fresh crunch. You can even throw in bacon bits for a salty kick!
Making Ahead
Prep your ingredients in advance for quick meals. Marinate the chicken the night before for extra flavor. Chop your veggies and store them in the fridge.
If you want to store wraps for later, roll them tightly in plastic wrap. Keep them in the fridge for up to two days. This makes for a ready-to-eat meal whenever you need one.Enjoy your cooking!
Variations
Protein Alternatives
You can switch the grilled chicken for turkey or beef. Turkey gives a nice lean flavor. Beef adds a rich, hearty taste. For a vegetarian option, try grilled tofu or chickpeas. Both are full of protein and flavor.
Different Sauces
You can make your own Caesar dressing at home. Mixing olive oil, lemon juice, and anchovies creates a fresh taste. If you want something different, try ranch or a spicy mayo. Each sauce brings a unique twist to your wrap.
Flavor Additions
Spices can elevate your wrap. Add smoked paprika for a smoky flavor or Italian seasoning for a fresh herb taste. You can also mix in extra veggies like bell peppers or cucumbers for a crunchy bite. These simple changes make your Grilled Chicken Caesar Wrap even more exciting.
Storage Info
Short-Term Storage
To keep your Grilled Chicken Caesar Wrap fresh, store it in the fridge. Wrap each one tightly in plastic wrap. This helps prevent it from drying out. You can also use airtight containers for better protection. It’s best to eat them within three days to enjoy the best flavor.
Long-Term Storage
If you want to keep your wraps longer, freezing is a good option. Wrap each one in foil or plastic wrap, then place them in a freezer bag. Be sure to remove as much air as possible. When ready to eat, take a wrap out and let it thaw overnight in the fridge. To reheat, place it in a warm oven or on a skillet until heated through.
Shelf Life
Grilled Chicken Caesar Wraps last about three days in the fridge. In the freezer, they can stay good for up to two months. Always check for signs of spoilage before eating. If you see any mold or the wrap smells sour, it’s best to toss it. Keeping an eye on these details helps you enjoy safe and tasty meals.
FAQs
How do I make the Grilled Chicken Caesar Wrap gluten-free?
To make the Grilled Chicken Caesar Wrap gluten-free, you can swap the flour tortillas. Use corn tortillas, lettuce leaves, or gluten-free wraps instead. Ensure that your Caesar dressing is also gluten-free. Some brands add gluten, so check the label carefully. With these changes, you can enjoy a tasty wrap without gluten.
Can I use leftovers for this recipe?
Yes, you can use leftover chicken or other ingredients for this wrap. Store the chicken in an airtight container in the fridge for up to three days. To reuse, slice the chicken and add it to fresh tortillas with your favorite toppings. This method saves food and cuts down on waste. Always check for freshness before using leftovers.
What side dishes pair well with Grilled Chicken Caesar Wrap?
Many side dishes complement the Grilled Chicken Caesar Wrap. Here are some tasty options:
– Fresh fruit salad
– Crispy potato wedges
– A light green salad
– Veggie sticks with hummus
– Garlic bread
These sides add variety and taste to your meal, making it even more enjoyable.
In this post, we covered how to make a Grilled Chicken Caesar Wrap. We discussed main and optional ingredients, along with seasonings. You learned how to prep, grill, and assemble the wrap. We shared tips for grilling and customizing, plus storage advice.
In conclusion, this wrap is versatile and easy to make. You can mix and match ingredients to suit your taste. Enjoy experimenting with different flavors and toppings. With these steps, you can create a tasty meal that fits your style.
.png)