Are you tired of the same old meals and struggling to please a picky eater? Try my Crispy Picky Eater Parmesan Crusted Tilapia Delight! This dish combines simple ingredients to create a fun, crispy crust that even the fussiest eaters love. With easy instructions and helpful tips, you’ll have a tasty dinner ready in no time. Let’s dive into the delicious world of crispy tilapia!
Why I Love This Recipe
- Quick and Easy: This recipe comes together in just 25 minutes, making it perfect for busy weeknights.
- Crispy Texture: The panko breadcrumbs create a delightful crunch that appeals to picky eaters.
- Flavorful Coating: The combination of Parmesan cheese and Italian herbs adds a delicious flavor boost to the mild fish.
- Versatile Side Options: Serve it with veggies or a salad for a balanced meal that everyone will enjoy.
Ingredients
Complete List of Ingredients
To make crispy picky eater Parmesan crusted tilapia, you will need:
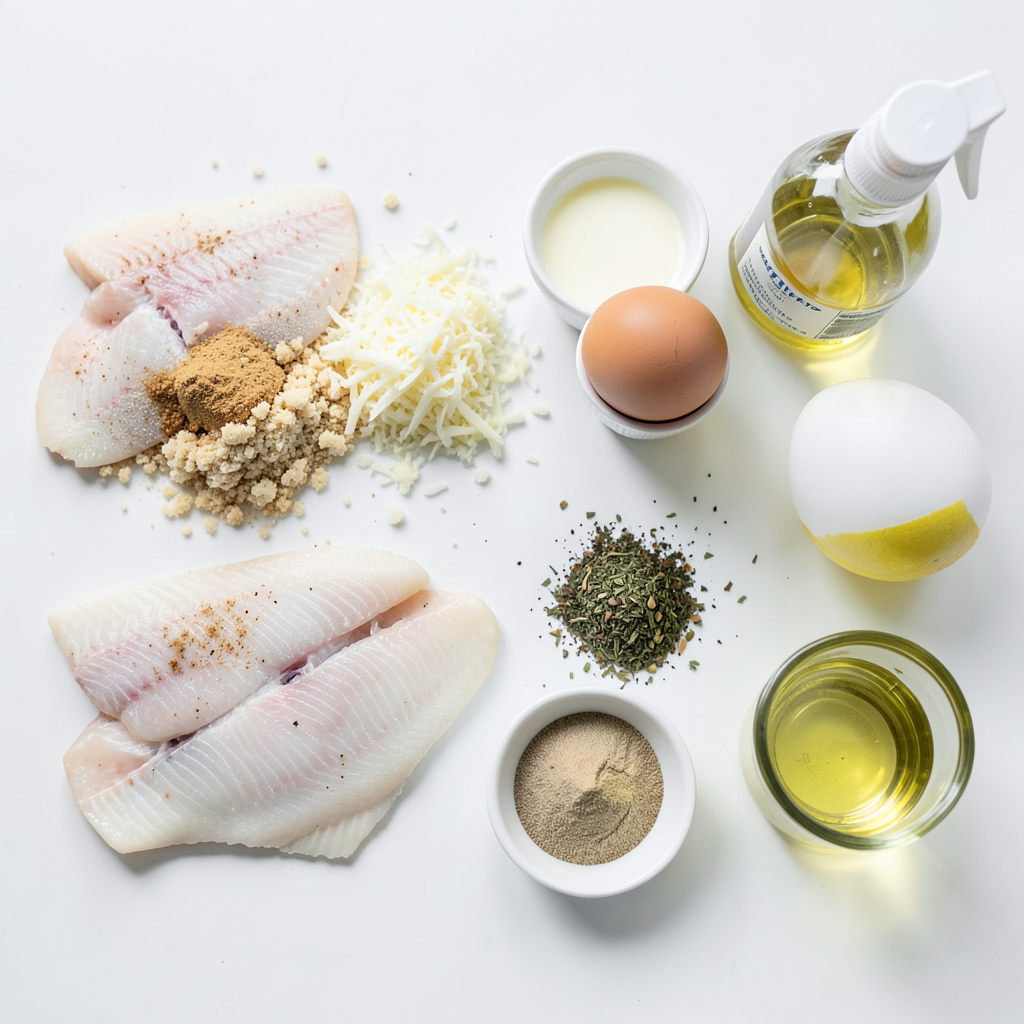
- 4 tilapia fillets
- 1 cup panko breadcrumbs
- 1/2 cup grated Parmesan cheese
- 1 teaspoon garlic powder
- 1 teaspoon onion powder
- 1 teaspoon dried Italian herbs (oregano, basil, thyme)
- 1/2 teaspoon salt
- 1/4 teaspoon black pepper
- 2 large eggs
- 2 tablespoons milk
- 1 tablespoon lemon juice
- Olive oil spray or 2 tablespoons melted butter
Alternative Ingredient Suggestions
If you want to mix it up, try these ideas:
- Swap tilapia for cod or haddock for a different fish.
- Use regular breadcrumbs instead of panko for a softer coating.
- Replace Parmesan with cheddar or mozzarella for a milder taste.
- Add a pinch of paprika for a little heat.
- Use almond milk instead of regular milk for a non-dairy option.
Equipment Needed
You’ll need some tools to make this dish:
- Baking sheet
- Parchment paper
- Two shallow dishes for coating
- Whisk for mixing eggs
- Paper towels to dry the fish
- Oven to bake the tilapia
Step-by-Step Instructions
Preheat and Prepare the Baking Sheet
First, set your oven to 425°F (220°C). This high heat helps the tilapia get crispy. Next, grab a baking sheet and line it with parchment paper. This step keeps the fish from sticking.
Prepare the Breadcrumb Mixture
In a shallow dish, mix the following:
- 1 cup panko breadcrumbs
- 1/2 cup grated Parmesan cheese
- 1 teaspoon garlic powder
- 1 teaspoon onion powder
- 1 teaspoon dried Italian herbs (oregano, basil, thyme)
- 1/2 teaspoon salt
- 1/4 teaspoon black pepper
Stir these ingredients together. The mixture should look even and colorful.
Create the Egg Coating
In another shallow bowl, whisk together:
- 2 large eggs
- 2 tablespoons milk
- 1 tablespoon lemon juice
Mix them well until smooth. This egg mixture helps the breadcrumbs stick to the fish.
Coat the Tilapia Fillets
Take your tilapia fillets and pat them dry with paper towels. Drying helps the coating stick better. Dip each fillet in the egg mixture first. Let any extra drip off. Then, coat the fillet in the breadcrumb mixture. Press gently to make sure the crumbs stick well.
Baking Tips for Optimal Crispiness
Place the coated fillets on the baking sheet. If you use melted butter, drizzle it over the fish. If you have olive oil spray, lightly spray the tops. Bake for 12 to 15 minutes. Flip the fillets halfway through if you want them extra crispy. The fish should be golden brown and cooked through when done.
Tips & Tricks
How to Achieve Maximum Crispiness
To get your tilapia super crispy, start with dry fillets. Use paper towels to pat them dry. This helps the coating stick better. When making the breadcrumb mix, use panko. It’s lighter and crunchier than regular breadcrumbs. Also, be sure to press the crumbs onto the fish. This makes them stick well. For extra crunch, flip the fish halfway through baking. This allows both sides to get evenly crispy. Spraying a light coat of olive oil on top can also help. It adds flavor and promotes browning.
Best Side Dishes to Serve
Crispy Parmesan crusted tilapia pairs well with many sides. Here are some tasty options:
- Steamed broccoli
- Roasted carrots
- Mixed green salad
- Garlic mashed potatoes
- Quinoa with herbs
These sides add color and nutrition. They also balance the meal nicely.
Presentation Suggestions
Presentation makes a dish more inviting. Serve your tilapia on a large platter. Add lemon wedges for a pop of color. A sprinkle of chopped parsley brightens the plate. You can also add a light salad beside the tilapia. This makes the meal look fresh and appealing. Use a nice plate to enhance the dining experience.
Pro Tips
- Keep it Dry: Make sure to pat the tilapia fillets dry before coating to ensure a crispier texture.
- Customize the Coating: Feel free to add your favorite spices or herbs to the breadcrumb mixture for a personalized flavor.
- Check for Doneness: Use a fork to check if the fish flakes easily; this indicates it's cooked through.
- Serve Hot: Enjoy the tilapia immediately after baking for the best crispy texture.
Variations
Different Cheese Options
You can change the cheese in this recipe. Instead of Parmesan, try cheddar or mozzarella. Each cheese gives a unique taste. Cheddar adds a sharpness, while mozzarella brings creaminess. You can also mix cheeses for a new flavor. This makes the dish fun and fresh.
Gluten-Free Alternatives
If you need a gluten-free option, use gluten-free breadcrumbs. They work just as well in this dish. You can crush rice cakes or cornflakes for a crunchy topping too. Make sure to check labels. Some brands mix in gluten.
Adding Flavor Variations
Want to spice it up? Add some cayenne pepper or paprika to the breadcrumb mix. This gives a nice kick. You can also try fresh herbs like parsley or dill. They add color and flavor. Lemon zest can brighten the dish too. Just sprinkle it in with the cheese.
Storage Info
How to Store Leftovers
To store leftover tilapia, let it cool down first. Place the fillets in an airtight container. You can keep them in the fridge for up to three days. Make sure to keep the container sealed to maintain freshness.
Reheating Tips
When you are ready to enjoy the leftovers, preheat your oven to 350°F (175°C). Place the tilapia on a baking sheet. Heat for about 10 minutes or until warmed through. This keeps the crust crispy and the fish tender. Avoid using the microwave, as it can make the fish soggy.
Freezing Instructions
You can freeze the tilapia if you want to save it for later. Wrap each fillet tightly in plastic wrap. Then, place them in a freezer bag. Make sure to remove as much air as possible. You can freeze them for up to three months. When you are ready to eat, thaw in the fridge overnight before reheating.
FAQs
Can I use frozen tilapia fillets?
Yes, you can use frozen tilapia fillets. Just make sure to thaw them first. I find the best way is to leave them in the fridge overnight. If you're short on time, you can also run them under cold water for 30 minutes. This helps keep the fish tender and juicy.
What is the best way to tell if tilapia is cooked?
The best signs are color and texture. Cooked tilapia should be opaque and flake easily with a fork. If it looks white and firm, it’s ready to eat. Using a food thermometer, the internal temperature should reach 145°F (63°C).
How can I make this dish healthier?
You can make this dish healthier by using less cheese and whole wheat breadcrumbs. You can also bake instead of fry. Adding more herbs will boost flavor without extra calories. Pair it with veggies for a balanced meal.
Can I bake the tilapia instead of frying?
Yes, baking is a great option. It keeps the fish healthier while still giving a nice crisp. Follow the recipe's baking instructions, and use a light spray of olive oil on top. This ensures a golden, crunchy crust.
In this blog post, we covered how to make crispy tilapia. We listed key ingredients and suggested alternatives. We also shared essential equipment for your kitchen. Step-by-step, I detailed preparation and baking tips. You learned to achieve perfect crispiness and chose great side dishes. Plus, we explored variations and smart storage tips.
With these tools and tricks, you can create delicious meals. Enjoy cooking, experimenting, and impressing others with your tilapia dish!