Are you tired of picky eaters turning their noses up at veggies? I’ve got the perfect solution! My Creamy Picky Eater Cheesy Broccoli Bites are not only tasty but also simple to make. Packed with flavor and cheesy goodness, these bites are sure to please even the fussiest palate. In this blog post, I'll guide you through easy steps to create these delicious treats, while offering tips and tricks along the way. Let’s dive in!
Why I Love This Recipe
- Delicious Flavor Combination: The blend of creamy cheeses and steamed broccoli creates a delightful taste that everyone will love.
- Healthy Snack Option: With nutritious broccoli as the main ingredient, these bites are a great way to sneak veggies into your diet.
- Easy to Make: With just a few simple steps, you can whip up a batch of these cheesy bites in no time!
- Perfect for Parties: These bites are a hit at gatherings, making them an ideal appetizer or snack for any occasion.
Ingredients
Main Ingredients List
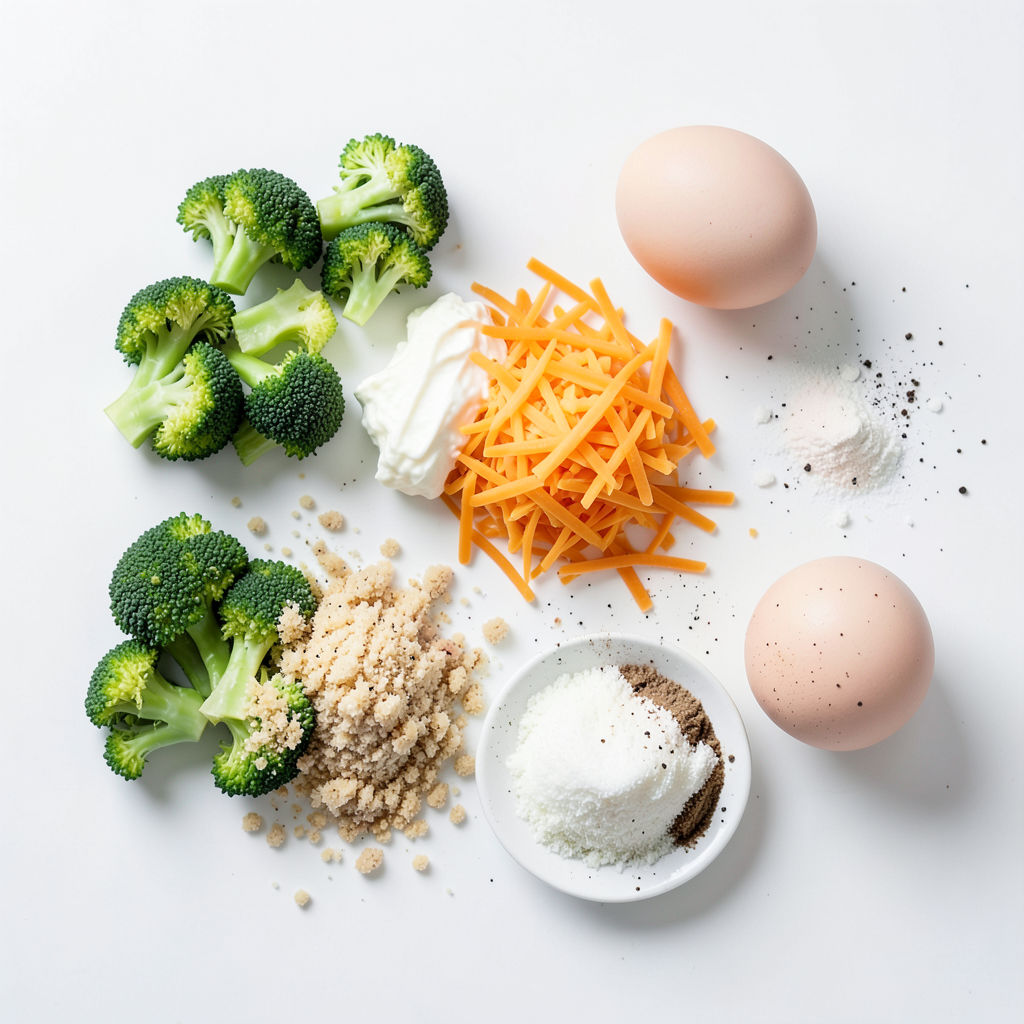
- 2 cups broccoli florets, steamed and chopped fine
- 1 cup cream cheese, softened
- 1 cup shredded cheddar cheese
- 1/2 cup breadcrumbs (preferably seasoned)
- 1/4 cup grated parmesan cheese
- 1 large egg
- 1 teaspoon garlic powder
- 1/2 teaspoon onion powder
- Salt and pepper to taste
- Olive oil spray (for greasing)
Importance of Quality Ingredients
Using quality ingredients makes a huge difference in flavor and texture. Fresh broccoli gives your bites a bright color and a nice crunch. Cream cheese should be soft, as it mixes well. Choose a good cheddar cheese for that sharp, rich taste. Seasoned breadcrumbs add extra flavor. Fresh and quality ingredients lead to tasty bites that everyone will love.
Potential Substitute Options
You can swap ingredients if needed. For broccoli, you can use cauliflower or spinach for a new twist. Cream cheese can be replaced with Greek yogurt for a lighter option. If you need a dairy-free version, try vegan cheese. You can use regular breadcrumbs instead of seasoned ones; just add more spices. These swaps can make the recipe fit your needs while still being delicious.
Step-by-Step Instructions
Preparation Steps Overview
First, gather all your ingredients. You need broccoli, cream cheese, cheddar cheese, breadcrumbs, parmesan, egg, and spices. This step is key for smooth cooking. Preheat your oven to 375°F (190°C). Line a baking sheet with parchment paper. This helps the bites not stick.
Mixing and Combining Ingredients
In a large bowl, mix together the softened cream cheese, shredded cheddar cheese, and grated parmesan. Use a fork or spatula to blend them well. Next, add the chopped steamed broccoli. Make sure it’s chopped fine, so kids don’t notice it! Then, add breadcrumbs, the egg, garlic powder, onion powder, and a pinch of salt and pepper. Stir until everything is well combined. It should look creamy and thick.
Baking Instructions and Tips
Now, form the mixture into small balls, about 1 inch across. Place them on the lined baking sheet. Space them out so they bake evenly. Lightly spray the tops with olive oil for a nice golden color. Bake for 20 to 25 minutes. They are done when they turn golden brown and feel firm. Let them cool for a few minutes before you serve. Enjoy your cheesy broccoli bites!
Tips & Tricks
Making the Broccoli Bites Kid-Friendly
To make these bites more appealing to kids, keep it simple. Use bright, fresh broccoli. Kids love fun shapes, so try using cookie cutters. You can also add a bit of fun by letting them help mix the ingredients. This makes them feel part of the meal.
Consider adding a bit of finely chopped carrot or bell pepper. These add color and sweetness. Remember, kids enjoy food that looks good. A splash of creativity goes a long way!
Enhancing Flavor and Texture
To boost flavor, use good-quality cheese. A mix of cheddar and parmesan gives a tasty kick. You can also add a pinch of smoked paprika for a unique twist. This adds depth without being too spicy.
For texture, the breadcrumbs help create a nice crunch. If you want a bit of extra crunch, add some crushed cornflakes on top before baking.
Serving Suggestions and Pairings
Serve these bites on a bright platter. Add a side of marinara or ranch for dipping. Kids love to dip! You can also serve them with fresh veggies like carrots or cucumber sticks.
For a fun twist, pair them with a simple fruit salad. The sweetness of fruit can balance the cheesy flavors. This makes for a colorful and healthy plate!
Pro Tips
- Chill the Mixture: For easier handling, chill the broccoli and cheese mixture for about 30 minutes before forming the bites. This helps them hold their shape better when baking.
- Use Fresh Broccoli: Freshly steamed broccoli will give your bites a more vibrant flavor and texture compared to frozen. Ensure it's chopped finely for even distribution.
- Experiment with Cheeses: Feel free to mix and match different cheeses like mozzarella or pepper jack for a unique twist on flavor. Just keep the total amount similar.
- Customize the Seasoning: Adjust the garlic and onion powder based on your taste preferences. Add a pinch of red pepper flakes for a spicy kick!
Variations
Alternative Cheese Combinations
You can switch up the cheese in these bites. Try using mozzarella for a milder taste. If you want more flavor, use pepper jack. Mixing cheeses can create fun tastes in each bite. Make sure to keep the total cheese amount the same. This way, the texture stays right.
Adding Extra Veggies or Proteins
Want to make these bites even healthier? Add more veggies! Chopped spinach or grated carrots work well. You can also mix in cooked chicken or turkey for protein. Just make sure the added ingredients are finely chopped. This keeps the texture smooth and helps picky eaters enjoy them.
Gluten-Free and Health-Conscious Options
If you need gluten-free bites, swap breadcrumbs for crushed gluten-free crackers. You can also use almond flour or oat flour. For a lower-fat version, use low-fat cream cheese. This keeps the creamy taste but cuts some calories. Always check labels to ensure the products fit your diet needs.
Storage Info
Refrigeration Guidelines
After making your creamy cheesy broccoli bites, let them cool completely. Place them in an airtight container. They can stay fresh in the fridge for up to four days. If you plan to eat them later, store them right away. This helps keep their taste and texture.
Freezing Instructions for Leftovers
To freeze leftovers, arrange the bites on a baking sheet. Make sure they do not touch each other. Freeze for about one hour or until firm. Then, transfer them to a freezer-safe bag. They can last for up to three months in the freezer. When you want to enjoy them again, just thaw in the fridge overnight.
Reheating Tips for Optimal Taste
When you're ready to eat your leftovers, preheat your oven to 375°F (190°C). Place the broccoli bites on a baking sheet. Bake for about 10-15 minutes until they are warm and crispy. You can also reheat them in a microwave, but they may not stay as crunchy. For the best taste, the oven works best!
FAQs
Can I use frozen broccoli instead of fresh?
Yes, you can use frozen broccoli. Just thaw it and chop it fine. Frozen broccoli works well in this recipe. It saves time and is often as nutritious as fresh. Be sure to squeeze out extra water after thawing. This helps the bites hold their shape.
How do I know when the broccoli bites are done?
The bites are done when they turn golden brown. This usually takes 20 to 25 minutes at 375°F. You can also check if they feel firm when you touch them. Let them cool for a few minutes before serving for the best texture.
What are the best dipping sauces for broccoli bites?
I suggest marinara sauce or ranch dressing as great dips. Both add a nice flavor and pair well with the cheesy bites. You can also try hummus or a yogurt dip for a twist. These options make the bites more fun to eat!
In this post, we explored how to create delicious broccoli bites. We covered the best ingredients, preparation steps, and helpful tips. Quality ingredients are key for great taste. Remember to mix flavors and textures for fun bites. You can try different cheese or add proteins for variety. Proper storage keeps your treats fresh. If you have any questions, consult the FAQs for quick answers. Enjoy making these bites your own!