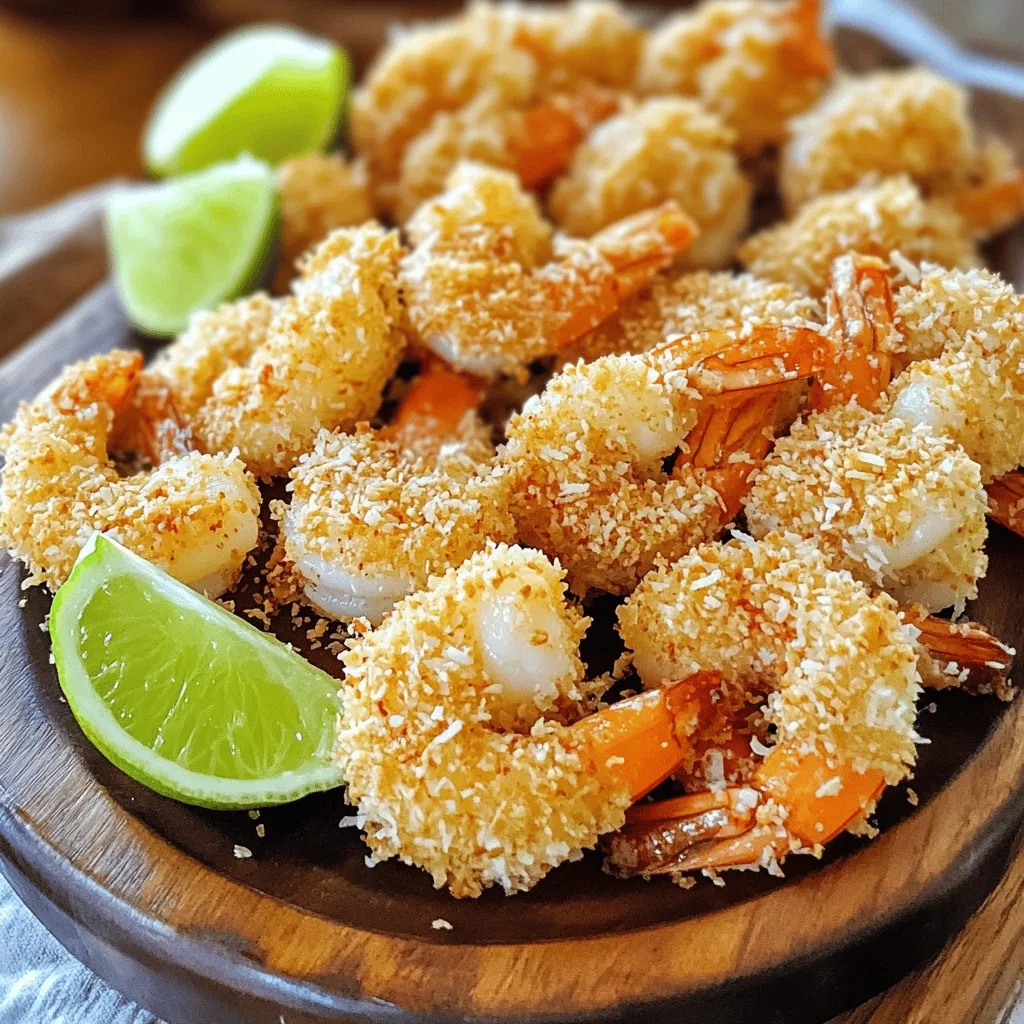
Ready to elevate your dinner game? Coconut Crusted Shrimp is your answer! This dish delivers a crispy, mouthwatering flavor that will impress your friends and family. In this article, I’ll share my favorite tips and tricks, step-by-step instructions, and delicious pairing ideas. Get ready to enjoy a tropical bite that’s easier to make than you think! Let’s dive into those ingredients and get cooking!
Why I Love This Recipe
- Delicious Flavor Combination: The combination of coconut and shrimp creates a tropical flavor that is both sweet and savory, making it a delightful dish for any occasion.
- Crunchy Texture: The panko breadcrumbs and shredded coconut provide a satisfying crunch that contrasts beautifully with the tender shrimp.
- Quick to Prepare: This recipe is easy to follow and can be ready in just 30 minutes, perfect for a weeknight dinner or a last-minute gathering.
- Versatile Serving Options: Serve these coconut crusted shrimp as an appetizer, main course, or even as a fun topping for salads or tacos.
Ingredients
List of Ingredients
– 1 pound large shrimp, peeled and deveined
– 1 cup shredded coconut (sweetened or unsweetened)
– 1 cup panko breadcrumbs
– 1/2 cup all-purpose flour
– 2 large eggs
– 1 teaspoon garlic powder
– 1 teaspoon paprika
– Salt and pepper to taste
– 1/4 cup coconut oil (or vegetable oil) for frying
– Lime wedges for serving
Ingredient Tips
Choosing the best shrimp for coconut crusted shrimp
I like to use large shrimp for this dish. They cook evenly and hold up well. Look for shrimp that are firm with a nice color. Fresh shrimp should smell like the ocean, not fishy. If you buy frozen shrimp, make sure they are raw and peeled.
Sweetened vs. unsweetened coconut: which to use?
The choice depends on your taste. Sweetened coconut adds a hint of sweetness, making the dish more dessert-like. Unsweetened coconut gives a more traditional flavor. I often use unsweetened coconut for a balanced taste, but sweetened works too!
Alternative frying oils for a healthier option
Coconut oil is great, but you can use other oils too. Vegetable oil or avocado oil are good choices. They have high smoke points, making them safe for frying. If you want a lighter option, try air frying the shrimp instead.

Step-by-Step Instructions
Preparation of Shrimp
To start, set up your breading station. This makes the process easy and fun. I use three bowls: one for flour, one for beaten eggs, and one for the coconut-panko mix.
Now, let’s season the flour. Mix in salt, pepper, garlic powder, and paprika. This adds flavor to the shrimp. Stir it well until everything is combined.
Breading Process
Next, it’s time for the breading. Take each shrimp and coat it in the flour first. Shake off any extra flour. This step helps the egg stick better.
Then, dip the floured shrimp into the beaten eggs. Make sure it is fully coated. After that, roll the shrimp in the coconut-panko mixture. Press lightly to help it stick. Repeat these steps for all the shrimp.
Cooking the Shrimp
When you are ready to cook, heat the coconut oil in a large skillet over medium heat. It should shimmer when hot. You can test the heat by dropping in a small piece of coconut. If it sizzles, it’s ready to go!
Fry the shrimp in batches. Don’t overcrowd the skillet or they won’t cook evenly. Cook each side for about 2-3 minutes. Look for a golden brown color and a firm texture.
To finish, remove the shrimp and place them on paper towels. This helps absorb any extra oil. Serve them hot with lime wedges on the side for a bright flavor.
Pro Tips
- Choose the Right Shrimp: Opt for large, fresh shrimp for the best results. They hold up well during frying and offer a satisfying bite.
- Coating Technique: Ensure each shrimp is evenly coated with the flour, egg, and coconut-panko mixture to achieve a crispy texture.
- Oil Temperature: Make sure the oil is hot enough before frying. Test with a small piece of coconut; if it sizzles, you’re ready to go!
- Drain Excess Oil: After frying, let the shrimp drain on paper towels to remove excess oil. This keeps them crispy and less greasy.
Tips & Tricks
Perfecting Your Recipe
To avoid soggy shrimp, make sure to dry your shrimp well. Pat them with paper towels before breading. This helps the coating stick better. Use a good amount of flour to coat the shrimp. This will absorb moisture and keep the outside crispy.
The oil temperature is key for frying. If the oil isn’t hot enough, the shrimp will soak up oil. Heat the coconut oil over medium heat until it shimmers. You can test this by placing a small piece of coconut in the oil. If it sizzles, you’re ready to fry!
Serving Suggestions
For the best sauces, try sweet chili sauce or a tangy mango salsa. These pair nicely with the shrimp’s coconut flavor. You can also serve it with a creamy dipping sauce like ranch or a spicy aioli.
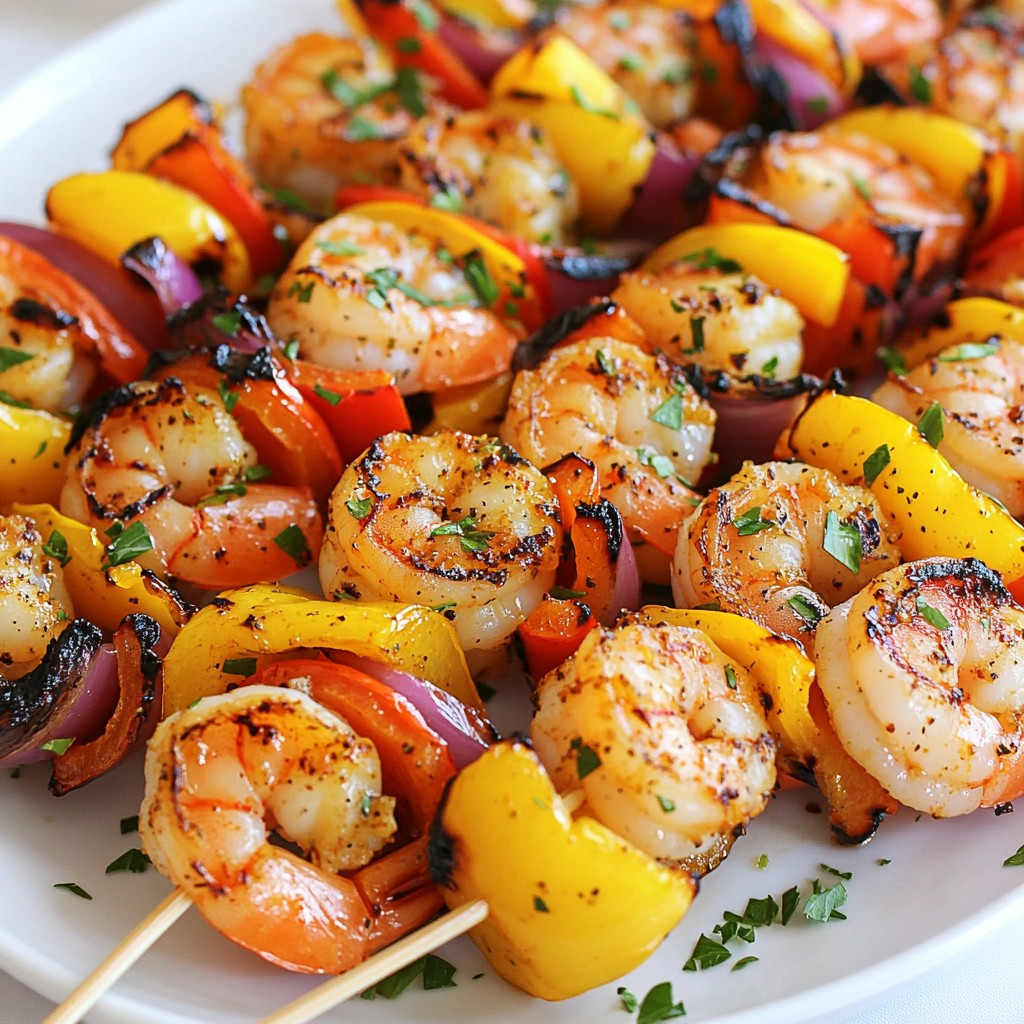
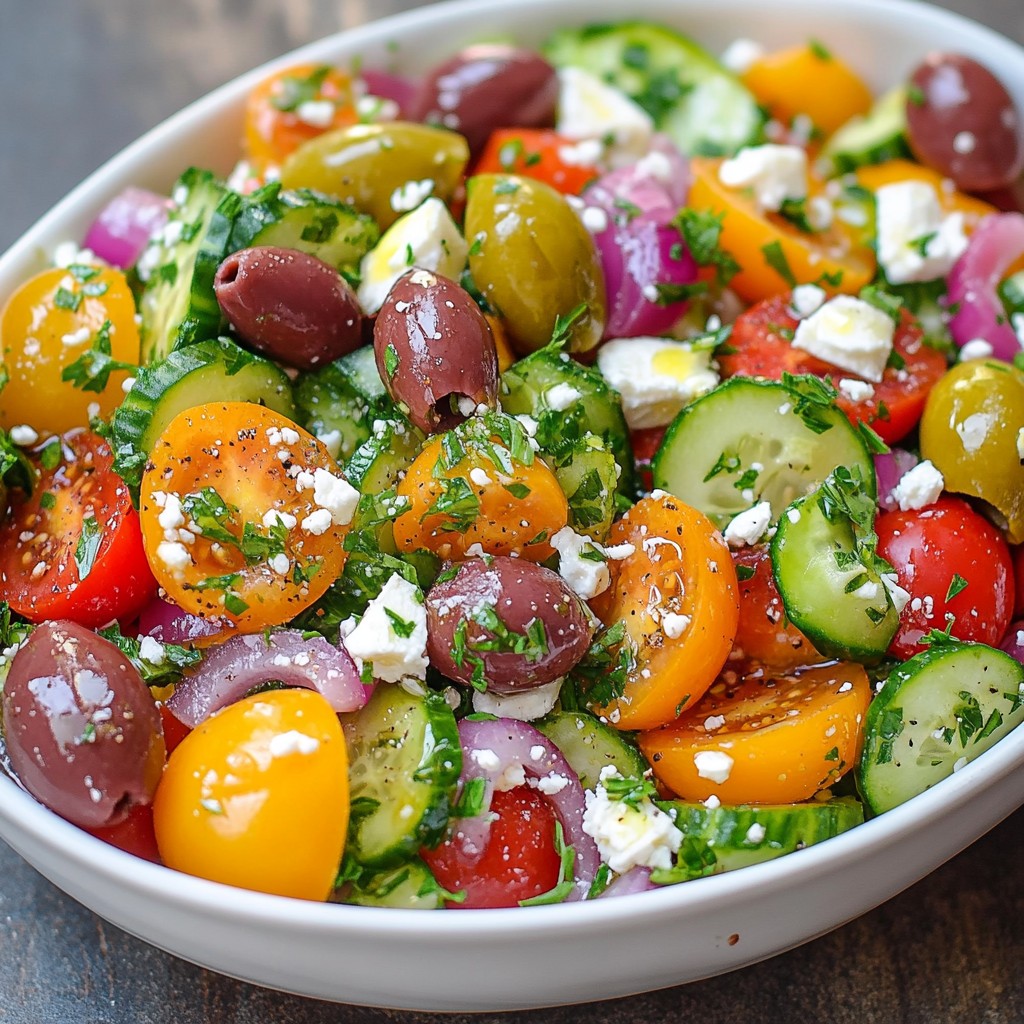
Side dishes that complement coconut crusted shrimp include jasmine rice and a simple green salad. You can also serve it with grilled veggies for a colorful plate.
Common Mistakes to Avoid
One common mistake is overcrowding the skillet. Fry the shrimp in batches to ensure even cooking. If you add too many at once, they will steam instead of fry.
Another mistake is skipping the resting time on paper towels. After frying, place shrimp on paper towels for a minute. This helps remove excess oil and keeps the shrimp crispy.
Variations
Flavor Variations
You can add spices to make your coconut crusted shrimp more exciting. Try adding cayenne pepper or chili powder for a kick. If you love a sweet and spicy mix, combine honey or sriracha with lime juice. This blend gives the shrimp a unique taste.
Cooking Method Options
You can either bake or fry the shrimp. Baking is easier and uses less oil. Preheat your oven to 400°F (200°C). Place the shrimp on a baking sheet and spray them lightly with oil. Bake for 15-20 minutes, flipping halfway through for even cooking.
Frying gives the shrimp a crispy, golden texture. Heat the oil in a skillet over medium heat. Fry the shrimp in small batches for about 2-3 minutes on each side.
For a healthier option, air frying works well too. Preheat your air fryer to 400°F (200°C). Arrange the shrimp in a single layer and cook for about 8-10 minutes. Check for crispiness and cook a bit longer if needed.
Ingredient Swaps
If you’re gluten-free, swap all-purpose flour with almond flour. For the breading, use gluten-free panko or crushed rice cereal. This keeps the crunch without gluten.
For a keto-friendly dish, use coconut flour instead of regular flour. You can also skip the panko and just use shredded coconut. These swaps help keep your shrimp low in carbs while still tasty.
Storage Info
Storage Tips
To store leftover coconut crusted shrimp, let them cool completely. Then, place them in an airtight container. You can keep them in the fridge for up to three days. If you want to save them for longer, freeze them. They will last about two months in the freezer. Make sure to wrap them tightly in plastic wrap before putting them in a freezer bag.
Reheating Instructions
The best way to reheat coconut crusted shrimp is in the oven. Preheat the oven to 350°F (175°C). Place the shrimp on a baking sheet and heat for about 10 minutes. This method helps keep the shrimp crispy. You can also use an air fryer. Set it to 350°F and cook for 5-7 minutes. Avoid microwaving, as it can make the shrimp soggy.
Shelf Life
Coconut crusted shrimp can last three days in the fridge. If you freeze them, they can last for up to two months. To check if the shrimp have gone bad, look for signs like an off smell or a slimy texture. If you notice either, it’s best to discard them. Always trust your senses when it comes to food safety.
FAQs
Can I use frozen shrimp for coconut crusted shrimp?
Yes, you can use frozen shrimp. Just thaw them before cooking. Place the shrimp in the fridge overnight or run them under cold water for quicker thawing. Pat them dry with paper towels. This helps the coating stick better.
How do I know when shrimp are done cooking?
Shrimp cook quickly. They turn pink and curl up when done. They should have an opaque look. Cook them for about 2-3 minutes on each side. Use a meat thermometer if you want to check. The internal temperature should be 120°F.
What dipping sauces are best for coconut crusted shrimp?
I love pairing coconut crusted shrimp with sweet chili sauce. It adds a nice kick. You can also try a tangy mango salsa. A simple lime aioli works too. Just mix mayo, lime juice, and garlic for a quick dip.
Can I make coconut crusted shrimp ahead of time?
You can prep the shrimp ahead of time. Bread them and keep them in the fridge for up to two hours. Just fry them right before serving for the best taste. This keeps them crispy and fresh.
What other dishes can I make with leftover coconut?
Leftover coconut is a treat! You can use it in smoothies for added flavor. Sprinkle it on oatmeal or yogurt for a crunchy topping. It works well in baked goods like muffins or cakes too. Try adding it to granola for a tropical twist.
Coconut crusted shrimp is a tasty dish that’s easy to make. We covered the best ingredients, how to prepare and cook the shrimp, and tips to help you avoid mistakes. You also learned about fun variations and storage methods. Remember, the key to success is in the details. Keep practicing, and you’ll impress family and friends with this dish. Enjoy the cooking journey and savor every bite!
.png)