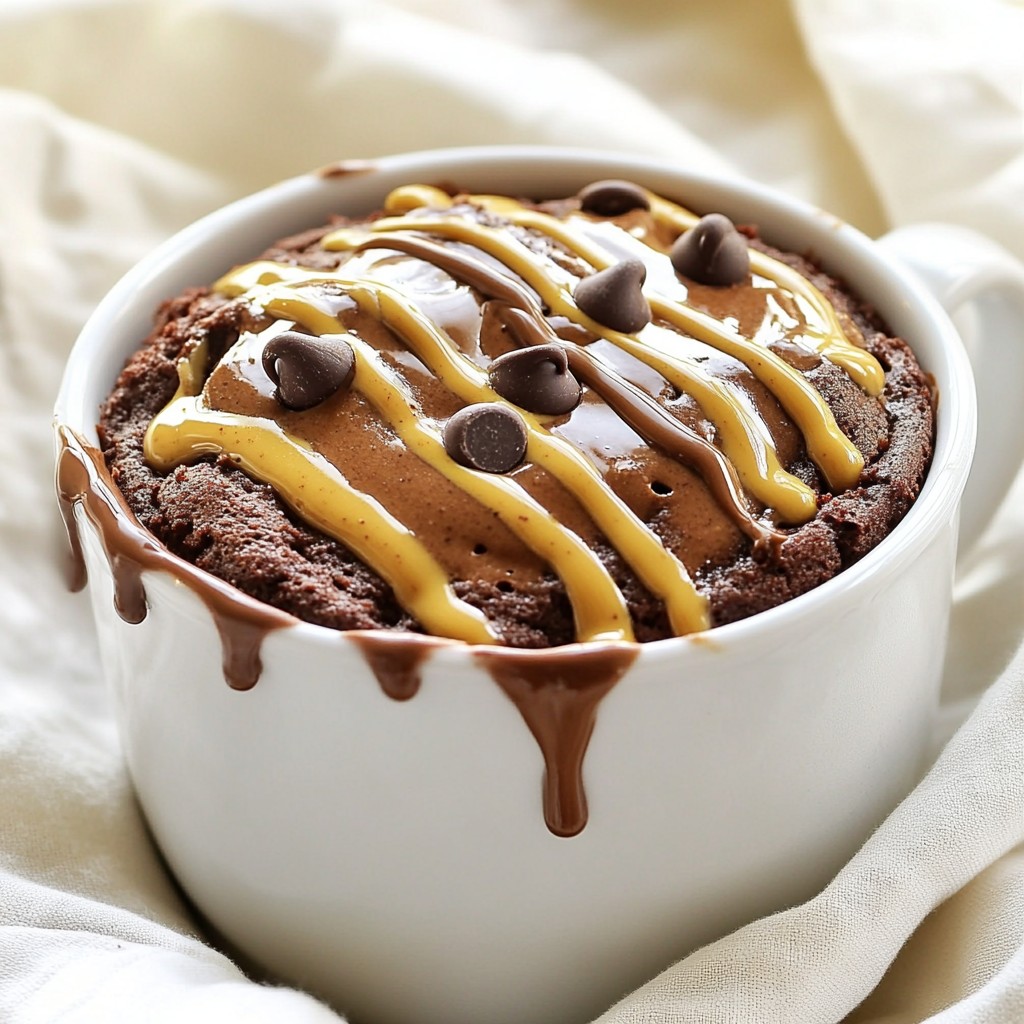
Craving a quick and easy dessert? Look no further! This Chocolate Peanut Butter Mug Cake is rich, warm, and oh-so-delicious. In just a few minutes, you can whip up this delightful treat in your microwave. I’ll share simple steps, tasty tips, and fun variations to make this cake your own. Let’s dive into the world of dessert perfection!
Why I Love This Recipe
- Quick and Easy: This mug cake takes only 5 minutes to prepare and cook, making it the perfect dessert for those late-night cravings.
- Decadent Flavor: The combination of rich chocolate and creamy peanut butter creates a mouth-watering treat that satisfies any sweet tooth.
- Customizable: You can easily add your favorite toppings, like chocolate chips or a scoop of ice cream, to elevate this simple dessert.
- Single Serving: This recipe is designed for one, so you can indulge without the temptation of leftovers.
Ingredients
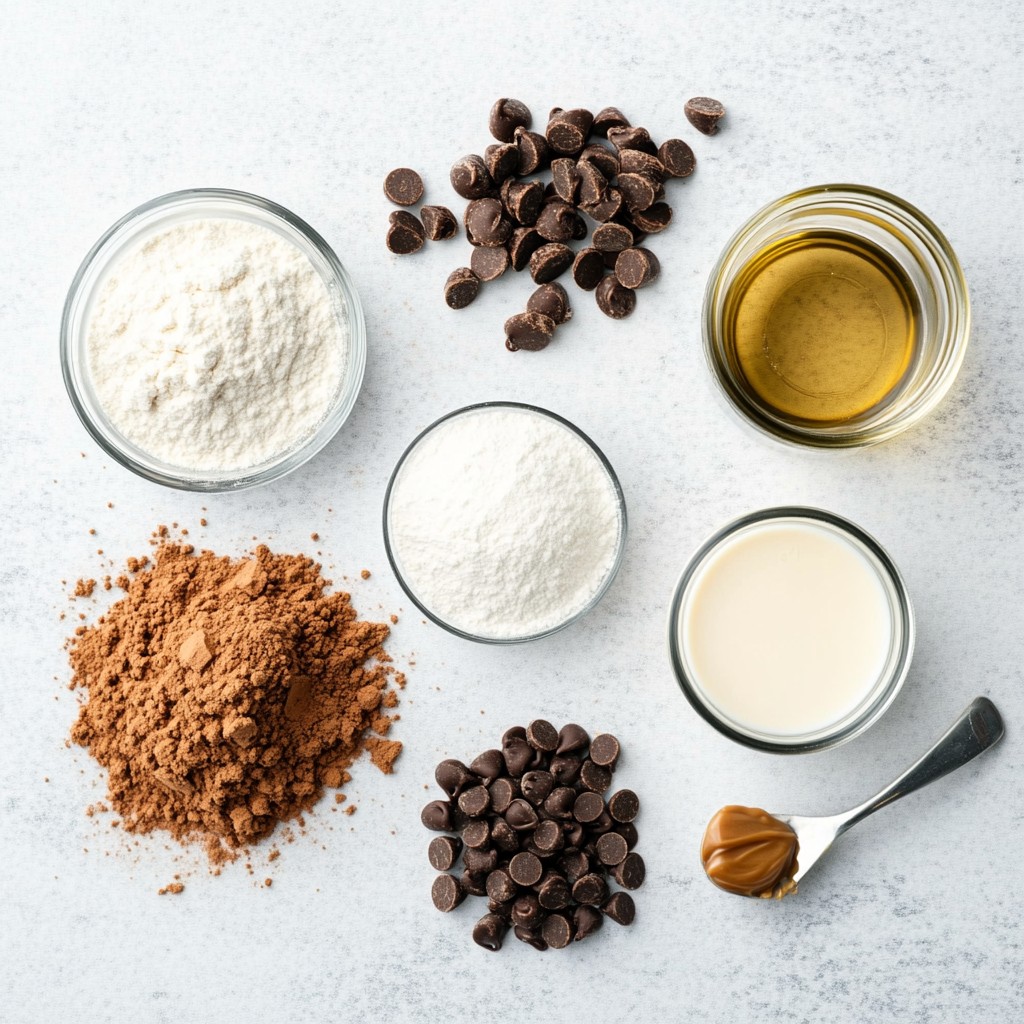
Essential ingredients for Chocolate Peanut Butter Mug Cake
To make this tasty mug cake, gather these key items:
- 4 tablespoons all-purpose flour
- 2 tablespoons cocoa powder
- 2 tablespoons granulated sugar
- 3 tablespoons milk (or any non-dairy milk)
- 1 tablespoon vegetable oil
- 1/4 teaspoon baking powder
- 1 tablespoon creamy peanut butter
- A pinch of salt
These ingredients work together to create a rich chocolate and peanut butter flavor.
Optional ingredients for customization
You can add a few special touches to your mug cake for more fun. Consider these options:
- Chocolate chips for extra gooeyness
- Crushed peanuts for a crunchy texture
- A drizzle of melted chocolate or peanut butter on top
These extras can make your cake even more delightful.
Substitutions for dietary preferences
If you have dietary needs, you can easily swap some ingredients. Here are some tasty alternatives:
- Use almond flour instead of all-purpose flour for a gluten-free option.
- Swap granulated sugar for a sugar substitute like stevia or monk fruit.
- Replace vegetable oil with melted coconut oil for a different flavor.
These substitutions ensure everyone can enjoy this delicious treat.
Step-by-Step Instructions
Preparing the mug and mixing dry ingredients
First, take a microwave-safe mug. Make sure it is big enough for the cake to rise. In the mug, add 4 tablespoons of all-purpose flour, 2 tablespoons of cocoa powder, 2 tablespoons of granulated sugar, 1/4 teaspoon of baking powder, and a pinch of salt. Use a fork or whisk to mix these dry ingredients well. This step is key for even flavor and texture.
Combining wet ingredients: Techniques for a smooth batter
Now, it’s time for the wet ingredients. Pour in 3 tablespoons of milk and 1 tablespoon of vegetable oil. Stir the mixture until it is smooth. You want to make sure there are no lumps left. This will give you a nice, soft batter. The creaminess of the milk and oil helps blend all the flavors together perfectly.
The perfect microwave timing: How to avoid overcooking
Next, drop a tablespoon of creamy peanut butter right in the center of the batter. If you love chocolate, feel free to add some chocolate chips on top. Now, place your mug in the microwave. Set it for 40 seconds on high. After 40 seconds, check the cake. It should rise but still feel soft in the middle. If it needs more time, add only a few seconds. Remember, the cake will keep cooking even after you take it out. Let it cool for a minute before enjoying this delicious treat.
Tips & Tricks
Achieving the perfect texture in your mug cake
To get a soft and fluffy mug cake, mix the dry ingredients well. Use a fork or small whisk to combine them. This step helps avoid lumps. When adding wet ingredients, stir gently. Over-mixing can make the cake tough. The goal is a smooth batter. Microwave it for just 40 to 60 seconds. Start with 40 seconds and check it. The cake should rise but remain soft in the middle. If it cooks too long, it may dry out.
Enhancing flavor: Adding extra ingredients
You can boost the flavor of your mug cake easily. Try adding chocolate chips for a gooey texture. A sprinkle of cinnamon can add warmth. You can also mix in a dash of vanilla extract for extra depth. If you love nuts, try adding chopped peanuts. You can even swirl in extra peanut butter for more richness. Each addition lets you personalize your treat.
Serving suggestions for a delightful dessert experience
Presentation matters, even for a mug cake. Top it with melted chocolate or a drizzle of peanut butter. A sprinkle of crushed peanuts adds crunch. For a special touch, serve it with a scoop of vanilla ice cream. The cold ice cream against the warm cake is pure joy. Enjoying it this way makes every bite delightful.
Pro Tips
- Microwave Power Matters: Microwave wattages can vary significantly. If your mug cake isn't fully cooked after 60 seconds, try adding additional 10-second intervals to avoid overcooking.
- Experiment with Flavors: Feel free to mix in other ingredients like vanilla extract, a pinch of cinnamon, or even a dash of espresso powder for a unique twist on your mug cake.
- Storage Tips: If you want to prep ahead, you can mix the dry ingredients in a separate container and add the wet ingredients when you're ready to cook for a quick treat.
- Serving Suggestions: Enhance your mug cake by serving it with fresh berries or a drizzle of caramel sauce to complement the chocolate and peanut butter flavors.
Variations
Different flavor combinations with nut butters
You can play with nut butters to change the taste. Try almond butter or cashew butter. Each nut butter gives a new flavor twist. You can also mix nut butters. A swirl of both peanut and almond butter adds richness. For a fun kick, add a sprinkle of cinnamon or a dash of vanilla.
Gluten-free adaptations for the recipe
To make a gluten-free mug cake, swap all-purpose flour with a gluten-free blend. Use a mix that works well in baking. Almond flour or coconut flour can also work, but they alter the texture. Adjust the liquid slightly if you use these flours. Always check labels to avoid gluten in your ingredients.
Vegan-friendly options for Chocolate Peanut Butter Mug Cake
For a vegan version, replace milk with any plant-based milk. Almond, soy, or oat milk are great choices. Instead of vegetable oil, use melted coconut oil or applesauce. To keep it vegan, make sure your sugar is vegan-friendly. You can skip the chocolate chips or find dairy-free ones to add for extra gooeyness.
Storage Info
Tips for storing leftover mug cake
If you have leftover mug cake, let it cool first. Place it in an airtight container. Store it in the fridge for up to two days. This keeps it fresh and tasty. Avoid leaving it uncovered, as it will dry out.
Reheating your mug cake for the best taste
To reheat your mug cake, use the microwave. Place it in for 10 to 15 seconds. Check to make sure it is warm but not hot. This method helps keep the cake soft and moist. You can add a splash of milk before reheating for extra moisture.
Freezing for later enjoyment
You can freeze your mug cake too. After it cools, wrap it tightly in plastic wrap. Place it in a freezer-safe bag. This way, it can last for up to a month. When ready to eat, let it thaw in the fridge overnight. Reheat it as mentioned above for the best flavor.
FAQs
How can I make my mug cake fluffier?
To make your mug cake fluffier, use fresh baking powder. This helps the cake rise well. Also, don't overmix the batter. Just mix until the dry ingredients are wet. If you want more lift, add a tiny bit of extra baking powder.
Can I use a different type of milk?
Yes, you can use any type of milk. Almond, soy, or oat milk all work great. Each type adds a unique flavor. If you are dairy-free, choose non-dairy milk. It will still taste delicious!
What should I do if my mug cake overflows?
If your mug cake overflows, try using a bigger mug next time. You can also fill the mug halfway with batter. Keep an eye on it while cooking to catch any overflow. If it does overflow, simply clean it up with a damp cloth.
Is it possible to make this mug cake in the oven?
Yes, you can bake this mug cake in the oven! Preheat your oven to 350°F (175°C). Pour the batter into a small oven-safe dish. Bake for about 15 minutes, or until it rises and is set in the middle. Enjoy the same great taste!
In this article, we explored how to make a tasty Chocolate Peanut Butter Mug Cake. We covered essential and optional ingredients, plus great substitutions for dietary needs. I shared step-by-step instructions for smooth mixing and perfect cooking time. You learned tips for great texture and flavor, some fun variations, and storage tips. Remember, you can always adapt this dessert to fit your taste. Enjoy creating this quick treat that is easy and fun to make!
.png)


