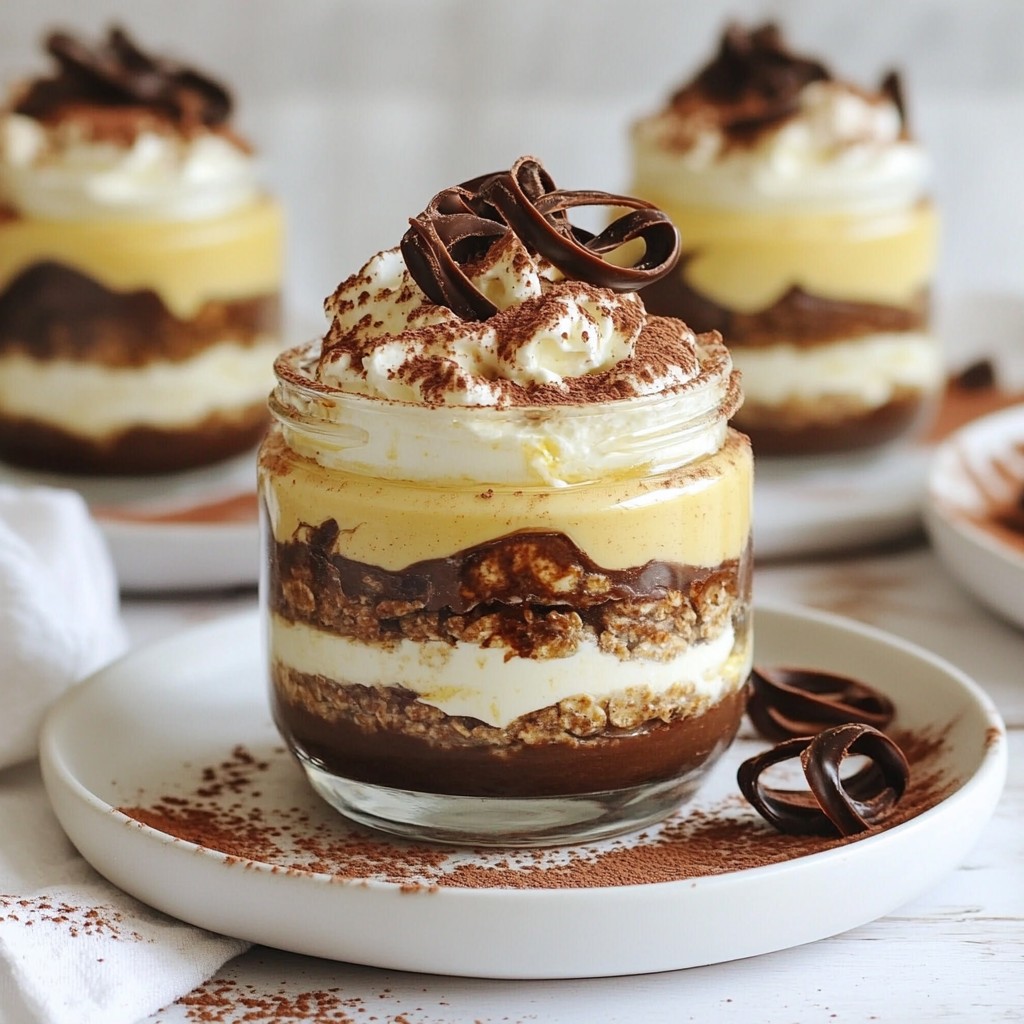
Are you ready for a sweet adventure? Chocolate Covered Cheesecake Bites are the ultimate treat that blends creamy cheesecake with a rich chocolate shell! In this post, I’ll guide you through making these bites step by step. From the ingredients to tips for perfecting your treats, I have everything you need to impress your friends and satisfy your cravings. Let’s dive into this delicious recipe!
Why I Love This Recipe
- Decadent Flavor: These cheesecake bites combine the rich creaminess of cheesecake with the indulgence of chocolate, making for a truly satisfying dessert.
- Easy to Make: With simple ingredients and straightforward steps, this recipe is perfect for both novice and experienced bakers.
- Perfect for Any Occasion: Whether it’s a party, holiday, or just a treat for yourself, these bites are a hit with everyone!
- Customizable Toppings: You can get creative with toppings like crushed nuts, sprinkles, or different flavored chocolate to suit your taste.
Ingredients
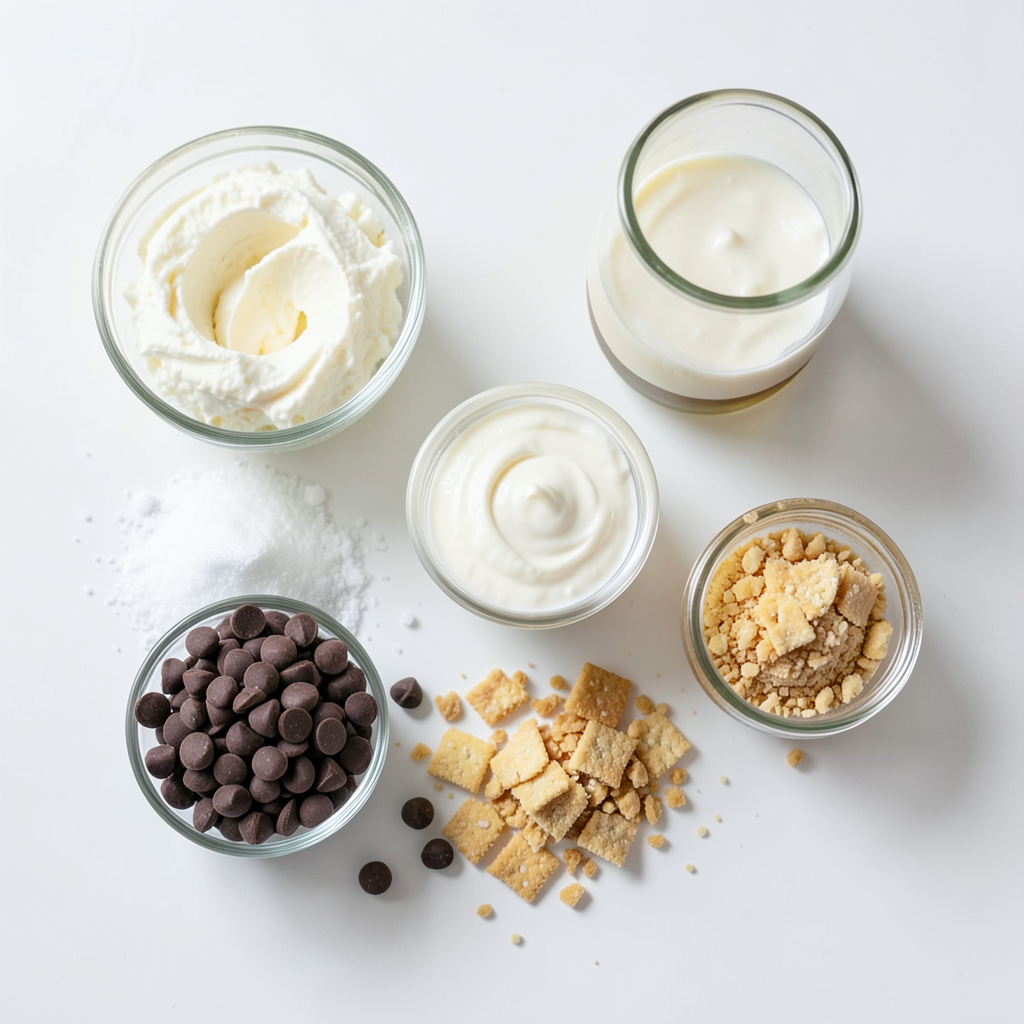
Main Ingredients for Chocolate Covered Cheesecake Bites
- 8 oz cream cheese, softened
- 1/4 cup granulated sugar
- 1 teaspoon vanilla extract
- 1/2 cup heavy cream
- 1 cup chocolate chips (dark or milk chocolate)
- 1 tablespoon coconut oil (or vegetable oil)
- 1/4 cup crushed graham crackers (for coating)
- A pinch of sea salt (optional)
These main ingredients create a rich and creamy cheesecake filling. The cream cheese provides the base, while sugar adds sweetness. Vanilla extract gives a lovely flavor, and heavy cream makes it light.
Optional Ingredients for Flavor Enhancements
You can add a pinch of sea salt to enhance the flavor. A sprinkle of cinnamon or even a splash of lemon juice can bring a new twist to the bites. You can also swap graham crackers for crushed nuts or cookies for a unique coating.
Equipment Needed
For this recipe, you will need:
- Mixing bowls
- Electric mixer
- Cookie scoop or your hands
- Baking sheet
- Parchment paper
- Microwave-safe bowl
- Fork
Having the right tools helps make the process easier and more fun. The electric mixer is key to achieving a smooth filling, while the cookie scoop ensures uniform bites.
Step-by-Step Instructions
Preparing the Cheesecake Filling
To start, grab a mixing bowl. Add 8 oz of softened cream cheese. Then, pour in 1/4 cup of granulated sugar. Next, add 1 teaspoon of vanilla extract. Using an electric mixer, beat this mixture until it's smooth. In another bowl, whip 1/2 cup of heavy cream until stiff peaks form. Gently fold this whipped cream into the cream cheese mix. Be careful not to deflate the cream. This step helps keep the filling light and airy.
Forming the Cheesecake Bites
Now it's time to shape the bites. Line a baking sheet with parchment paper. Use a small cookie scoop or your hands to form the cheesecake mixture into small balls. Aim for about 1 inch in diameter. Place these balls on the lined baking sheet. When you're done, freeze the bites for at least 1 hour. This helps them firm up, making them easier to coat.
Melting and Coating with Chocolate
While the bites freeze, melt your chocolate. In a microwave-safe bowl, combine 1 cup of chocolate chips and 1 tablespoon of coconut oil. Heat this mixture in 30-second intervals, stirring in between, until it’s smooth. Once the cheesecake bites are firm, remove them from the freezer. Dip each bite into the melted chocolate. Use a fork to lift them out, letting any excess chocolate drip off. Place the chocolate-covered bites back on the parchment paper. Immediately sprinkle them with crushed graham crackers and a pinch of sea salt for extra flavor. Finally, return the bites to the freezer for another 30 minutes to set the chocolate completely.
Tips & Tricks
Secrets to a Creamy Filling
To make a creamy filling, start with softened cream cheese. This helps it mix well. Use an electric mixer for a smooth texture. Add granulated sugar and vanilla to sweeten it. Whip heavy cream until it forms stiff peaks. Gently fold this cream into the cheese mixture. This step adds air and lightness. The result? A rich and creamy filling that melts in your mouth.
How to Achieve Perfectly Coated Bites
For perfect coating, ensure your cheesecake bites are firm. Freeze them for at least one hour. This helps the chocolate stick better. Melt chocolate chips with a bit of coconut oil. The oil makes the chocolate shiny and smooth. Dip each bite in chocolate. Use a fork to lift them, letting extra chocolate drip off. Sprinkle crushed graham crackers on top right away. This gives a nice crunch.
Recommended Freezing Times for Best Results
After dipping the bites, freeze them for 30 more minutes. This sets the chocolate hard. For best taste, serve them cold. If you plan to store them, keep them in the freezer. They last longer and stay fresh. Enjoy these treats as a perfect dessert for any gathering!
Pro Tips
- Chill Your Ingredients: Ensure your cream cheese is softened at room temperature for easy mixing. For an even fluffier texture, chill the heavy cream before whipping.
- Choose Quality Chocolate: Use high-quality chocolate chips for the best flavor. Dark chocolate pairs beautifully with the sweetness of the cheesecake filling.
- Perfect Coating Technique: Use a fork to dip the bites into the melted chocolate, allowing excess to drip off. This prevents a thick layer of chocolate, ensuring a balanced bite.
- Store Properly: Keep the chocolate-covered cheesecake bites in an airtight container in the freezer. They can last for up to two weeks, though they may not last that long!
Variations
Flavor Variations for Cheesecake Filling
You can easily change the flavor of the cheesecake filling. Here are some ideas:
- Chocolate: Add 1/4 cup of cocoa powder for a rich chocolate taste.
- Fruit: Mix in 1/4 cup of fruit puree, like strawberry or raspberry.
- Peanut Butter: Stir in 1/4 cup of creamy peanut butter for a nutty twist.
- Lemon: Add 1 tablespoon of lemon juice and some zest for a refreshing flavor.
Each variation brings its own charm. Feel free to mix and match flavors for fun bites.
Different Coating Options (Chocolate Varieties & Toppings)
The chocolate coating is key to these bites. You can use different types of chocolate such as:
- Dark Chocolate: For a rich and bold flavor.
- Milk Chocolate: For a sweeter, creamier taste.
- White Chocolate: For a smooth and sweet finish.
In addition, toppings can add texture and flavor. Try:
- Crushed Nuts: Almonds or walnuts for crunch.
- Sprinkles: Colorful sprinkles for a festive look.
- Coconut Flakes: For a tropical vibe.
Experiment with different coatings to find your favorite.
Serving Suggestions and Presentations
How you serve these bites can make a difference. Here are some fun ideas:
- Decorative Plates: Use beautiful plates to make your bites stand out.
- Mini Cupcake Liners: Place each bite in a colorful liner for easy serving.
- Drizzle Extra Chocolate: Top with a drizzle of melted chocolate for flair.
These serving ideas will impress your guests and make your treats look even more delicious.
Storage Info
How to Store Chocolate Covered Cheesecake Bites
To keep your chocolate covered cheesecake bites fresh, place them in an airtight container. Use parchment paper between layers to prevent sticking. Store them in the fridge for up to five days. This helps maintain their creamy texture and rich taste.
Freezing Tips for Long-term Storage
For long-term storage, freezing is a great option. First, freeze the bites for about an hour until firm. Then, transfer them to a freezer-safe container. Be sure to separate layers with parchment paper. They can last up to three months in the freezer. When you're ready to eat them, thaw in the fridge overnight for the best texture.
Shelf Life and Signs of Spoilage
Chocolate covered cheesecake bites have a good shelf life when stored properly. In the fridge, they last five days. In the freezer, they stay fresh for three months. Look for signs of spoilage, like an off smell or a change in texture. If they feel grainy or dry, it’s best to discard them. Always trust your senses to ensure your treats are safe to enjoy!
FAQs
Can I use low-fat cream cheese?
Yes, you can use low-fat cream cheese. The bites will still taste good. However, they might not be as rich and creamy. Full-fat cream cheese gives the best texture. If you choose low-fat, make sure to whip it well for a smooth mix.
How do I make these bites gluten-free?
To make these bites gluten-free, simply skip the graham crackers. You can use gluten-free cookie crumbs. Look for brands that offer gluten-free options. You can also use crushed nuts or even gluten-free pretzels for a fun twist.
What are the best chocolate options for coating?
Dark chocolate and milk chocolate both work great for coating. Use chocolate chips for ease. You can also try white chocolate for a sweeter taste. Just remember to melt it slowly to avoid burning. Adding a bit of coconut oil helps the chocolate coat better.
Can I make these ahead of time?
Yes, you can make these bites ahead of time! They freeze well. Just store them in an airtight container. They stay fresh for about a month. When ready to serve, let them sit for a few minutes at room temperature. Enjoy their creamy goodness!
You learned how to make chocolate covered cheesecake bites today. We covered the key ingredients, tools, and steps to make these treats. I shared tips for a creamy filling and perfect coating. You can vary the flavors and chocolate options to suit your taste. Remember to store them properly for the best taste and enjoy them longer. Now, go ahead and try making these bites; they’re sure to impress everyone!
.png)