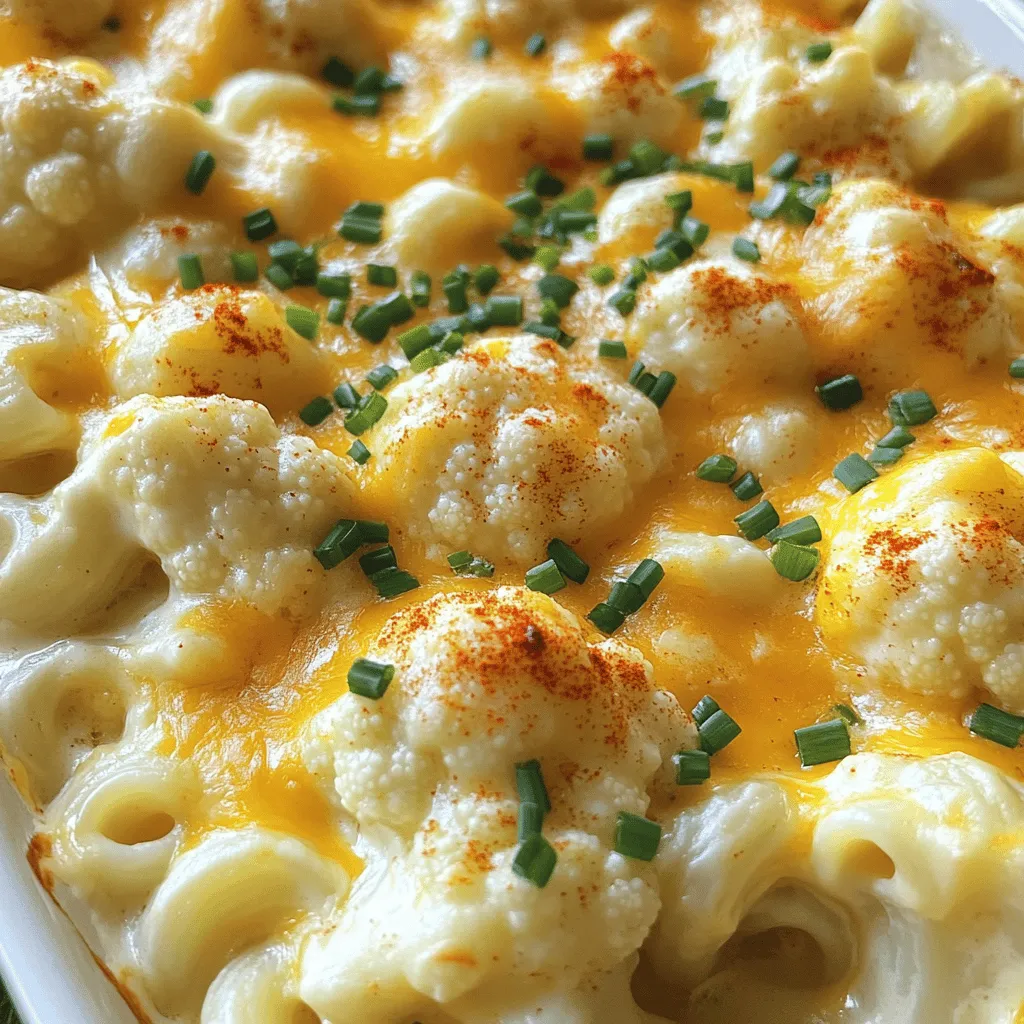
Are you ready to enjoy a creamy, flavorful dish that takes the classic mac and cheese to a new level? My Cauliflower Mac and Cheese recipe swaps out heavy pasta for tender cauliflower, making it a healthier choice. You’ll get all the comfort of your favorite dish while sneaking in some nutrition. Let’s dive into this tasty recipe that will keep your taste buds happy and your waistline in check!
Why I Love This Recipe
- Comforting Flavor: This Cauliflower Mac and Cheese offers the ultimate comfort food experience with its rich, creamy cheese sauce and tender cauliflower.
- Healthy Twist: By incorporating cauliflower, this recipe adds nutritious vegetables to a classic dish, making it a healthier option without sacrificing taste.
- Customizable: You can easily modify this recipe to suit dietary preferences, such as using gluten-free pasta or different types of cheese.
- Easy to Make: The step-by-step instructions make this dish accessible for cooks of all skill levels, ensuring a delicious result every time.
Ingredients
Required Ingredients
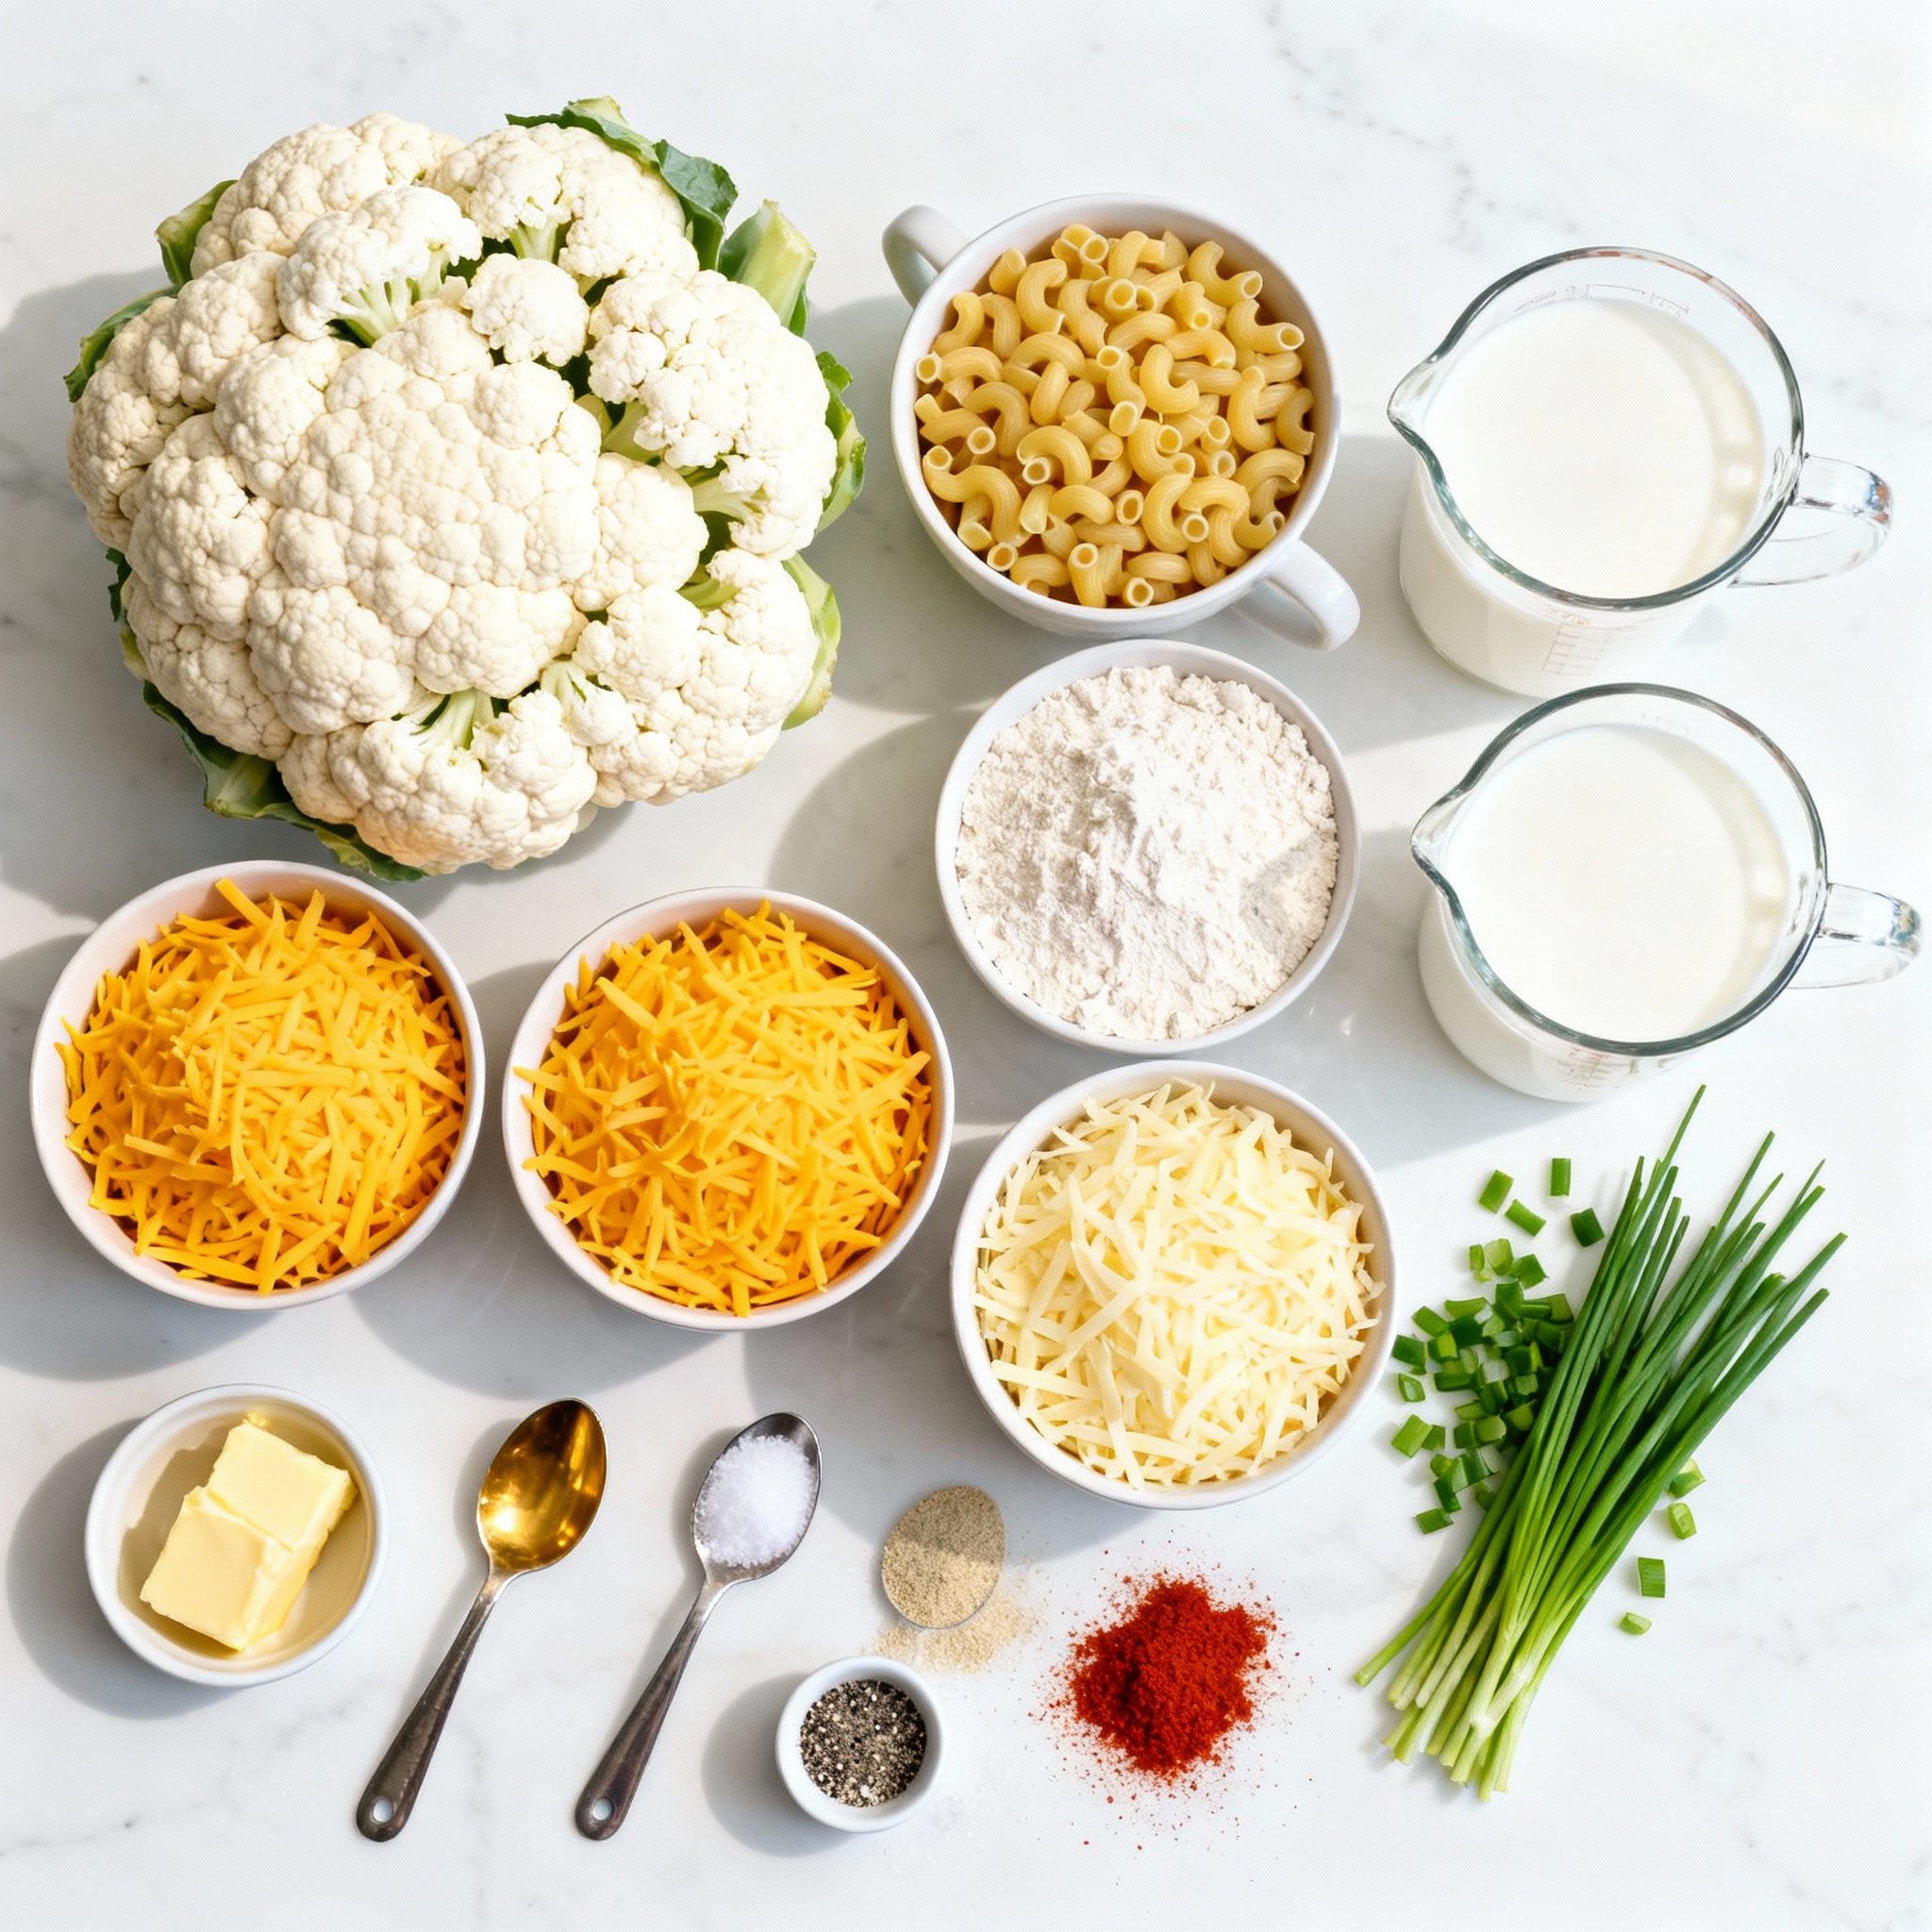
To make Cauliflower Mac and Cheese, gather these simple ingredients:
– 1 large head of cauliflower, cut into florets
– 1 cup elbow macaroni (or gluten-free pasta)
– 2 cups sharp cheddar cheese, shredded
– 1 cup mozzarella cheese, shredded
– 2 tablespoons butter
– 2 tablespoons all-purpose flour (or gluten-free flour)
– 2 cups milk (whole or plant-based)
– 1 teaspoon garlic powder
– 1 teaspoon onion powder
– Salt and pepper to taste
– 1/2 teaspoon paprika (for garnish)
– Fresh chives, chopped (for garnish)
You can swap the cheddar for a different cheese if you want. Use gluten-free pasta and flour for a gluten-free dish. You can also try almond milk for a lighter option.
Nutritional Information
This dish serves six and has about 400 calories per serving. It offers:
– 15 grams of protein
– 20 grams of fat
– 40 grams of carbs
Cauliflower is low in calories and high in fiber. It helps with digestion and is a good source of vitamins C and K. This veggie adds nutrients while keeping your meal creamy and satisfying.
Step-by-Step Instructions
Preparation
First, cook the pasta. Use the package instructions to get it just right. Aim for al dente. This means it should be firm but not hard. After cooking, drain the pasta and set it aside.
Next, steam the cauliflower. Cut it into small florets. Place them in a steamer until they are tender, about 8 to 10 minutes. When the cauliflower is soft, drain it and set it aside with the pasta.
Making the Cheese Sauce
Now, let’s make the cheese sauce. Start with a medium saucepan over medium heat. Melt 2 tablespoons of butter. Once it melts, add 2 tablespoons of all-purpose flour. Stir it for about 1 minute to form a paste. This is called a roux.
Next, add 2 cups of milk to the roux. Whisk it in slowly to avoid lumps. Keep cooking this mixture for about 5 to 7 minutes. You want it to thicken nicely.
Once the sauce is thick, reduce the heat to low. Now, add 2 cups of shredded sharp cheddar cheese and 1 cup of shredded mozzarella cheese. Stir until everything is melted and smooth. Don’t forget to add 1 teaspoon of garlic powder and 1 teaspoon of onion powder. Season with salt and pepper to taste.
Combining and Baking
Let’s bring everything together! In a large bowl, mix the cooked pasta, steamed cauliflower, and cheese sauce. Gently stir until the pasta and cauliflower are fully coated in the creamy cheese sauce.
Now it’s time to bake. Preheat your oven to 350°F (175°C). Transfer the mixture to a greased baking dish. If you love cheese, sprinkle more on top. Bake for 20 to 25 minutes. You want it bubbly and golden.
Once done, take it out of the oven. For a pop of color, sprinkle with paprika and fresh chives. Enjoy your delicious dish!
Pro Tips
- Choose the Right Cheese: For a richer flavor, opt for a mix of sharp cheddar and creamy mozzarella. You can experiment with other cheeses like Gruyère or Gouda for a unique twist.
- Perfectly Cooked Pasta: Make sure to cook the macaroni just until al dente, as it will continue to cook in the oven and absorb some of the sauce.
- Enhance the Flavor: Don’t hesitate to add a pinch of cayenne pepper or a dash of hot sauce to the cheese sauce for an extra kick.
- Make it Ahead: Prepare the mac and cheese in advance and refrigerate it before baking. Just add a few extra minutes to the baking time when you’re ready to serve.
Tips & Tricks
Perfecting the Recipe
To make your cauliflower mac and cheese creamy, focus on the cheese sauce. Use a mix of sharp cheddar and mozzarella for depth of flavor. The more cheese, the better! When you melt the cheese, keep the heat low. This helps prevent the cheese from clumping.
Avoid undercooked cauliflower by steaming it right. Steam until the florets are tender but not mushy. A fork should pierce easily but not fall apart. This keeps the texture firm and delicious.
Serving Suggestions
Serve your cauliflower mac and cheese hot and bubbly. Top it with fresh chives or paprika for a pop of color. For side dishes, consider a simple salad or garlic bread. These pair well with the rich, cheesy flavors.
As for drinks, a crisp white wine like Sauvignon Blanc complements this dish nicely. If you prefer non-alcoholic options, a sparkling water with lemon works well too. Enjoy your meal!
Variations
Gluten-Free Options
You can make cauliflower mac and cheese gluten-free. Just swap regular pasta for gluten-free pasta. Many brands offer great options. For the cheese sauce, use gluten-free flour. This keeps the dish creamy and tasty while being safe for those who avoid gluten.
Low-Carb Alternatives
If you want a low-carb meal, you can use zucchini noodles instead of pasta. You can also use cauliflower rice for a lower carb option. This way, you still get the creamy texture without the carbs from pasta.
Flavor Customizations
Add your favorite cheeses for extra flavor. Gouda or pepper jack can give a nice twist. You can also mix in spices like chili powder or Italian herbs for a kick. Want more nutrition? Toss in cooked chicken, spinach, or broccoli. These add protein and color, making your dish even better.
Storage Info
Storing Leftovers
To keep your cauliflower mac and cheese fresh, place it in an airtight container. If you plan to refrigerate it, it will last for about three to five days. For long-term storage, you can freeze it. Make sure to wrap the dish tightly with plastic wrap or aluminum foil. This helps prevent freezer burn. Frozen mac and cheese can last for up to three months. When you’re ready to enjoy it again, thaw it in the fridge overnight before reheating.
Reheating Tips
Reheating this dish can be tricky. You want to keep it creamy and delicious. The best way to do this is on the stove. Place your leftovers in a saucepan over low heat. Add a splash of milk or cream to help restore its texture. Stir gently until heated through. If you prefer the oven, preheat it to 350°F (175°C). Cover the dish with foil to keep moisture in. Bake for about 20 minutes, or until hot. Both methods help keep your cauliflower mac and cheese creamy and tasty.
FAQs
Can I freeze Cauliflower Mac and Cheese?
Yes, you can freeze this dish. First, let it cool completely. Then, place it in an airtight container. You can also use freezer bags. Make sure to remove as much air as possible. It stays good for up to three months. When you’re ready to eat, thaw it in the fridge overnight. Then, reheat it in the oven at 350°F (175°C) until hot. This keeps the flavor rich and creamy.
How do I make it vegan?
To make it vegan, swap out the cheese and milk. Use plant-based cheese and milk instead. Nutritional yeast can add a cheesy flavor. You can also use vegan butter in place of regular butter. Check labels to ensure all ingredients are dairy-free. This way, you keep the creamy taste without animal products.
How long does it take to bake?
Baking this dish takes about 20-25 minutes. Preheat your oven to 350°F (175°C) beforehand. Look for a golden top and bubbling edges to know it’s done. You want the cheese to melt and blend perfectly with the pasta and cauliflower. Enjoy the rich, comforting flavors of this dish.
Cauliflower Mac and Cheese is easy to make and fun to enjoy. You learned the essential ingredients, cooking methods, and nutritious benefits. I shared tips for perfecting the recipe and serving ideas. Remember, you can customize the dish with different cheeses or make it vegan.
Try out these ideas in your kitchen. Each bite can be healthy and delicious. Enjoy your cooking journey!
.png)