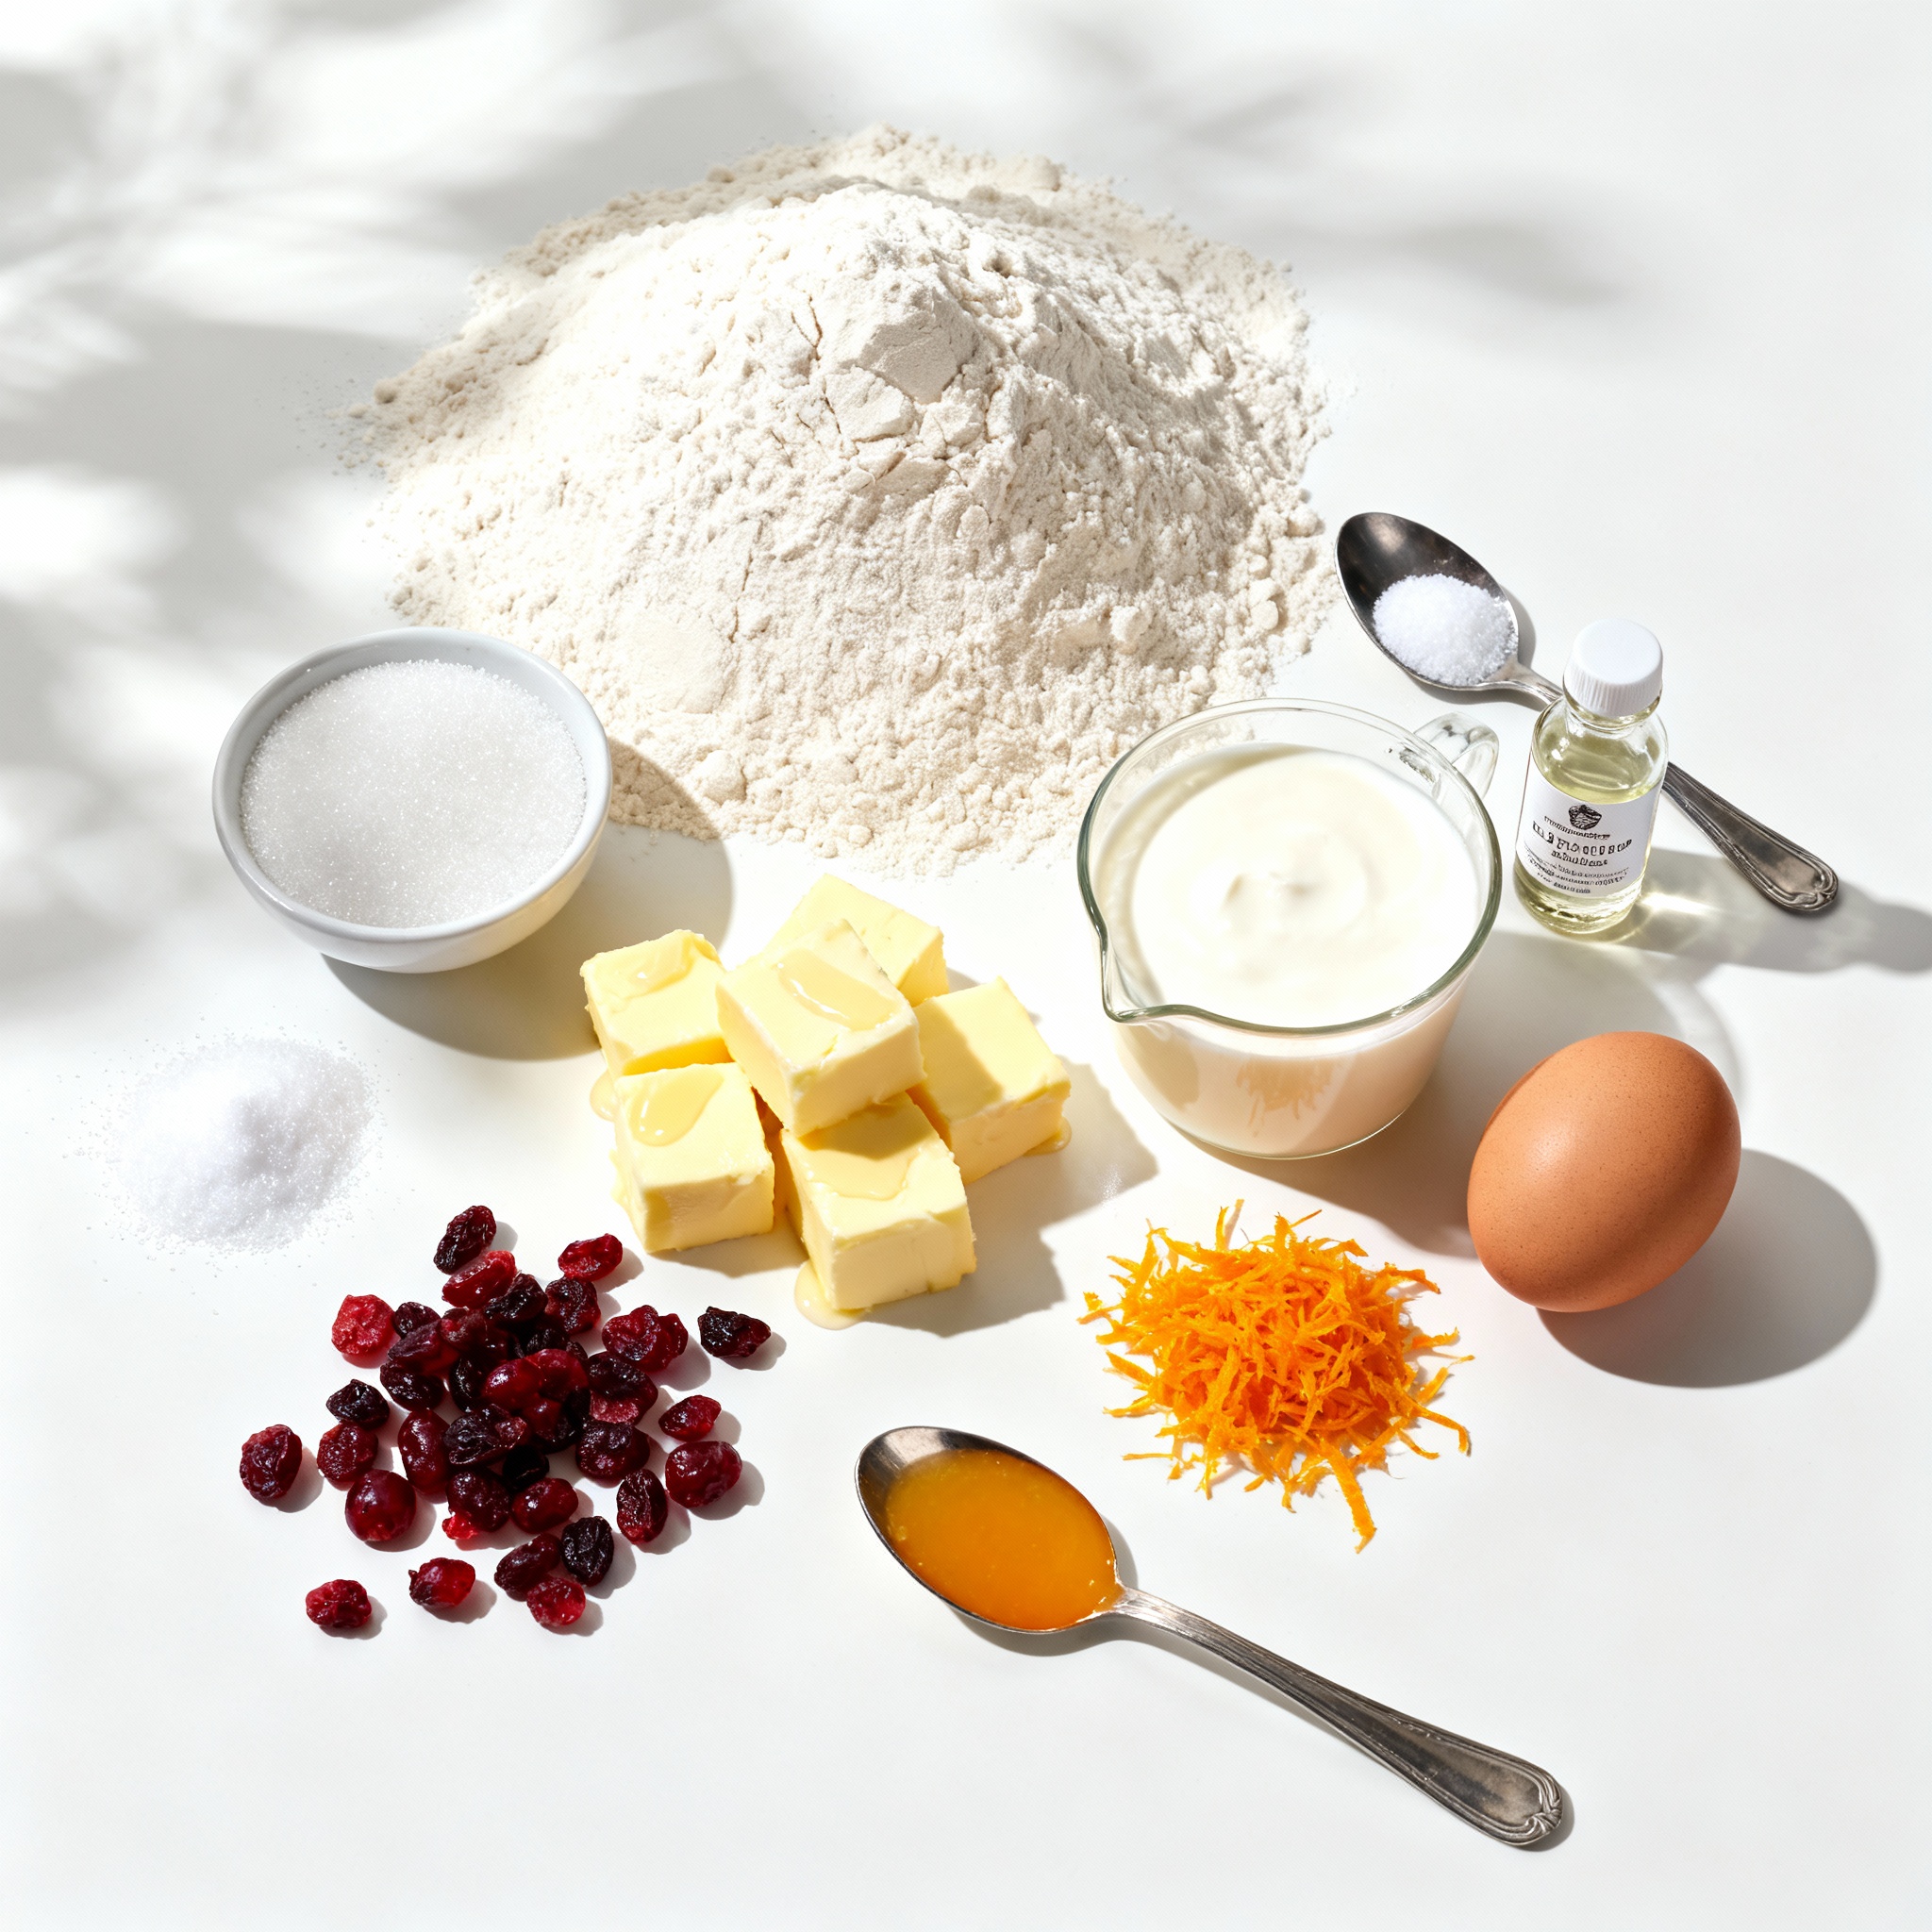
If you crave fresh scones that taste just like they came from a bakery, you’re in luck! In this easy recipe for Bakery-Style Orange Cranberry Scones, I’ll show you how to make tender, flavorful treats right in your kitchen. With simple ingredients and step-by-step instructions, you’ll impress family and friends in no time. So, grab your apron, and let’s get baking these delicious scones together!
Why I Love This Recipe
- Delicious Flavor Combination: The sweet and tart balance of orange and cranberry creates a delightful explosion of flavor in every bite.
- Bakery-Style Texture: These scones have a tender, flaky texture that rivals your favorite bakery’s offerings, making them perfect for any occasion.
- Quick and Easy: With just 15 minutes of prep time, you can whip up a batch of these scones in no time at all!
- Versatile Serving Options: Enjoy them warm with butter, dusted with powdered sugar, or drizzled with a simple glaze for a beautiful presentation.
Ingredients
Detailed Ingredient List
To make bakery-style orange cranberry scones, you will need these ingredients:
– 2 cups all-purpose flour
– 1/3 cup granulated sugar
– 1 tablespoon baking powder
– 1/2 teaspoon salt
– 1/2 cup cold unsalted butter, cubed
– 1/2 cup dried cranberries
– Zest of 1 orange
– 1/2 cup heavy cream
– 1 large egg
– 1 teaspoon vanilla extract
– 1 tablespoon orange juice
Each ingredient plays a key role in the final scone. The flour gives structure, while sugar adds sweetness. Baking powder helps the scones rise, and salt enhances flavors. The cold butter creates flakiness.
Recommended Brands for Ingredients
I prefer specific brands for the best results:
– All-Purpose Flour: King Arthur Flour is a reliable choice.
– Granulated Sugar: Domino Sugar is consistent and pure.
– Baking Powder: Rumford Baking Powder offers great leavening.
– Unsalted Butter: Challenge Butter is creamy and fresh.
– Dried Cranberries: Ocean Spray offers quality and taste.
– Heavy Cream: Land O’Lakes is rich and thick.
These brands can enhance your baking experience and outcome.
Ingredient Substitutions
You can make some swaps if needed:
– All-Purpose Flour: Use whole wheat flour for a nuttier taste.
– Granulated Sugar: Substitute with brown sugar for extra moisture.
– Heavy Cream: Use milk or almond milk, but the texture may change.
– Dried Cranberries: Swap with raisins or chopped dried apricots.
These substitutions can adjust flavors but may alter the final texture. Experiment and find what you love!

Step-by-Step Instructions
Prepping Your Oven and Baking Sheet
First, you need to set the stage for your scones. Preheat your oven to 400°F (200°C). This heat will help your scones rise perfectly. While the oven warms up, grab a baking sheet and line it with parchment paper. This step keeps your scones from sticking. It also makes for easy cleanup later.
Mixing Dry Ingredients
Next, let’s work on the dry mix. In a large bowl, combine 2 cups of all-purpose flour, 1/3 cup of granulated sugar, 1 tablespoon of baking powder, and 1/2 teaspoon of salt. Whisk these ingredients well. Mixing well ensures an even flavor throughout your scones.
Incorporating Wet Ingredients
Now, it’s time for the wet ingredients. In a separate bowl, whisk together 1/2 cup of heavy cream, 1 large egg, 1 teaspoon of vanilla extract, and 1 tablespoon of orange juice. Mix until everything blends smoothly. Once mixed, pour this wet mixture into the dry ingredients. Stir gently until just combined. Be careful not to overwork the dough. This keeps your scones light and fluffy.
Shaping and Cutting the Dough
After mixing, turn the dough onto a lightly floured surface. Pat it into a circle about 1-inch thick. You can use your hands for this. For cutting, you can slice the circle into 8 wedges. Alternatively, use a round cutter for uniform shapes. Make sure the pieces are not too close together. They need space to rise.
Baking the Scones
Place the shaped scones on your prepared baking sheet. Ensure they have some space between them. Now, it’s time to bake! Slide the baking sheet into your preheated oven. Bake for 15-18 minutes. Watch for the tops to turn golden brown. Once done, let the scones cool slightly on the baking sheet. Then, transfer them to a wire rack. Enjoy the warm, fragrant scones as they cool!
Pro Tips
- Use Cold Butter: Ensure your butter is very cold when mixing. This creates flaky layers in your scones.
- Don’t Overmix: Mix the dough until just combined to keep the scones tender and light.
- Experiment with Add-ins: Feel free to add nuts or different dried fruits for a unique twist on flavor.
- Brush with Cream: Brush the tops of the scones with a little cream before baking for a golden, shiny finish.
Tips & Tricks
Achieving Perfect Texture
To get the best texture in your scones, keep the butter cold. Cold butter helps create flaky layers. Cut the butter into small cubes for easy mixing. When you mix the butter with flour, stop when the mix looks like coarse crumbs. This will keep your scones light and airy.
Common Mistakes to Avoid
One mistake is overmixing the dough. If you mix too much, the scones will be tough. Mix the wet and dry ingredients until just combined. Another mistake is not using cold ingredients. Room-temperature butter or cream can ruin the texture. Always use cold butter and cream for the best results.
Best Practices for Baking Scones
When shaping the dough, aim for a thickness of about 1 inch. This helps them rise evenly. Make sure to space the scones apart on the baking sheet. This allows hot air to circulate, giving them a nice rise. Lastly, keep an eye on the oven. Watch for golden tops to know when they’re done.
Variations
Additions and Flavor Changes
You can easily switch up the flavors in these scones. Try adding nuts like walnuts or pecans. They add a nice crunch. You can also mix in white chocolate chips for sweetness. Dried cherries or blueberries are great substitutes for cranberries. Just remember to keep the same amounts.
Gluten-Free Options
If you need a gluten-free version, use a gluten-free flour blend. Look for one that has xanthan gum. This helps the scones hold their shape. You might want to add a bit more heavy cream to keep the dough moist. Follow the same steps as the original recipe, and enjoy!
Seasonal Variants
You can make these scones fit any season. In spring, add lemon zest for a fresh taste. In fall, use pumpkin spice and swap the orange juice for apple cider. For winter, add some cinnamon or nutmeg for warmth. Each season brings a new twist to this classic treat!
Storage Info
How to Store Baked Scones
To keep your scones fresh, let them cool completely. Place them in an airtight container. Store at room temperature for up to two days. If you want to keep them longer, use the fridge. This can extend their life to about a week. Just remember to wrap them well to avoid drying out.
Reheating Techniques
When you’re ready to enjoy your scones again, reheating is key. For best results, use an oven. Preheat it to 350°F (175°C). Place the scones on a baking sheet. Heat for about 5-10 minutes. This warms them through and makes them soft again. If you’re in a hurry, you can use a microwave. Heat for 10-15 seconds, but watch closely to avoid sogginess.
Freezing Instructions
Freezing is a great option for scones. First, let them cool completely. Wrap each scone in plastic wrap. Then, place them in a freezer bag or container. Squeeze out as much air as possible. They will stay good for up to three months. When you’re ready to eat, simply thaw at room temperature and reheat. Enjoy fresh scones anytime!
FAQs
What can I substitute for heavy cream in the recipe?
You can use whole milk or half-and-half in place of heavy cream. If you want a thicker option, try using Greek yogurt. Mix it with a bit of milk to reach a creamier texture. This keeps the scones moist and tender. Just remember, the flavor may change slightly.
Can I use fresh cranberries instead of dried?
Yes, you can use fresh cranberries. Fresh cranberries are tart and juicy. To balance their flavor, you might want to add a little extra sugar. Chop them roughly before adding them to the dough. This helps distribute the tartness evenly in the scones.
How do I know when the scones are done baking?
Scones are ready when they are golden brown on top. You can also check their internal temperature. It should be around 200°F (93°C). A toothpick inserted into the center should come out clean. If it has wet dough on it, they need more time.
You’ve learned about the ingredients, steps, tips, and variations for baking scones. Choosing quality ingredients and following the steps will lead to tasty results. Remember to avoid common mistakes for the best texture. Explore different flavors and storage methods to keep your scones fresh. With practice, scones can become a favorite treat. Now, it’s time to gather your supplies and bake some delicious scones today!

.png)


