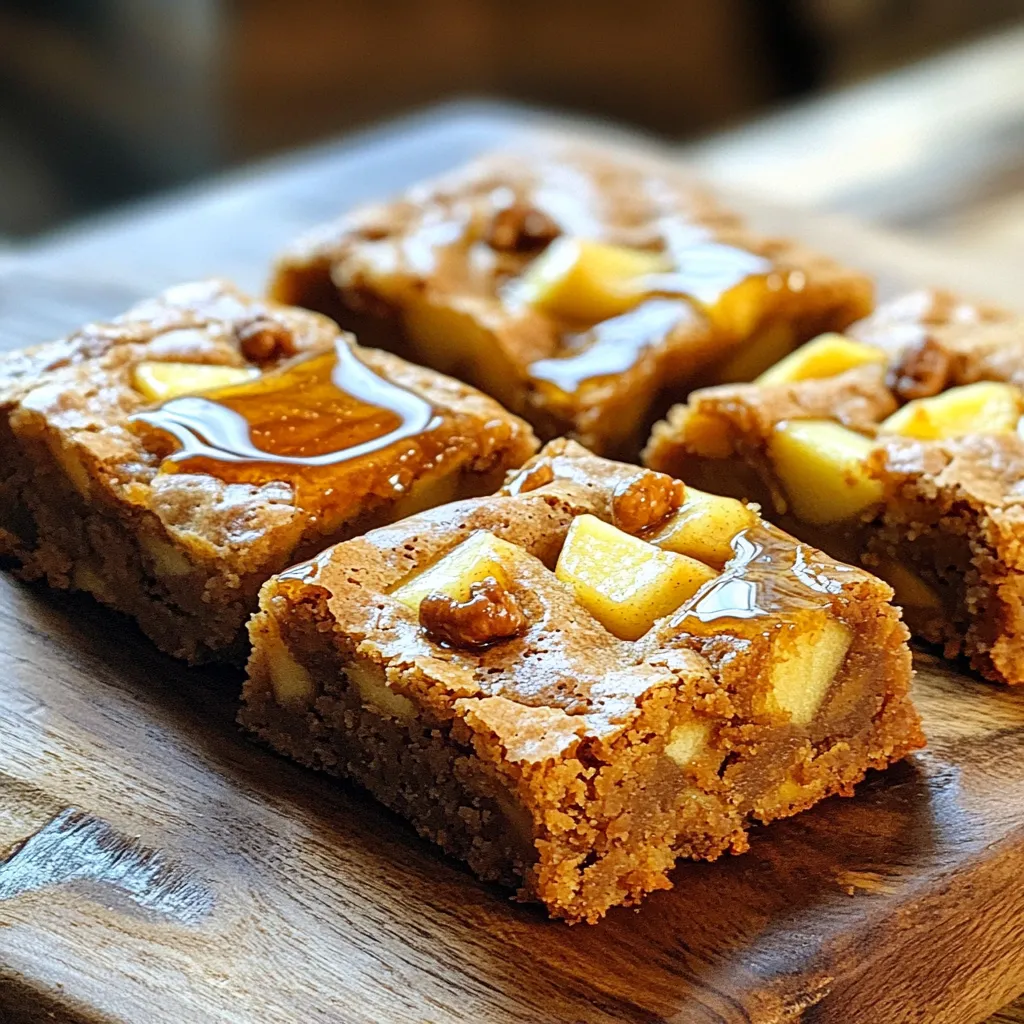
Get ready to indulge in Bakery-Style Brown Butter Apple Blondies! These blondies are soft, chewy, and packed with flavor. With a rich brown butter base, they take classic apple desserts to a new level. I’ll guide you through each step, from browning the butter to mixing in fresh apples and walnuts. Whether you want a tasty snack or dessert, these blondies will impress. Let’s start baking!
Why I Love This Recipe
- Rich Flavor: The combination of brown butter and cinnamon creates a deep, nutty taste that elevates these blondies to a bakery-style treat.
- Easy to Make: With simple steps and common ingredients, these blondies are quick to whip up, making them perfect for last-minute cravings.
- Apple Goodness: Fresh apples add moisture and natural sweetness, making each bite deliciously fruity and satisfying.
- Customizable: Add your favorite nuts or even chocolate chips for a personal twist, allowing you to make these blondies your own.
Ingredients
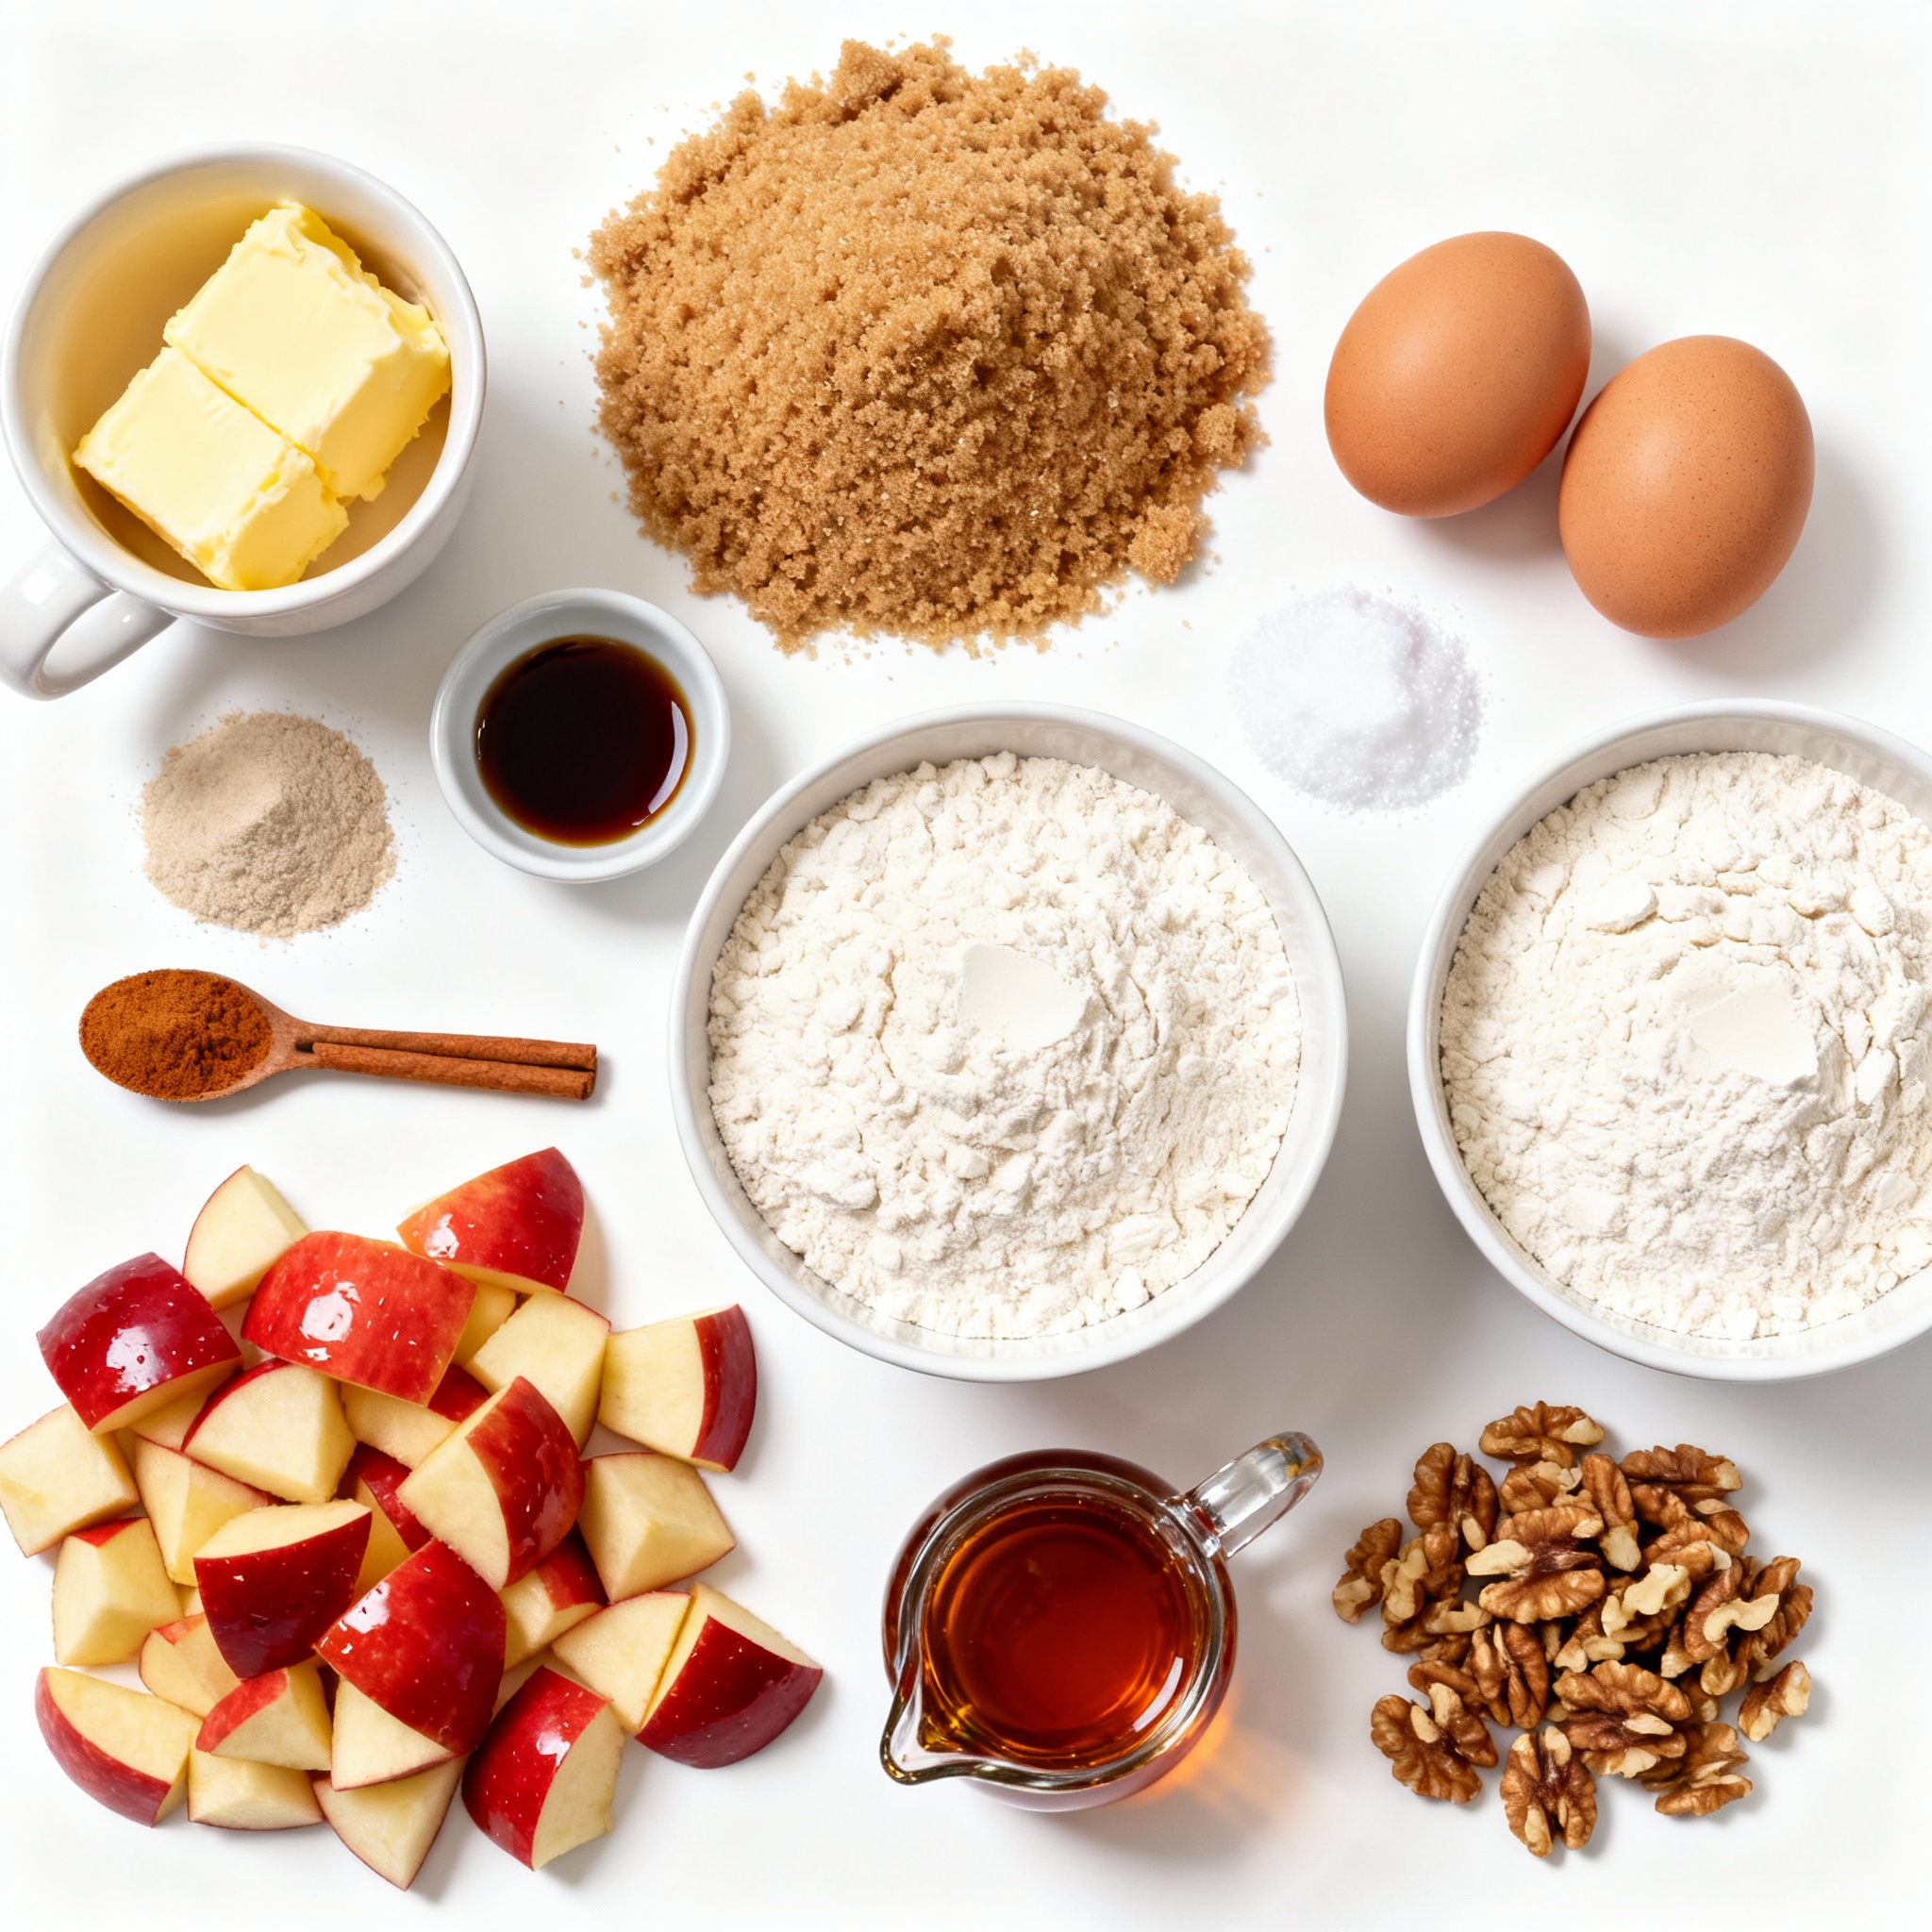
List of Required Ingredients
– 1 cup unsalted butter
– 1 ½ cups brown sugar, packed
– 2 large eggs
– 1 teaspoon vanilla extract
– 2 cups all-purpose flour
– ½ teaspoon baking powder
– ½ teaspoon baking soda
– ½ teaspoon salt
– 1 teaspoon ground cinnamon
– 1 ½ cups peeled and diced apples (about 2 medium apples)
– ½ cup chopped walnuts (optional)
– ¼ cup maple syrup (for drizzling)
When I make bakery-style brown butter apple blondies, I love using simple, fresh ingredients. It starts with unsalted butter. It gives the blondies a rich taste. I prefer brown sugar for sweetness. It adds a nice depth to the flavor.
Next, I crack in two large eggs. They bring moisture and help bind everything together. A hint of vanilla extract rounds out the flavors nicely.
For the dry mix, I use all-purpose flour, baking powder, baking soda, and salt. These create a nice rise and texture. Ground cinnamon adds warmth and spice, making them taste like fall.
The star of the show is the apples. I use about 1 ½ cups of peeled and diced apples. They keep the blondies moist and add a sweet crunch. If I want more texture, I toss in ½ cup of chopped walnuts. This step is optional, but I enjoy their nutty flavor.
Finally, I drizzle maple syrup over the top once they cool. This sweet touch makes every bite a treat. Each ingredient plays a role in creating a delicious, bakery-style dessert.
Step-by-Step Instructions
Preheat and Prepare the Baking Pan
First, preheat your oven to 350°F (175°C). This step is important for even baking. While the oven heats, get your baking pan ready. Grease an 8×8-inch pan with some butter. Next, line it with parchment paper, leaving some paper hanging over the edges. This helps you lift the blondies out easily later.
Browning the Butter
Now, let’s brown the butter. In a medium saucepan, melt 1 cup of unsalted butter over medium heat. Keep stirring it often. You want it to foam and then turn a rich golden brown. This usually takes about 5-7 minutes. You will notice a nutty smell. Be careful, as burnt butter has a bitter taste. If it turns too dark, you need to start over.
Mixing and Combining Ingredients
Once your butter is browned, take it off the heat and let it cool for a minute. In a large bowl, add 1 ½ cups of packed brown sugar to the warm butter. Stir it well until it’s smooth.
Next, crack in 2 large eggs. Mix them in one at a time. After that, add 1 teaspoon of vanilla extract and stir until everything blends well.
In a separate bowl, whisk together 2 cups of all-purpose flour, ½ teaspoon of baking powder, ½ teaspoon of baking soda, ½ teaspoon of salt, and 1 teaspoon of ground cinnamon. Slowly add this dry mix to the wet mix. Stir until just combined; do not overmix.
Now it’s time to add some texture. Gently fold in 1 ½ cups of peeled and diced apples and ½ cup of chopped walnuts, if you like. Make sure they are evenly spread out in the batter. This will give your blondies a lovely bite!
Pro Tips
- Browning Butter: Be attentive when browning the butter; it can go from perfect to burnt quickly. Look for a rich golden color and a nutty aroma.
- Use a mix of tart and sweet apples for added flavor complexity. Granny Smith and Honeycrisp work beautifully together.
- Chilling the Batter: Consider chilling the batter for 30 minutes before baking. This can help enhance the flavors and improve the texture of the blondies.
- Storage Tips: Store leftovers in an airtight container at room temperature for up to 3 days, or refrigerate for longer freshness.
Tips & Tricks
Achieving the Best Texture
To get the best texture, avoid overmixing the batter. Once you add the dry ingredients, stir gently. Mix just until you see no flour. Overmixing can make the blondies tough. The goal is a soft, chewy bite.
Brown Butter Techniques
Browning butter gives a nutty flavor. To do this, melt it slowly over medium heat. Watch closely as it can burn fast. Stir constantly and look for a golden color. This usually takes about 5 to 7 minutes. If it starts smelling burnt, it’s too late. Use a light-colored pan to see the color change better.
Perfecting the Flavor
To enhance the taste, add spices or extracts. Ground cinnamon works well, but you can also try nutmeg. A splash of almond or maple extract adds a nice twist too. Feel free to adjust based on your taste. Adding these small touches can elevate your blondies.
Variations
Nut and Fruit Alternatives
You can switch up the nuts and fruits in this recipe. Instead of walnuts, try pecans or almonds for a new flavor. For fruits, mix in diced pears or even berries. Each choice adds a unique twist to the blondies. You can also use dried fruits like cranberries or apricots for extra sweetness.
Gluten-Free Option
To make these blondies gluten-free, replace all-purpose flour with a gluten-free blend. Make sure it has xanthan gum for the best texture. You can also use almond flour for a nutty taste. Just adjust the amount since almond flour is denser. This way, everyone can enjoy the blondies, even those avoiding gluten.
Different Toppings and Drizzles
While maple syrup is tasty, there are other fun toppings. Try a drizzle of caramel sauce for a rich touch. You can also top with a cream cheese frosting for added creaminess. A sprinkle of powdered sugar gives a sweet finish without overpowering the flavor. Each topping changes the taste and look of your blondies.
Storage Info
Storing Leftovers
To keep your blondies fresh, store them in an airtight container. Place parchment paper between layers to avoid sticking. Blondies can last up to a week at room temperature. For longer freshness, you can refrigerate them. Just make sure they are well-sealed to avoid drying out.
Freezing Instructions
Freezing blondies is easy and great for meal prep. Cut the blondies into squares first. Wrap each square tightly in plastic wrap. Then, place them in a freezer-safe bag. They can last for about three months in the freezer. When you’re ready to enjoy, just thaw them in the fridge overnight.
Reheating Tips
To reheat blondies, use your oven or microwave. For the oven, set it to 350°F (175°C). Place the blondies on a baking sheet for about 5-7 minutes. This keeps them warm without drying them out. If using a microwave, heat for 10-15 seconds. Check to ensure they are warm but not hot. Enjoy your delicious blondies!
FAQs
Can I use a different type of sugar?
Yes, you can use different sugars in this recipe. If you want a lighter flavor, try using white sugar. It will give a different texture but still taste good. You could also mix sugars. For example, half brown sugar and half white sugar work well together. Just keep in mind that brown sugar adds moisture and a caramel flavor, while white sugar is drier and lighter.
How do I know when the blondies are done baking?
To check if your blondies are done, insert a toothpick into the center. If it comes out clean or with just a few crumbs, they are ready. You can also look for a golden-brown top. The edges should pull away slightly from the pan. If the top looks shiny or wet, give them a few more minutes.
Can I make these blondies ahead of time?
Absolutely! You can make these blondies a day ahead. Just store them in an airtight container at room temperature. This way, the flavors meld together. If you want to make them even earlier, consider freezing them. Wrap them tightly in plastic wrap and foil. They can last up to three months in the freezer. When ready to eat, just thaw and enjoy!
In this post, we covered how to make delicious blondies. We explored key ingredients like butter, apples, and nuts. I shared step-by-step instructions to brown butter and mix your batter. You learned tips for the best texture and flavor. I also provided variations to suit your taste and storage tips to keep them fresh.
Now, grab your ingredients and start baking! You will enjoy every bite of your warm, sweet treats. Trust me, these blondies will be a hit every time.
.png)


