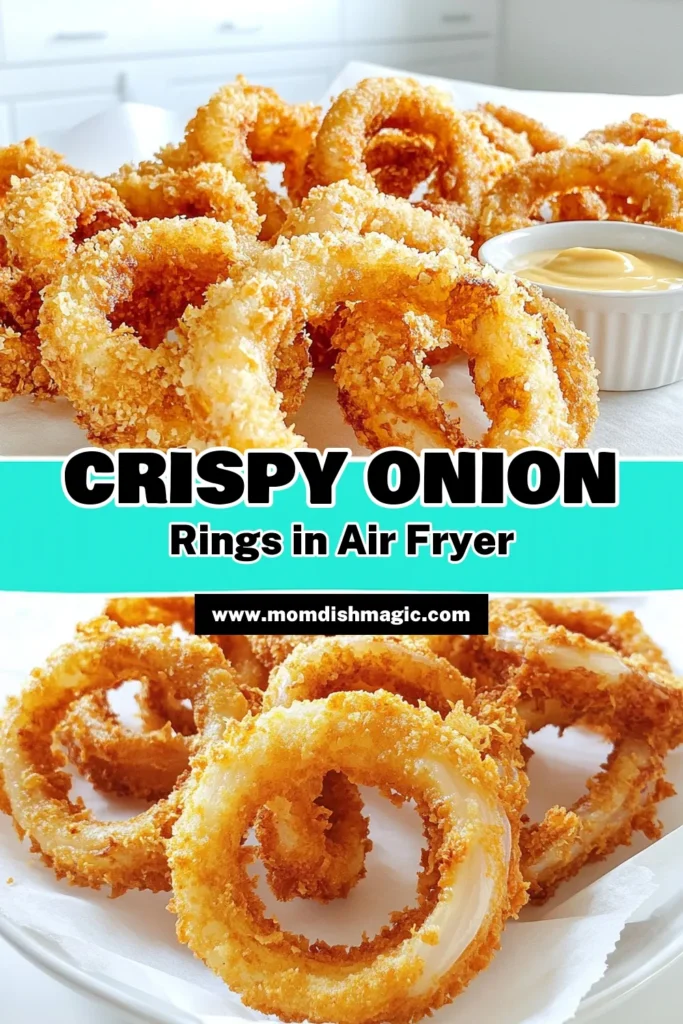
Are you ready to enjoy crispy, golden onion rings without the guilt? In this easy and tasty recipe, I’ll show you how to make perfect onion rings in an air fryer. With just a few simple ingredients and steps, you’ll impress family and friends with a crunchy, flavorful snack. Let’s dive into the world of homemade onion rings that are a breeze to cook and even better to eat!
Ingredients
List of Ingredients
– 2 large onions, sliced into rings
– 1 cup all-purpose flour
– 1 teaspoon garlic powder
– 1 teaspoon paprika
– 1/2 teaspoon cayenne pepper (optional for heat)
– 1 cup buttermilk (or non-dairy milk with a splash of lemon juice)
– 1 cup breadcrumbs (panko for extra crunch)
– Salt and pepper to taste
– Olive oil spray
To make crispy onion rings, we need a few simple ingredients. The main item is, of course, onions. I like to use large onions, as they give us nice rings. For the batter, we will use all-purpose flour. This gives our rings a great base.
Next, we add some flavor. Garlic powder and paprika bring a nice taste. If you like a little spice, toss in cayenne pepper. But if you prefer mild, leave it out.
Next, buttermilk adds moisture and helps the breading stick. If you want a dairy-free option, use non-dairy milk with a splash of lemon juice instead.
Now for the crunch: breadcrumbs! I love using panko for extra crispiness. Lastly, don’t forget salt and pepper to bring everything together. A light spray of olive oil will help our rings crisp up in the air fryer.
Gather these ingredients, and let’s get cooking!
Step-by-Step Instructions
Preheating the Air Fryer
First, set your air fryer to 400°F (200°C). This temp is key for crispy onion rings. Preheating helps the rings cook evenly. It only takes a few minutes, so be patient.
Preparing the Coating Mixtures
In a mixing bowl, add the following:
– 1 cup all-purpose flour
– 1 teaspoon garlic powder
– 1 teaspoon paprika
– 1/2 teaspoon cayenne pepper (optional)
– Salt and pepper to taste.
Mix these ingredients well. This blend gives the rings great flavor and crunch.
Dipping and Coating the Onion Rings
Take your sliced onions and dip each ring in the flour mix. Make sure to coat it fully. Shake off any extra flour. Next, dip the ring in 1 cup of buttermilk until soaked. This step adds moisture. Finally, coat the ring in 1 cup of breadcrumbs. Press lightly so they stick well.
Cooking the Onion Rings
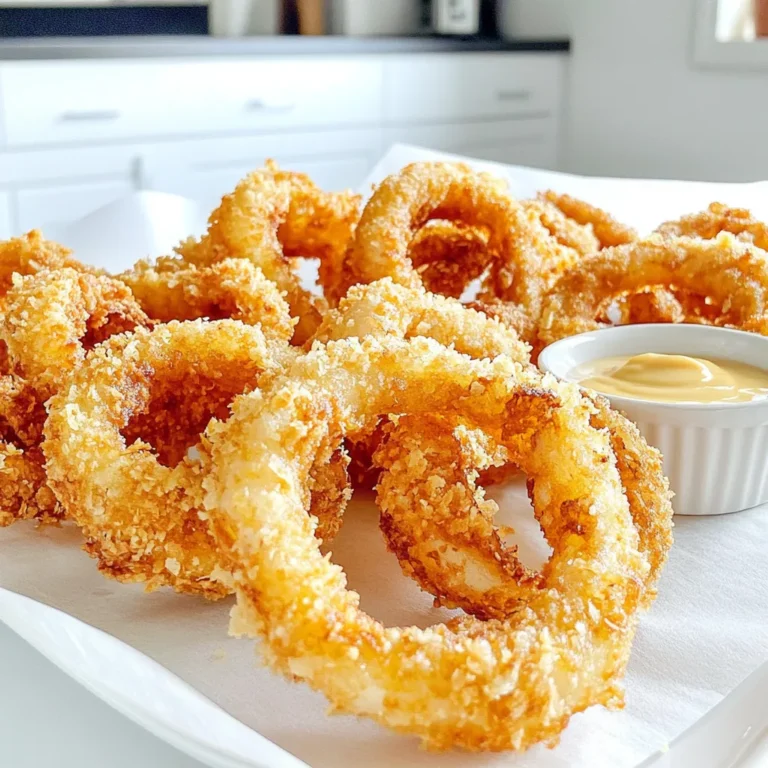
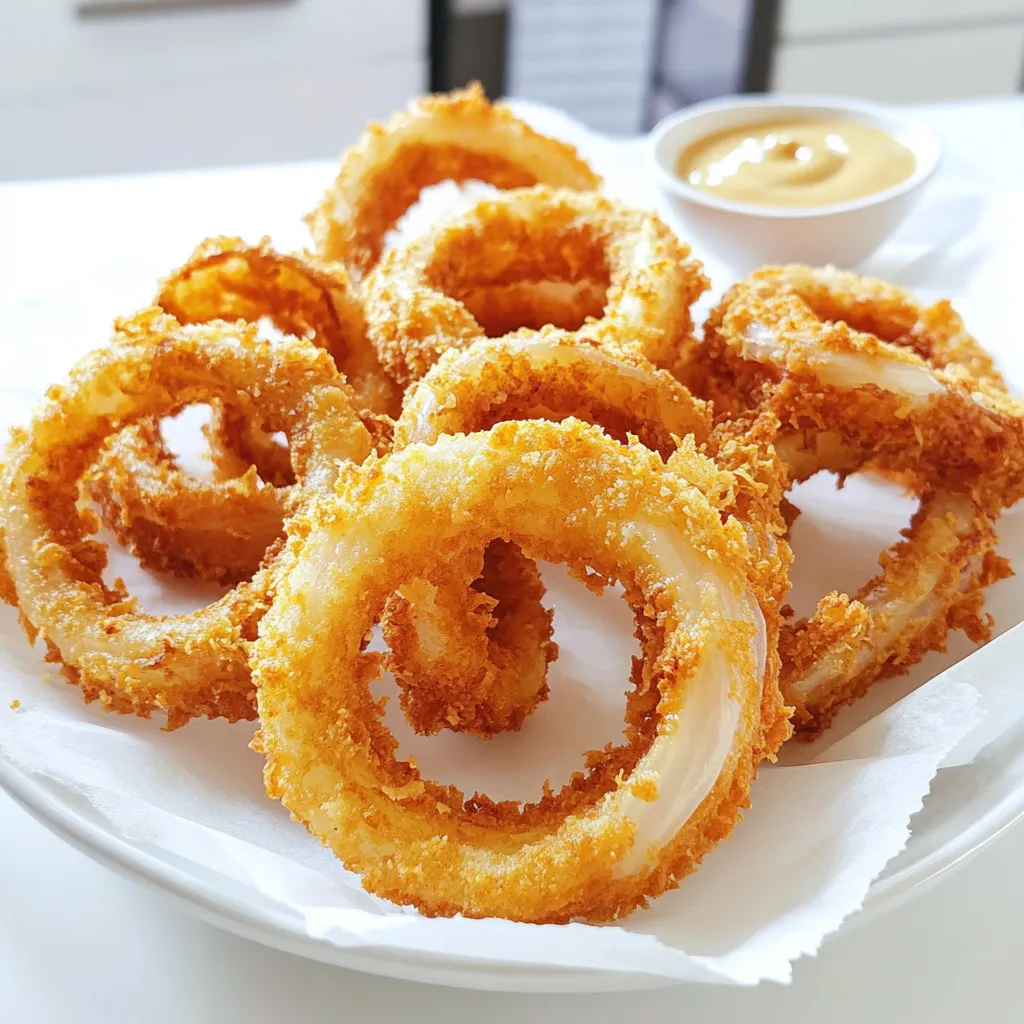
Now, place the coated onion rings in a single layer in the air fryer basket. Lightly spray them with olive oil. This spray helps achieve that golden color. Cook for 12 to 15 minutes. Flip the rings halfway through cooking. They should turn crispy and brown. When done, let them cool for a bit before serving. Enjoy your tasty onion rings!
Tips & Tricks
Achieving Extra Crispiness
To get the best crunch, use panko breadcrumbs. They add a light crunch that regular breadcrumbs lack. Make sure to coat each onion ring well. After dipping in the buttermilk, press the breadcrumbs firmly onto the onion. This helps them stick better. A light spray of olive oil before cooking also helps achieve that golden color.
Recommended Dipping Sauces
Onion rings taste great with many dips. My favorites are ranch and spicy ketchup. You can also try barbecue sauce or a tangy aioli. Mix sour cream with herbs for a fresh dip. These flavors will elevate your crispy onion rings.
Common Mistakes to Avoid
One common mistake is overcrowding the air fryer. This can lead to uneven cooking. Always arrange the onion rings in a single layer. Another mistake is not preheating the air fryer. Preheating makes sure the onion rings cook evenly and get crispy. Lastly, don’t skip the olive oil spray; it’s key for that perfect crunch.
Variations
Spicy Onion Rings with Additional Seasonings
To spice up your onion rings, add more flavor! Mix in extra seasonings like chili powder or cumin. These spices give a kick. You can also add some hot sauce to the buttermilk. This makes the rings zesty and fun. Adjust the cayenne pepper to your taste. For a fiery bite, use more cayenne. Enjoy the heat!
Gluten-Free Alternative Recipe
If you need a gluten-free option, no problem! Swap all-purpose flour for gluten-free flour. Use gluten-free breadcrumbs instead of regular ones. This way, you can still enjoy crispy onion rings. The taste will remain great, and the crunch will be there too. Just follow the same steps in the recipe.
Using Different Types of Onions
Not all onions are the same! You can use sweet onions like Vidalia for a milder taste. Yellow onions give a robust flavor, while red onions add a nice color. Each type brings its own twist. Experiment with different onions to find your favorite. You may discover a new love for onion rings!
Storage Info
How to Store Leftover Onion Rings
After you enjoy your crispy onion rings, store leftovers in an airtight container. This keeps them fresh. Place paper towels in the container to absorb moisture. This helps maintain crispiness. Store them in the fridge for up to three days.
Reheating Instructions for Best Results
To reheat, use the air fryer for the best results. Set it to 350°F (175°C). Heat for about 5-7 minutes. This method keeps your onion rings crispy. You can also use a conventional oven. Preheat to 350°F (175°C) and bake for 10-12 minutes.
Tips for Freezing Onion Rings
You can freeze onion rings if you want to save some for later. Start by placing them in a single layer on a baking sheet. Freeze them for about an hour until solid. Then, transfer them to a freezer bag. They can last up to three months in the freezer. When ready to cook, no need to thaw. Just air fry them straight from the freezer for about 15-20 minutes at 400°F (200°C).
FAQs
Can I use other coatings instead of breadcrumbs?
Yes, you can use crushed cornflakes or ground nuts. They add a nice crunch. You can also try using tortilla chips for a fun twist. Just crush them to a fine texture. The flavor will change, but they still taste great.
What is the best type of onion for onion rings?
The best onions for onion rings are yellow and sweet onions. Yellow onions give a nice balance of sweet and sharp. Sweet onions, like Vidalia, taste milder and sweeter. Both types fry well and create a great texture.
How do I make onion rings without buttermilk?
You can use non-dairy milk with lemon juice. Mix one cup of non-dairy milk with one tablespoon of lemon juice. Let it sit for five minutes. This will create a similar tangy taste. You can also use plain yogurt or regular milk.
Can I make these onion rings in a conventional oven?
Yes, you can bake them in a conventional oven. Preheat the oven to 425°F (220°C). Place the coated onion rings on a baking sheet. Spray them with olive oil. Bake for 20-25 minutes, flipping halfway through. They will still be crispy and delicious!
You learned how to make crispy onion rings using simple ingredients and easy steps. The tips will help you get them just right. Remember to experiment with flavors and try out different dips. Storing and reheating leftovers is easy, too.
Onion rings can be a fun snack or side dish. Enjoy the crunch and flavor in every bite!

