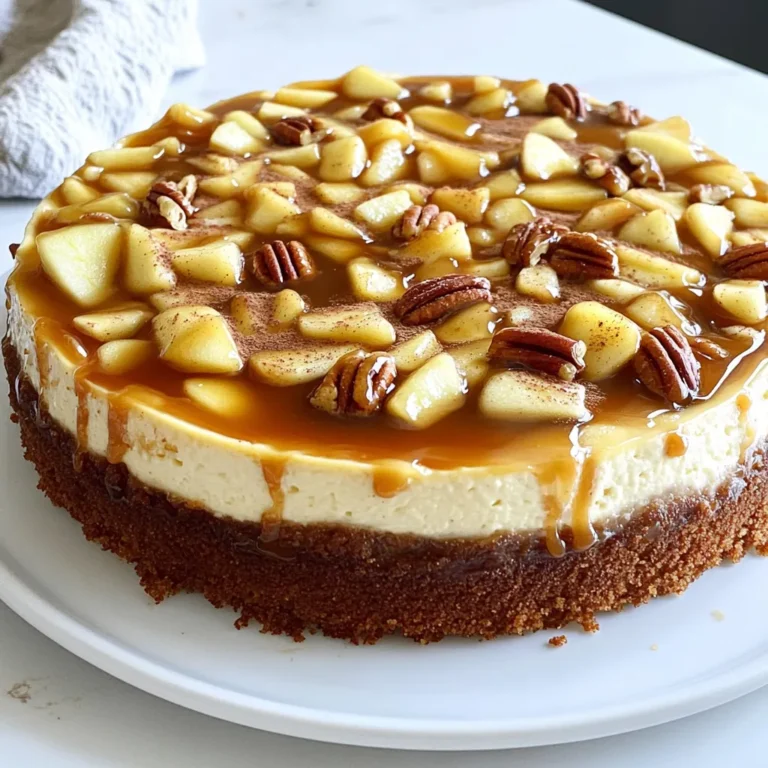
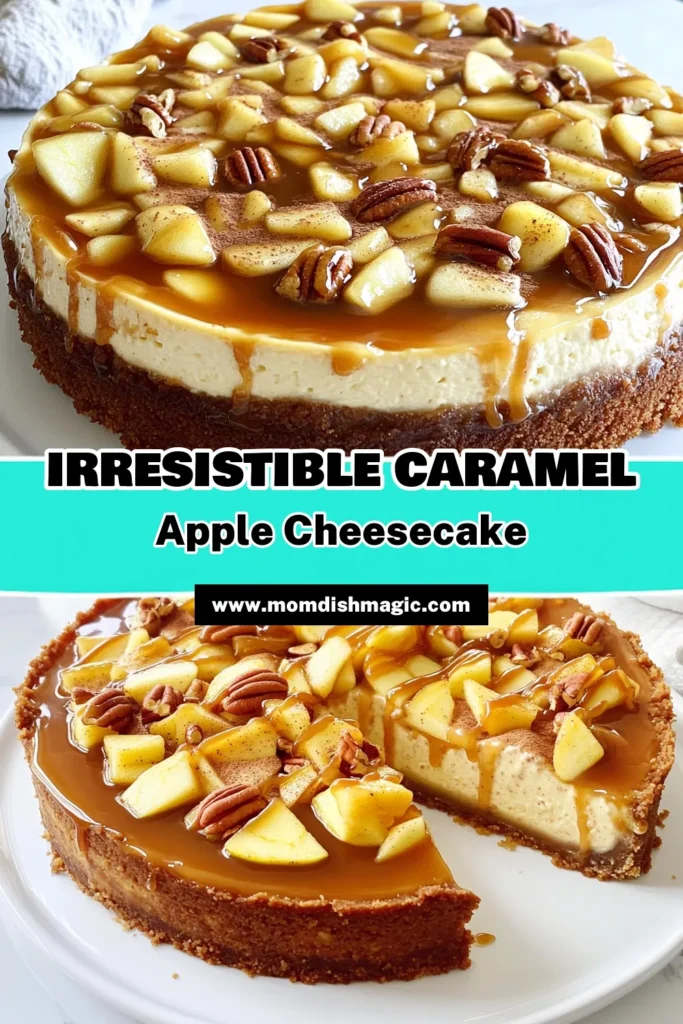
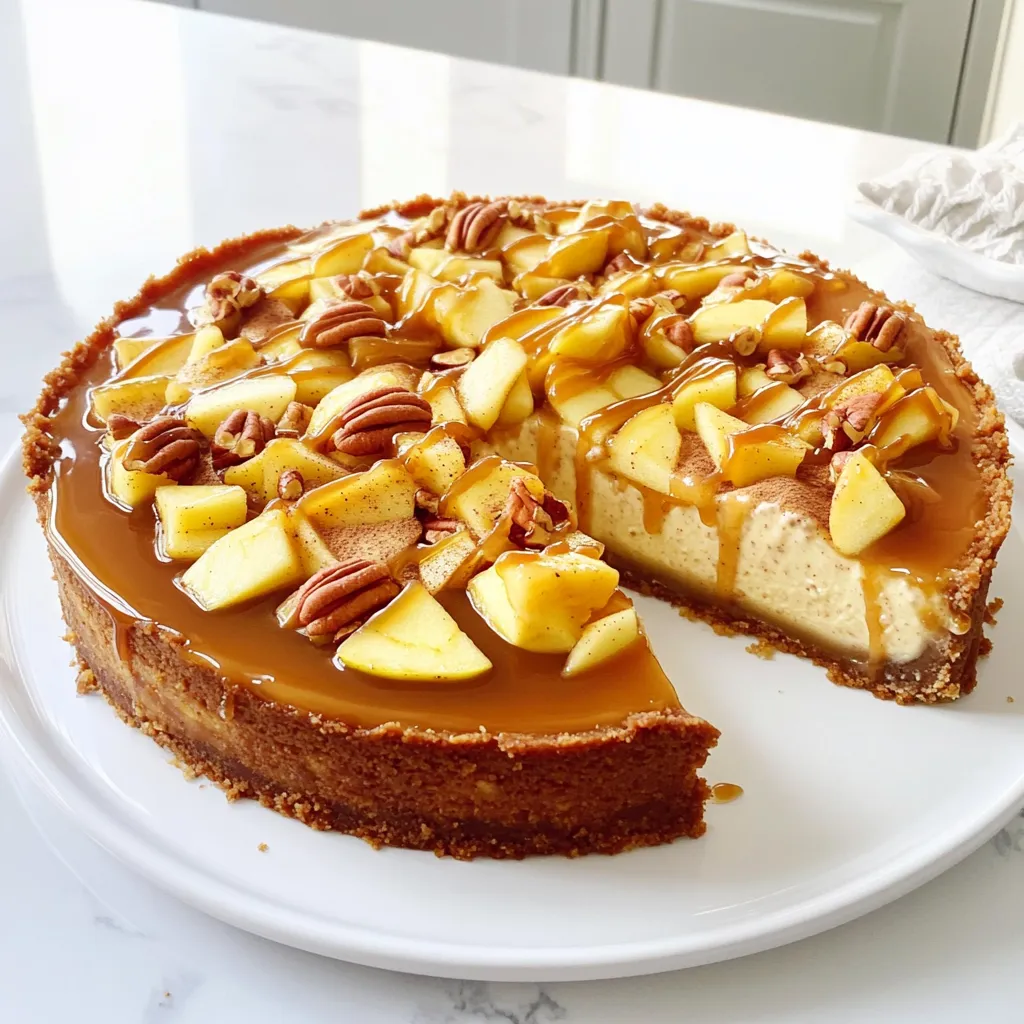
If you’re craving a dessert that combines the rich flavors of caramel, apple, and cinnamon, you’ve landed in the right place! This Caramel Apple Cinnamon Cheesecake is a dreamy treat that will delight your taste buds. With a buttery graham cracker crust, creamy filling, and a luscious caramel topping, this cheesecake is perfect for any occasion. Let’s dive into the ingredients and steps to create this delicious dessert that will impress everyone!
Ingredients
For the Crust
– 1 ½ cups graham cracker crumbs
– ½ cup unsalted butter, melted
– ¼ cup brown sugar
– 1 teaspoon cinnamon
For the Filling
– 24 oz cream cheese, softened
– 1 cup granulated sugar
– 1 teaspoon vanilla extract
– 3 large eggs
– 1 ½ cups diced apples (preferably Granny Smith)
– 1 teaspoon cinnamon
For the Caramel Topping
– 1 cup caramel sauce (store-bought or homemade)
– ½ cup chopped pecans (optional)
– Additional apple slices for garnish (optional)
To make this caramel apple cinnamon cheesecake, you need simple yet key ingredients. The crust starts with graham cracker crumbs. They add a sweet crunch. Use melted butter to help bind the crumbs together. Brown sugar adds rich flavor, while cinnamon gives warmth.
For the filling, cream cheese is important. It makes the cheesecake smooth and creamy. Granulated sugar adds sweetness. Vanilla extract brings in a nice aroma. Eggs help to set the filling, giving it structure. Diced Granny Smith apples add freshness and tartness. A touch of cinnamon in the filling enhances the apple flavor.
Finally, the caramel topping is the star. Use store-bought or homemade caramel for ease. Chopped pecans add a nice crunch, but they are optional. You can also garnish with apple slices for extra flair. All these ingredients come together to create a dreamy dessert delight.
Step-by-Step Instructions
Preparation of the Crust
– First, preheat your oven to 325°F (160°C).
– In a bowl, combine the graham cracker crumbs, melted butter, brown sugar, and cinnamon. Mix well until the crumbs are coated.
– Press this mixture firmly into the bottom of a 9-inch springform pan. It should be even. Bake it in the preheated oven for 10 minutes. After baking, take it out and let it cool.
Making the Cheesecake Filling
– In another large bowl, beat the softened cream cheese, granulated sugar, and vanilla extract until smooth.
– Add the eggs, one at a time. Mix well after each egg. This step helps make a creamy filling.
– Gently fold in the diced apples and cinnamon until they are evenly mixed into the batter.
Baking and Cooling the Cheesecake
– Now, pour the apple and cream cheese filling over the cooled crust. Use a spatula to smooth the top.
– Bake in the oven for about 55-60 minutes. The edges should be set, and the center will have a slight jiggle.
– After baking, turn off the oven. Crack the door open slightly and let the cheesecake cool in the oven for 1 hour.
– Finally, refrigerate the cheesecake for at least 4 hours, or even better, overnight. This helps it set properly.
Tips & Tricks
Achieving the Perfect Texture
Using room temperature ingredients is key. When cream cheese warms up, it blends better. This helps to create a smooth filling without lumps. Take the cream cheese out of the fridge an hour before you start. Eggs should also be at room temperature. This will make mixing easier and help the cheesecake rise properly.
To bake a creamy cheesecake, avoid overmixing. Mix until just combined to keep air bubbles out. Air bubbles can lead to cracks. Bake your cheesecake in a water bath if you can. This keeps the heat gentle and helps prevent cracks.
Serving Suggestions
Garnishing is fun and simple. Drizzle warm caramel sauce over the top. Add chopped pecans for crunch and flavor. Thin apple slices make a lovely touch, too. You can also sprinkle a little extra cinnamon for added warmth.
Pair your cheesecake with drinks like hot cider or coffee. A sweet dessert wine can also enhance the flavors. These drinks balance the creaminess and sweetness of the cheesecake.
Common Mistakes to Avoid
Cracks can ruin a beautiful cheesecake. They often happen from baking too hot or too long. Keep an eye on the edges. They should be set, while the center should jiggle slightly. If you see cracks, don’t worry. You can cover them with caramel and toppings.
Overbaking makes the cheesecake dry. Underbaking can make it too soft. Use a toothpick to check for doneness. The toothpick should come out mostly clean but not completely dry. This ensures a soft, creamy texture.
Variations
Gluten-Free Option
To make a gluten-free crust, you can use almond flour or gluten-free cookies instead of graham crackers. Almond flour gives a nutty flavor and works well. You can also try gluten-free oats for a different texture. For binding, mix in a bit of melted coconut oil or applesauce. Both will hold your crust together nicely.
Vegan Adaptation
For a vegan cheesecake, use plant-based cream cheese. Brands like Tofutti or Daiya work well. They give that creamy texture without dairy. As for eggs, you can use flaxseed meal mixed with water. One tablespoon of flaxseed meal plus three tablespoons of water equals one egg. This will hold everything together.
Flavor Variations
You can change the flavor by adding spices like nutmeg or allspice. These will add warmth and depth to your cheesecake. If you want different apple flavors, try Honeycrisp or Fuji apples. They add a sweeter taste to balance the tang of the cream cheese. Each choice brings a new twist to this delightful dessert.
Storage Information
Proper Refrigeration Techniques
To keep your leftover cheesecake fresh, store it in the fridge. First, let the cheesecake cool completely. Then, slice it into pieces for easy serving. Place the slices in an airtight container. This helps keep the cheesecake moist. If you don’t have a container, you can use plastic wrap. Wrap it tightly, but make sure it doesn’t touch the surface. This prevents the cheesecake from drying out.
Freezing the Cheesecake
You can freeze your cheesecake for later enjoyment. Here’s how:
1. Cool Completely: Ensure the cheesecake is cool before freezing.
2. Wrap Well: Wrap the whole cheesecake in plastic wrap. Use aluminum foil for extra protection.
3. Place in a Freezer Bag: Put the wrapped cheesecake in a freezer-safe bag, removing as much air as possible.
4. Label and Date: Write the date on the bag. This helps you keep track.
To thaw, move the cheesecake to the fridge. Let it thaw overnight. This keeps the texture nice and smooth.
Shelf Life
In the fridge, your cheesecake lasts about 5 to 7 days. Always check for signs of spoilage. If you see any mold or an off smell, it’s best to throw it away. Fresh cheesecake should feel firm and smooth. If it seems watery or looks cracked, it may be time to say goodbye.
FAQs
How can I tell when the cheesecake is done?
You can tell if the cheesecake is done by looking for a few signs. The edges should be set, while the center will still have a slight jiggle. It’s okay if the middle looks a bit soft; it will firm up as it cools. If you check after about 55 minutes of baking, you should see these signs of a properly baked cheesecake.
Can I make this cheesecake ahead of time?
Yes, you can make this cheesecake ahead of time! In fact, I recommend you do. After baking, let it cool and then refrigerate for at least 4 hours. For best results, chill it overnight. This helps the flavors blend well and the texture to set properly.
What can I use instead of pecans?
If you want a nut-free option, you can skip the pecans altogether. You can also use other toppings like crushed cookies, chocolate shavings, or even more apple slices. These alternatives will still give your cheesecake a tasty finish without the nuts.
This cheesecake recipe combines easy steps, tasty ingredients, and helpful tips. You can create a delicious dessert that impresses everyone. Remember to keep your ingredients at room temperature for the best texture. Feel free to explore variations, like gluten-free or vegan options, to meet your needs. Store your cheesecake properly to enjoy it later. With these insights, you’ll make a cheesecake that stands out. Enjoy sharing the joy of baking with friends and family!

